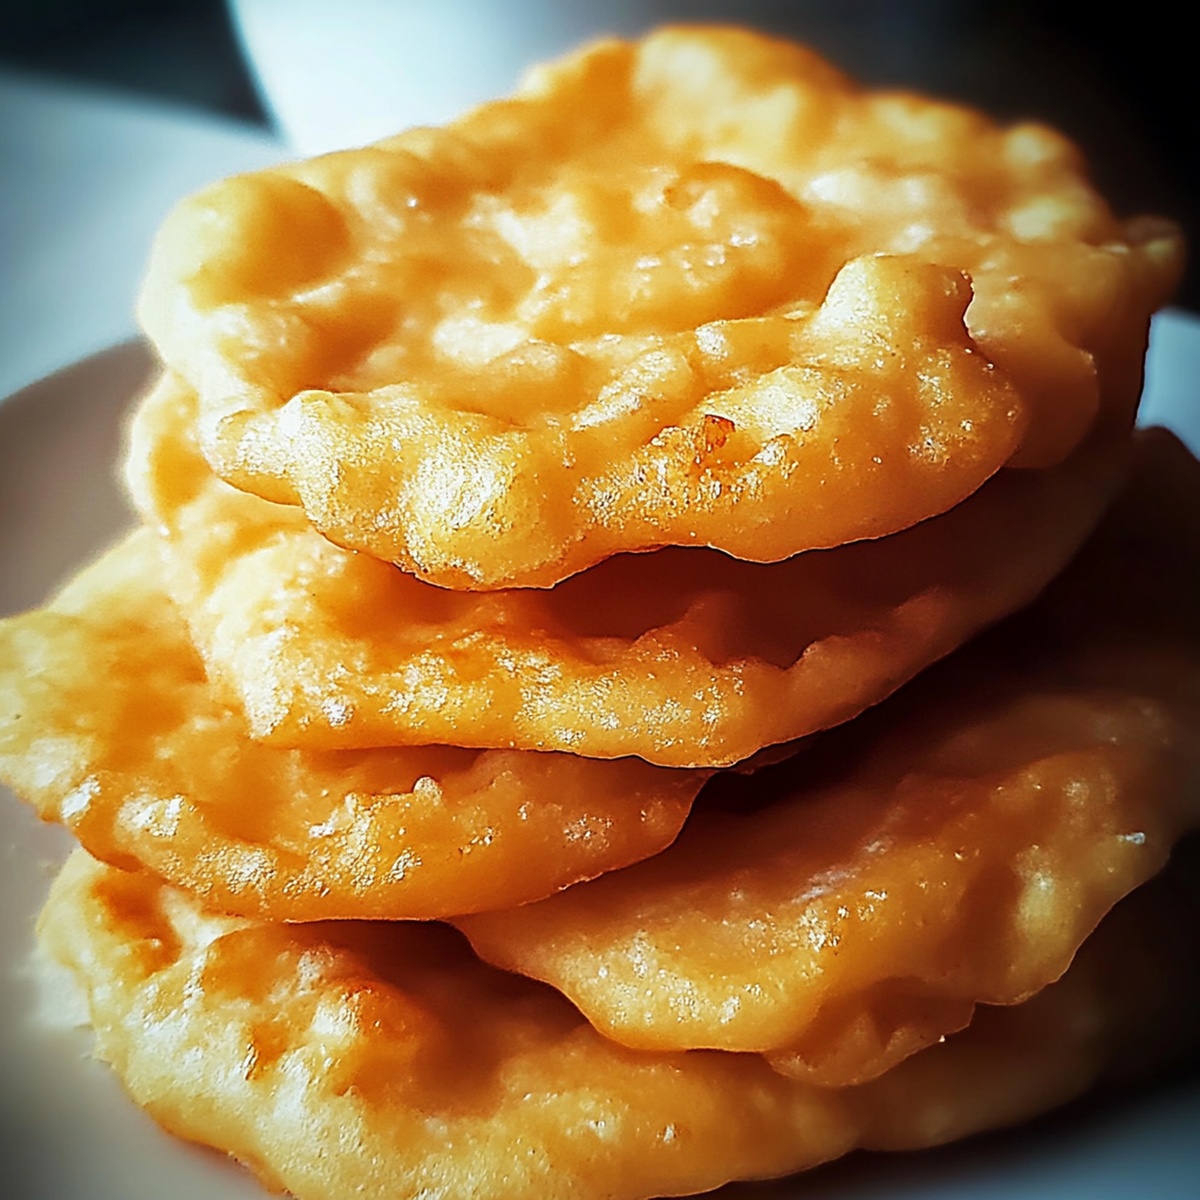
Fluffy Indian Frybread Recipe: A Golden Taste of Heritage
Crispy, golden, and irresistibly delicious, this authentic indian frybread recipe brings the heart of southwestern cuisine straight to your kitchen.
Generations of Native American cooks have perfected this simple yet incredible bread that melts in your mouth.
Each piece carries a rich cultural heritage and warmth that transforms an ordinary meal into something extraordinary.
The dough comes together with just a few basic ingredients, making it surprisingly easy to create.
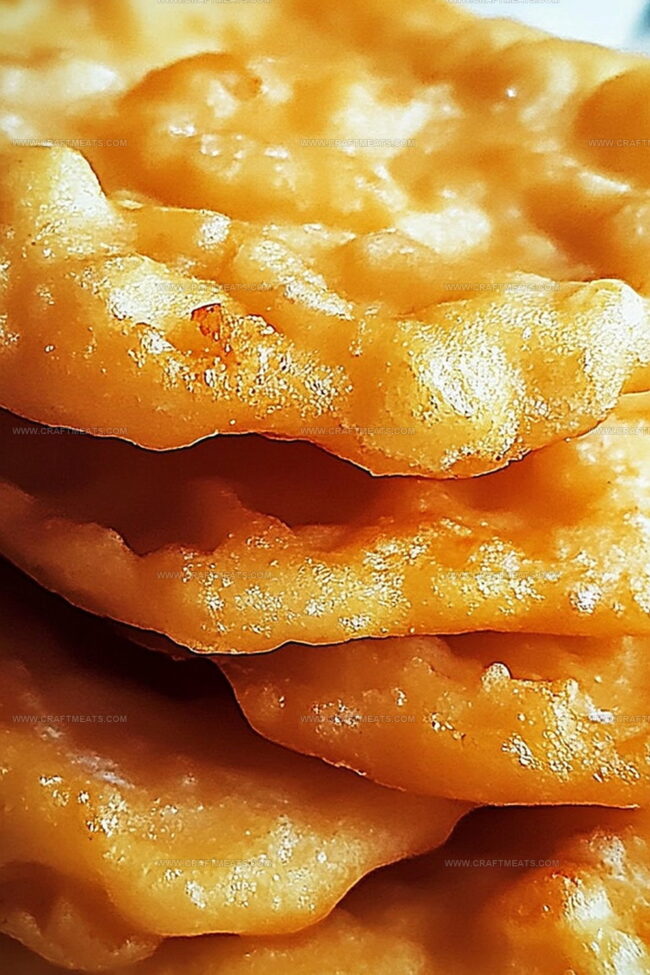
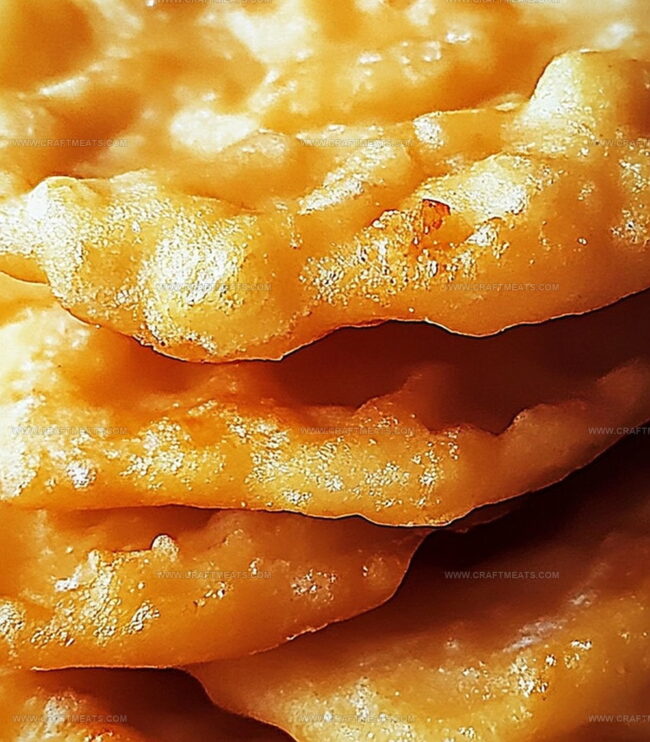
Soft on the inside and beautifully crisp on the outside, this frybread serves as a versatile canvas for sweet or savory toppings.
Whether you’re serving it alongside hearty stews or as a standalone treat, this recipe promises to delight every palate.
Dive into this culinary adventure and experience a taste of tradition that will leave you craving more.
Quick Recipe Overview
Indian Frybread Ingredient List
For Base Ingredients:For Liquid Ingredients:For Preparation Ingredients:Gear For Making Indian Frybread Fast
Frying Indian Frybread Golden And Puffy
Combine dry ingredients in a roomy mixing bowl, creating a soft, powdery landscape ready for transformation. The mixture will become the foundation of your culinary adventure.
Introduce warm liquid to the flour blend, using gentle hand movements to coax the ingredients into a cohesive, tender dough. Work the mixture with care, feeling its texture evolve beneath your fingertips.
Allow the dough to relax and settle, covering it with a light cloth. This quiet moment lets the ingredients mingle and develop deep, rich flavors that will elevate your frybread from simple to spectacular.
Gently work the dough on a lightly dusted surface, transforming it into a smooth, elastic canvas. Each tender touch prepares the frybread for its final, golden destiny in hot oil, where it will puff and crisp into a mouth-watering delicacy.
Flavor Ideas For Indian Frybread Toppings
Serving Indian Frybread With Sweet Or Savory Sides
How To Store Indian Frybread Fresh Longer
Print
Authentic Indian Frybread Recipe
- Total Time: 1 hour 5 minutes
- Yield: 3 1x
Description
Delectable indian frybread satisfies comfort food cravings with its crispy exterior and pillowy center. Navajo culinary traditions shine through this simple yet powerful bread that connects you to generations of cultural heritage.
Ingredients
- 1 tablespoon (15 g) baking powder
- ½ teaspoon (2.5 g) salt
- 2 cups (250 g) all-purpose flour
- ¾ cup (180 ml) warm water or milk
- Vegetable oil (for frying)
- Honey (optional)
- Powdered sugar (optional)
- Cinnamon sugar (optional)
- Cooked ground beef or shredded chicken (optional)
- Lettuce (optional)
- Tomatoes (optional)
- Cheese (optional)
- Salsa (optional)
- Sour cream (optional)
Instructions
- Dough Preparation: Blend flour, salt, and baking powder in a large mixing bowl, creating a uniform dry mixture that will form the base of the frybread.
- Kneading Process: Pour warm water into the dry ingredients, using hands to gradually incorporate and knead the mixture until a smooth, elastic dough forms, avoiding overmixing to maintain tenderness.
- Resting Stage: Cover the dough with a clean kitchen towel and let it rest for 30 minutes, allowing the gluten to relax and flavors to develop, which will enhance the bread’s texture and taste.
- Shaping Technique: Divide the rested dough into equal portions, gently stretching each piece into irregular, free-form shapes that will create unique, rustic frybread.
- Frying Method: Heat oil in a deep skillet to 350°F, carefully lowering each stretched dough piece into the shimmering oil, frying until the bread puffs up and turns a rich golden-brown color with crispy, slightly blistered edges.
- Serving Preparation: Transfer the freshly fried bread to a paper towel-lined plate to drain excess oil, ensuring a light and crisp texture before serving immediately while still warm.
Notes
- Manage Moisture Carefully: Gradually add warm liquid to prevent a sticky or dry dough, ensuring the perfect pliable consistency for authentic frybread texture.
- Control Oil Temperature: Maintain oil around 350-375°F for even golden-brown coloration without burning, using a thermometer for precision cooking.
- Stretch Dough Strategically: Pull dough pieces thinly and unevenly for traditional rustic appearance, allowing crispy edges and soft center during frying.
- Gluten-Free Adaptation: Substitute wheat flour with a blend of gluten-free alternatives like rice and cornflour to accommodate dietary restrictions while maintaining similar texture and taste.
- Prep Time: 30 minutes
- Cook Time: 20 minutes
- Category: Snacks, Appetizer
- Method: Mixing
- Cuisine: American
Nutrition
- Serving Size: 3
- Calories: 200
- Sugar: 0 g
- Sodium: 125 mg
- Fat: 10 g
- Saturated Fat: 1 g
- Unsaturated Fat: 9 g
- Trans Fat: 0 g
- Carbohydrates: 26 g
- Fiber: 1 g
- Protein: 4 g
- Cholesterol: 0 mg
Liam O’Sullivan
Founder & Culinary Content Creator
Expertise
Recipe Development, Traditional Irish and European Cuisines, Food Styling and Photography, Culinary Education
Education
Dublin Institute of Technology (DIT) – School of Culinary Arts and Food Technology
Ballymaloe Cookery School
Isabella brings a global spark to the Craft Meats table. Born in Florence and trained at the Apicius International School of Hospitality, she blends classic Italian flavor with modern writing that’s easy to follow and hard to forget.
Her additional training at the Italian Chef Academy fueled her love for well-crafted dishes, especially ones that spotlight beautiful cuts of meat.
She’s a food writer with heart, and a deep love for storytelling through single recipes. Her goal? To help you cook with more confidence and a little more joy, no matter where you start.