
Timeless Chocolate Snowball Cookies Recipe: Jolly Sweet Bites
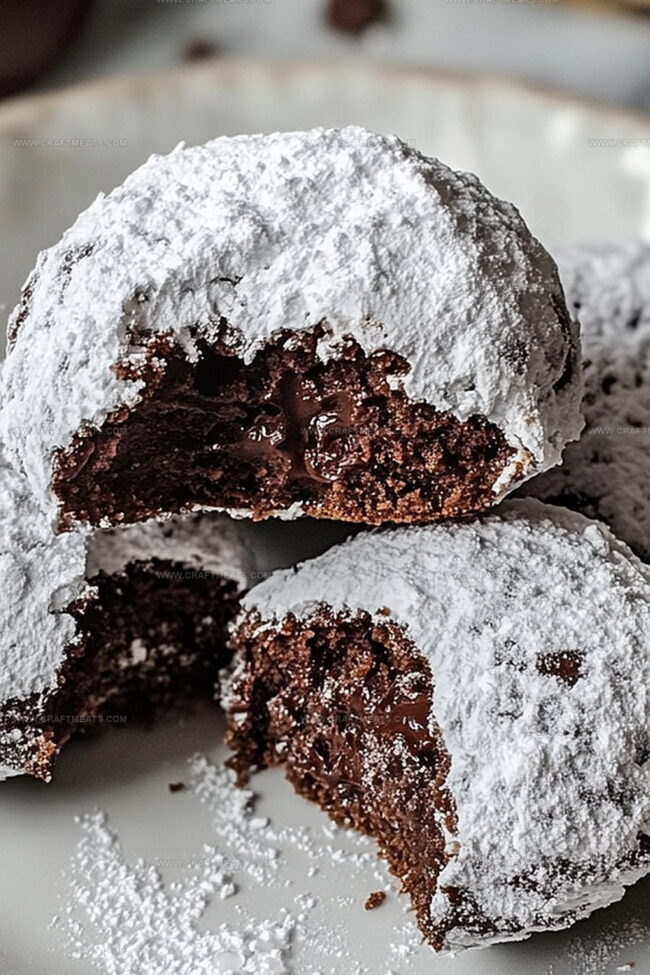
Soft, buttery, and dusted with powdered sugar, these classic chocolate snowball cookies melt in your mouth with irresistible charm.
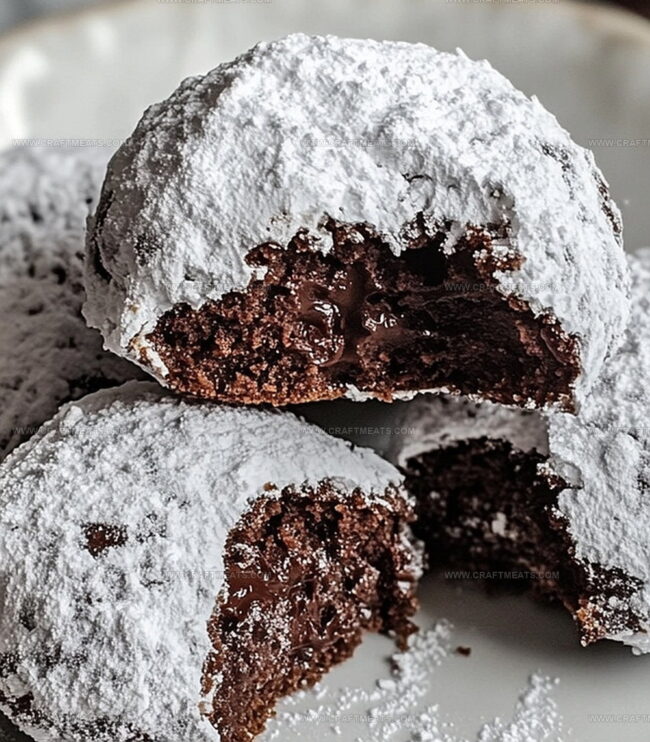
Chocolate lovers adore this simple yet decadent treat that brings winter magic to any dessert table.
Rich cocoa powder infuses each bite with deep, luxurious flavor.
Rolled generously in confectioners’ sugar, these delicate cookies crumble delightfully and create a stunning white coating.
The texture strikes a perfect balance between crumbly and tender.
Swirled with love and nostalgia, these treats promise to delight everyone who takes a bite.
Bake a batch and watch them disappear in moments of pure cookie bliss.
Quick Recipe Overview
All Ingredients In Classic Chocolate Snowball Cookies Recipe
For Base Ingredients:For Dry Ingredients:For Optional Mix-Ins:Tools You’ll Need For Classic Chocolate Snowball Cookies Recipe
Easy Guide To Classic Chocolate Snowball Cookies Recipe
Prepare your cooking space by setting the oven to a cozy 350F. Line baking sheets with parchment paper for a smooth cookie adventure.
Grab your mixing bowl and transform softened butter into a fluffy cloud by whipping it with powdered sugar. Let the vanilla and salt join the party, creating a creamy dream.
Gently fold flour and cocoa powder into your butter mixture. Add a sprinkle of chopped nuts or chocolate chips for extra deliciousness. The dough should feel like soft velvet.
Roll small dough balls between your palms, creating little chocolate spheres. Place them on the baking sheet with plenty of breathing room.
Slide the baking sheet into the warm oven. Watch magic happen as cookies bake to perfection – about 10 minutes until they look set but not dark.
Once cookies cool slightly, give them a luxurious powdered sugar bath. Roll them generously, creating a winter wonderland effect. Let them rest and dust with another sugar snowstorm for maximum delightfulness.
Tasty Tips For Classic Chocolate Snowball Cookies Recipe
How To Serve Classic Chocolate Snowball Cookies Recipe
Store Classic Chocolate Snowball Cookies Recipe Like A Pro
Print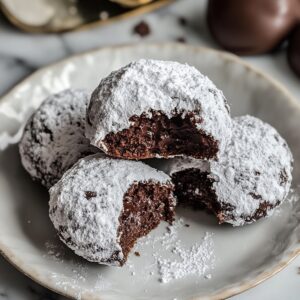
Melt-in-Your-Mouth Chocolate Snowball Cookies
- Total Time: 42 minutes
- Yield: 23 1x
Description
Chocolate snowball cookies bring winter charm to classic holiday treats. Mexican wedding cookie lovers will appreciate these rich, cocoa-dusted delights that melt in your mouth and connect you with festive baking traditions.
Ingredients
- 1 cup (225 g or 8 oz) unsalted butter, softened
- 2 cups (250 g or 8.8 oz) all-purpose flour
- ½ cup (40 g or 1.4 oz) unsweetened cocoa powder
- ½ cup (60 g or 2.1 oz) powdered sugar, plus extra for coating
- 1 cup (120 g or 4.2 oz) finely chopped nuts (walnuts, pecans, or almonds)
- ½ cup (90 g or 3.2 oz) mini chocolate chips
- 1 tsp vanilla extract
- ¼ tsp salt
Instructions
- Preheat Preparation: Configure oven to 350F (175C) and line baking sheets with parchment paper for efficient cookie baking.
- Butter Blending: Cream softened butter and powdered sugar in a mixing bowl until achieving a light, fluffy texture with a pale, silky appearance.
- Flavor Foundation: Incorporate vanilla extract and salt into the butter mixture, thoroughly blending to develop a rich, aromatic base.
- Dry Ingredient Integration: Sift flour and cocoa powder together, then gradually fold into the butter mixture using low-speed mixing until a uniform dough forms.
- Mix-in Mastery: Fold chopped nuts and mini chocolate chips evenly throughout the dough, ensuring balanced distribution of textural elements.
- Shaping Strategy: Roll uniform dough balls and arrange them with strategic spacing on prepared baking sheets, maintaining consistent size and shape.
- Baking Transformation: Bake in the preheated oven for 10-12 minutes, watching for set edges and a tender cookie structure.
- Initial Cooling: Allow cookies to rest briefly on baking sheets, enabling slight firming and initial temperature reduction.
- Sugary Coating: While cookies remain warm, gently envelop each in a generous layer of powdered sugar, creating an initial snowy appearance.
- Final Flourish: Complete the cooling process, then apply a second luxurious dusting of powdered sugar for a pristine, winter-inspired finish.
Notes
- Master Temperature Control: Keep oven precisely at 350F to prevent burning edges while maintaining soft, tender cookie centers.
- Chill Dough Before Shaping: Refrigerate mixture 30 minutes to enhance texture, prevent spreading, and make rolling easier with firmer consistency.
- Handle Powdered Sugar Strategically: Apply first sugar coating while cookies are slightly warm for better adhesion, then add second layer after complete cooling for pristine, snow-like appearance.
- Nut Substitution and Allergy Considerations: Replace chopped nuts with seeds or additional mini chocolate chips for nut-free version, ensuring inclusive recipe adaptation for various dietary needs.
- Prep Time: 15 minutes
- Cook Time: 15 minutes
- Category: Desserts, Snacks
- Method: Baking
- Cuisine: American
Nutrition
- Serving Size: 23
- Calories: 210
- Sugar: 5 g
- Sodium: 50 mg
- Fat: 17 g
- Saturated Fat: 10 g
- Unsaturated Fat: 7 g
- Trans Fat: 0 g
- Carbohydrates: 20 g
- Fiber: 1 g
- Protein: 2 g
- Cholesterol: 30 mg
Liam O’Sullivan
Founder & Culinary Content Creator
Expertise
Recipe Development, Traditional Irish and European Cuisines, Food Styling and Photography, Culinary Education
Education
Dublin Institute of Technology (DIT) – School of Culinary Arts and Food Technology
Ballymaloe Cookery School
Isabella brings a global spark to the Craft Meats table. Born in Florence and trained at the Apicius International School of Hospitality, she blends classic Italian flavor with modern writing that’s easy to follow and hard to forget.
Her additional training at the Italian Chef Academy fueled her love for well-crafted dishes, especially ones that spotlight beautiful cuts of meat.
She’s a food writer with heart, and a deep love for storytelling through single recipes. Her goal? To help you cook with more confidence and a little more joy, no matter where you start.