Vanilla Pecan Pralines Recipe with Sweet Southern Charm
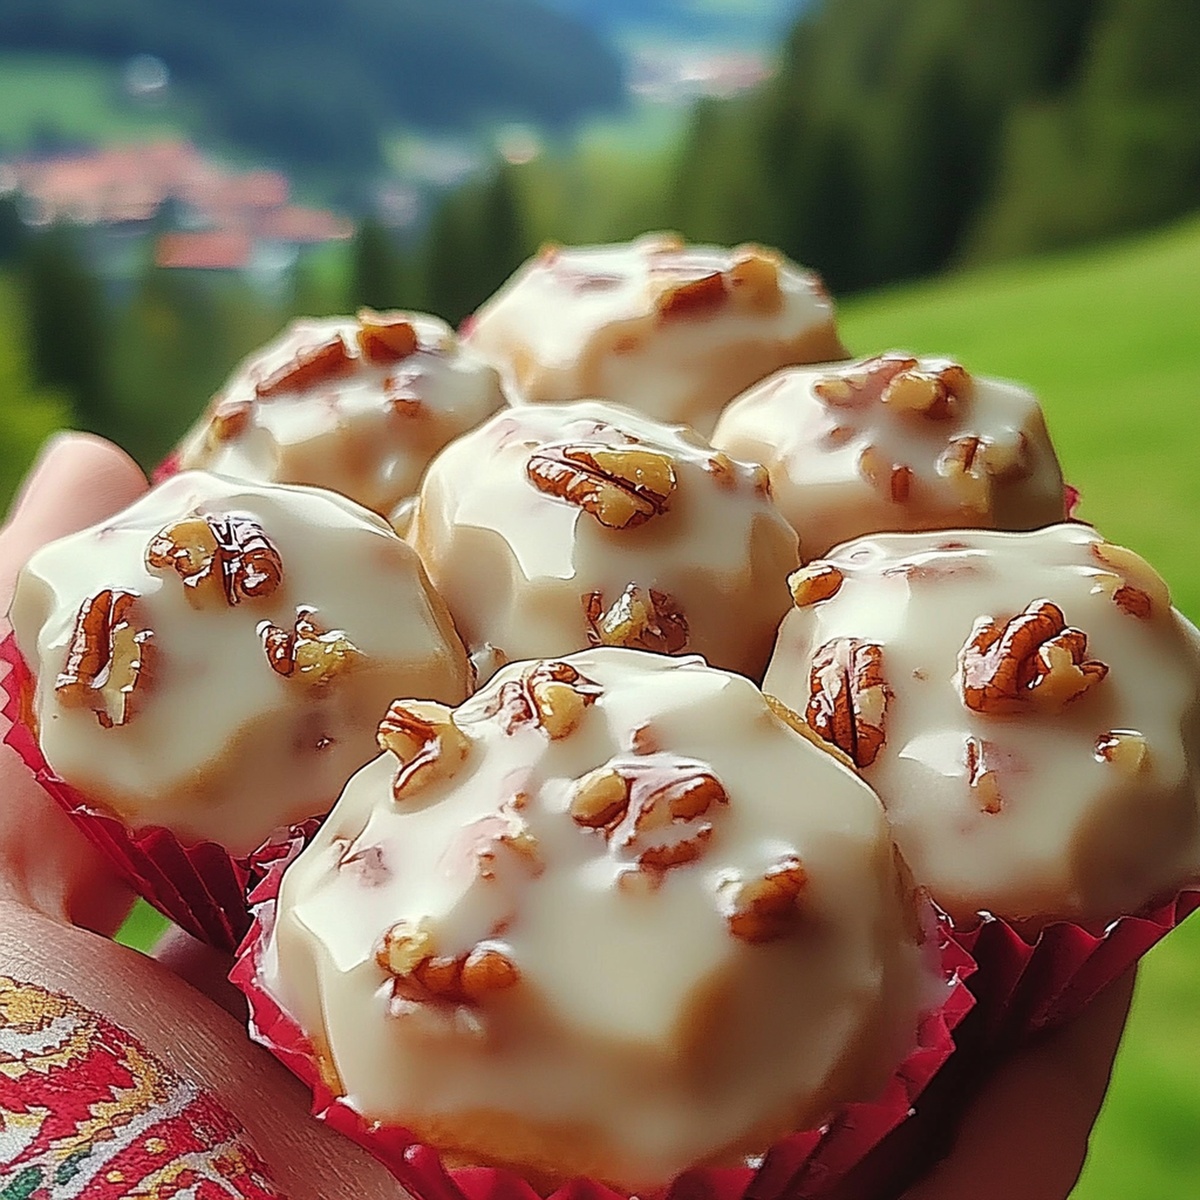
Sweet Southern charm meets indulgent confectionery in these classic vanilla pecan pralines that melt seamlessly on your tongue.
Rich, buttery pecans dance with creamy sugar in a traditional New Orleans treat.
Each bite tells a story of culinary heritage and warm hospitality.
These pralines offer a luxurious escape into Southern comfort.
Crafted with simple ingredients, they require minimal effort but deliver maximum flavor.
The delicate balance of vanilla and caramelized nuts creates an irresistible candy that will become your new favorite dessert.
Prepare to be transported by this delectable Southern delicacy.
Quick Recipe Overview
Stuff You’ll Need For Vanilla Pecan Pralines
For The Sweet Base:For The Rich Enhancers:For The Crunchy Star:Helpful Tools For Making Vanilla Pecan Pralines
Easy Guide To Cook Vanilla Pecan Pralines
Gather your skillet and let the pecans dance over medium heat. Swirl them around until they release a rich, warm aroma that fills your kitchen with Southern charm. These nuts will be the heart of your praline adventure.
In a sturdy saucepan, blend granulated and brown sugars with milk and butter. Watch the mixture transform as it bubbles and swirls, reaching a golden temperature that signals candy magic is happening.
Pull the pan from the heat and introduce vanilla and those perfectly toasted pecans. Stir with love, coating each nut in a silky sweet embrace that whispers Southern hospitality.
Work quickly and confidently, dropping spoonfuls of the praline mixture onto a prepared surface. Each dollop is a masterpiece of caramel and nut perfection, promising a melt-in-your-mouth experience.
Allow your pralines to cool and set, transforming from molten magic to delicate candied treasures. Give them time to solidify, a sweet reminder that good things come to those who wait.
How To Customize Vanilla Pecan Pralines
How To Plate Vanilla Pecan Pralines Nicely
Vanilla Pecan Pralines Storage And Prep Tips
Print
Buttery Vanilla Pecan Pralines Recipe
- Total Time: 1 hour
- Yield: 17 1x
Description
Southern pralines, a classic Creole vanilla pecan pralines recipe, blend sweet caramelized sugar with buttery pecans. Rich Louisiana confections deliver rich, creamy indulgence you cannot resist.
Ingredients
- 2 cups (200 g / 7 oz) pecan halves, toasted
- 1 ½ cups (300 g / 10.5 oz) light brown sugar, packed
- 1 ½ cups (300 g / 10.5 oz) granulated sugar
- ½ cup (115 g / 4 oz) unsalted butter
- ½ cup (120 ml / 4 fl oz) whole milk
- 2 tsps vanilla extract
Instructions
- Preparation: Line a baking sheet with parchment paper or silicone mat to create a smooth cooling surface for pralines.
- Pecan Toasting: Gently toast pecans in a dry skillet over medium heat, stirring continuously for 2-3 minutes until a rich, nutty aroma develops. Transfer toasted pecans to a separate dish.
- Candy Base Creation: Combine granulated sugar, brown sugar, milk, and butter in a heavy-bottomed saucepan. Heat the mixture over medium temperature, stirring intermittently to ensure even melting and prevent scorching.
- Temperature Monitoring: Allow sugar syrup to reach a rolling boil without disturbing the mixture. Attach a candy thermometer and continue cooking until the temperature precisely hits 235F (112C), indicating the soft-ball stage.
- Flavor Infusion: Remove saucepan from heat and swiftly introduce vanilla extract. Fold in toasted pecans with gentle motions, ensuring complete coating with glossy caramel mixture.
- Shaping and Setting: Quickly drop generous dollops onto the prepared baking sheet using a spoon. Allow pralines to rest at room temperature for 30 minutes, developing their signature smooth, crystalline texture.
- Storage: Transfer completely cooled pralines to an airtight container, preserving their delicate crunch and rich flavor for up to one week at room temperature.
Notes
- Toast Pecans Perfectly: Dry-roast nuts in a skillet just until fragrant, moving them constantly to prevent burning and unlock deeper, richer nutty flavors without scorching.
- Control Sugar Syrup Precisely: Watch candy thermometer closely, removing from heat exactly at 235F to achieve smooth, creamy praline texture without crystallization or hardening.
- Work Swiftly During Shaping: Drop praline mixture onto parchment immediately after adding vanilla, as the caramel sets quickly and determines the final candy’s smooth or grainy consistency.
- Store Strategically: Keep pralines in single layers between parchment paper in an airtight container, preventing moisture absorption and maintaining their delicate crunch for maximum freshness.
- Prep Time: 30 minutes
- Cook Time: 30 minutes
- Category: Desserts, Snacks
- Method: Boiling
- Cuisine: American
Nutrition
- Serving Size: 17
- Calories: 207
- Sugar: 25 g
- Sodium: 18 mg
- Fat: 10 g
- Saturated Fat: 6 g
- Unsaturated Fat: 4 g
- Trans Fat: 0 g
- Carbohydrates: 28 g
- Fiber: 1 g
- Protein: 2 g
- Cholesterol: 15 mg
Liam O’Sullivan
Founder & Culinary Content Creator
Expertise
Recipe Development, Traditional Irish and European Cuisines, Food Styling and Photography, Culinary Education
Education
Dublin Institute of Technology (DIT) – School of Culinary Arts and Food Technology
Ballymaloe Cookery School
Isabella brings a global spark to the Craft Meats table. Born in Florence and trained at the Apicius International School of Hospitality, she blends classic Italian flavor with modern writing that’s easy to follow and hard to forget.
Her additional training at the Italian Chef Academy fueled her love for well-crafted dishes, especially ones that spotlight beautiful cuts of meat.
She’s a food writer with heart, and a deep love for storytelling through single recipes. Her goal? To help you cook with more confidence and a little more joy, no matter where you start.