Cannoli Cookie Cup Recipe with a Crunchy Sweet Shell
Sweet cannoli cookie cups offer a delightful twist on traditional Italian desserts that’ll make your taste buds dance.
My grandmother’s Sicilian heritage inspired this playful reimagining of a classic treat.
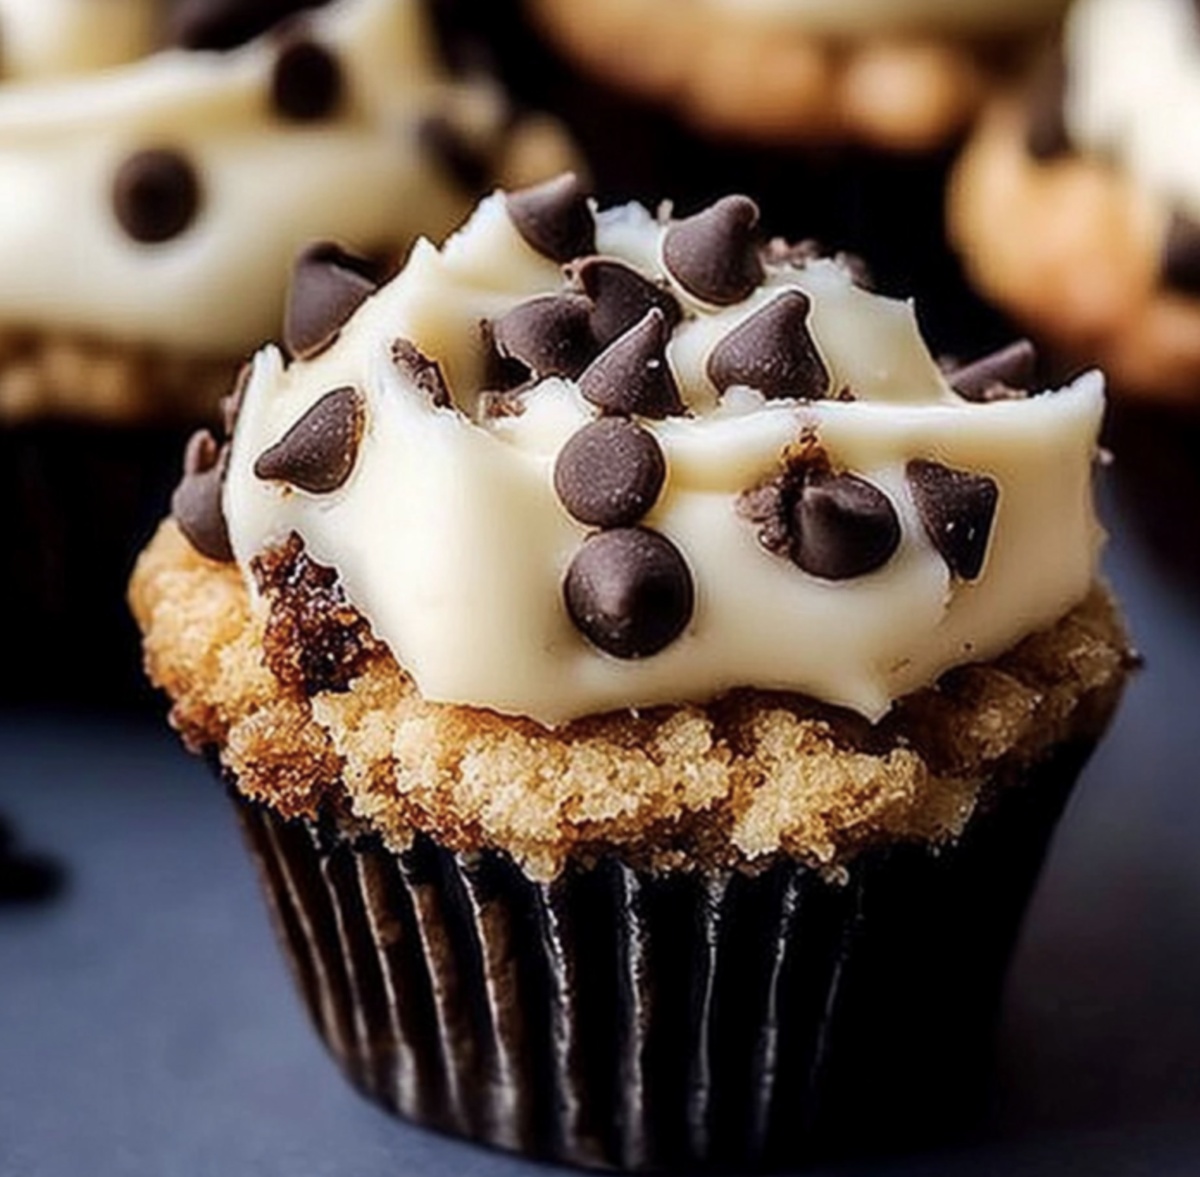
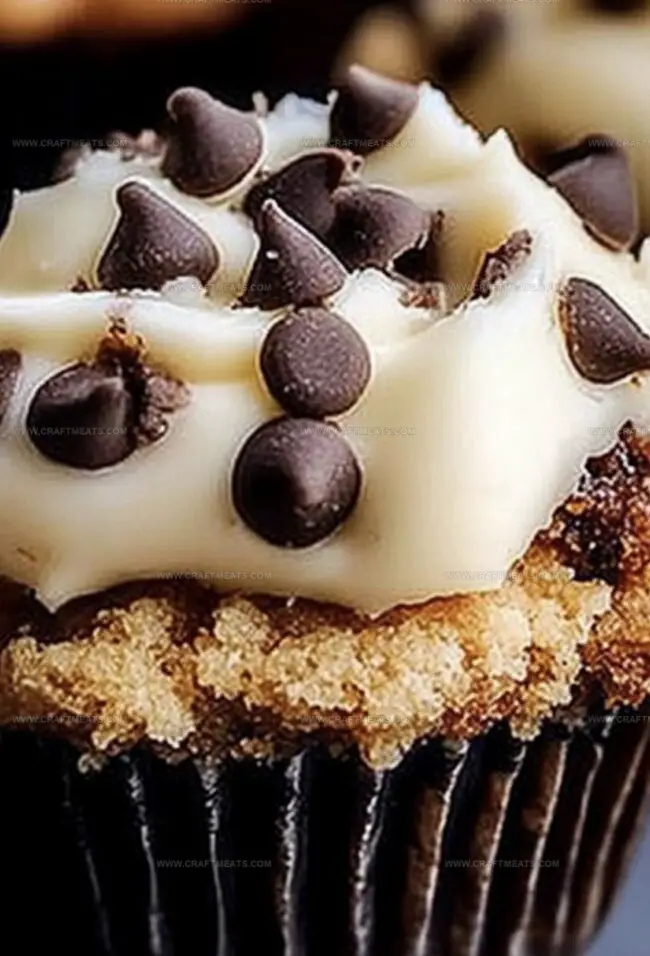
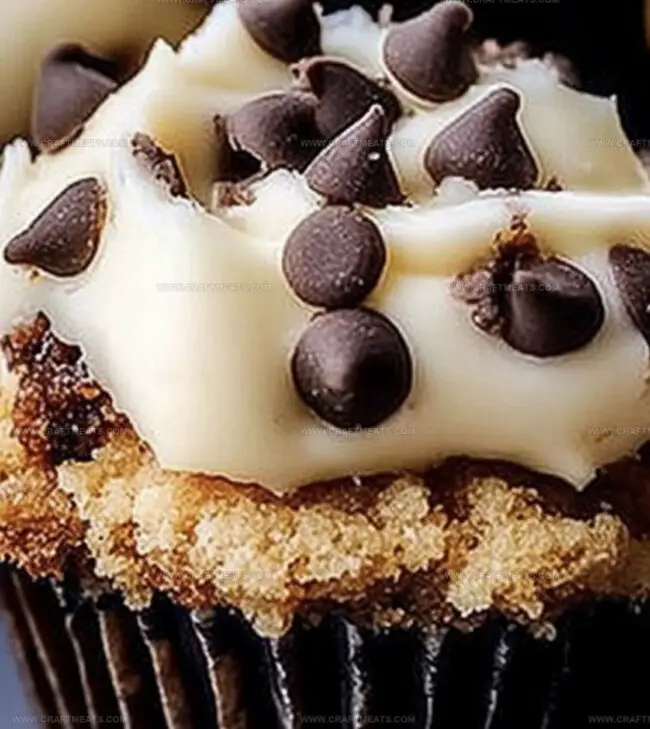
Crispy cookie shells cradle a creamy ricotta filling that melts in your mouth.
Rich chocolate chips and delicate powdered sugar add layers of decadent flavor.
Each bite combines the crunch of a buttery cup with smooth, silky cream.
The magic happens when you transform simple ingredients into something extraordinary.
I promise these little cups will become an instant favorite at your next gathering.
Why Cannoli Cookie Cups Are A Fun Twist On A Classic
What You Need For Cannoli Cookie Cups
Cookie Base:Cannoli Filling:Garnish:How To Assemble Cannoli Cookie Cups Step By Step
Step 1: Whip Up Delightful Cookie Dough
In a spacious mixing bowl, cream together soft butter, white sugar, and brown sugar until the mixture becomes fluffy and light. Crack in fresh eggs and splash of vanilla extract, blending until smooth. In a separate bowl, combine flour, baking soda, a pinch of salt, and ground cinnamon. Gradually fold the dry ingredients into the wet mixture, stirring gently until just combined.
Step 2: Create Perfect Cookie Cups
Heat the oven to 350 degrees Fahrenheit. Generously grease a mini muffin tin with cooking spray or butter. Roll cookie dough into small, bite-sized balls and nestle them into each muffin cavity. Using your thumb or the back of a spoon, create a gentle indentation in the center of each dough ball. Slide the tin into the oven and bake for 10-12 minutes until the edges turn golden brown. Once out of the oven, while still warm, press the centers down again to maintain the cup shape. Allow the cookie cups to cool completely in the tin.
Step 3: Craft Creamy Cannoli Filling
In a clean mixing bowl, blend:Whip until the mixture becomes silky and uniform. Gently fold in tiny chocolate chips. Chill the filling in the refrigerator for at least 30 minutes to help it set and intensify the flavors.
Step 4: Fill and Decorate Cookie Cups
Once the cookie cups have cooled completely, fill each one generously with the chilled cannoli mixture. Use a piping bag for a neat presentation or simply spoon the filling into the cups.
Step 5: Final Flourish
Sprinkle the tops with:Serve immediately or store in the refrigerator until ready to enjoy these delectable treats.
Tips To Make Cannoli Cookie Cups Just Right
How To Store Cannoli Cookie Cups Without Sogginess
Perfect Pairings For Cannoli Cookie Cups
New Takes On Cannoli Cookie Cups You Can Try
Your Cannoli Cookie Cup Questions Answered
These cookie cups offer a fun twist on the classic Italian dessert by using a cookie base instead of a fried pastry shell. They’re easier to make and provide a delightful combination of cookie crunch and creamy cannoli filling.
Absolutely! You can prepare the cookie dough in advance and refrigerate it for up to 3 days. Just bring it to room temperature before shaping and baking the cookie cups.
No, mascarpone is optional. While it adds extra richness, you can make the filling with just ricotta cheese and still achieve a delicious result. The key is to use fresh, high-quality ricotta for the best flavor.
Let the cookie cups cool completely in the muffin tin before gently removing them. Using a small offset spatula or butter knife can help lift them out without breaking.
Print
Cannoli Cookie Cups Recipe
- Total Time: 42 minutes
- Yield: 24 1x
Description
Creamy ricotta and sweet chocolate chips fill these irresistible cannoli cookie cups, bringing Sicily’s beloved dessert into delightful bite-sized form. Rich pastry shells cradle a luscious filling that melts in your mouth, inviting you to savor each delectable moment.
Ingredients
Main Ingredients:
- 2 ¼ cups (280 g) all-purpose flour
- 1 cup (225 g) unsalted butter, softened
Sugars:
- ¾ cup (150 g) granulated sugar
- ½ cup (100 g) light brown sugar, packed
- ½ cup (60 g) powdered sugar
Binding and Flavor Ingredients:
- 2 large eggs
- 1 teaspoon vanilla extract
- ½ teaspoon baking soda
- ½ teaspoon salt
- ½ teaspoon ground cinnamon
Cannoli Filling Ingredients:
- 1 cup (250 g) ricotta cheese, drained
- ½ cup (120 g) mascarpone cheese
- ⅓ cup (60 g) mini chocolate chips
Optional Flavoring:
- ½ teaspoon orange zest
Optional Garnishes:
- Mini chocolate chips
- Chopped pistachios
- Powdered sugar for dusting
Instructions
- Craft the cookie foundation by thoroughly creaming butter with granulated and brown sugars until the mixture becomes light and airy. Incorporate eggs and vanilla extract, blending until harmoniously combined.
- Sift together flour, baking soda, salt, and cinnamon in a separate vessel, then gently fold into the sugar mixture, ensuring minimal overworking of the dough.
- Heat the oven to 350F (175C) and prepare a mini muffin tin with a light coating of cooking spray. Shape dough into small spheres, nestling each into the tin’s cavities.
- Create a gentle indentation in each dough ball using your thumb or a rounded utensil. This will form the cup’s initial shape and provide a reservoir for the upcoming filling.
- Bake the cookie vessels for 10-12 minutes until the edges transform into a golden-brown hue. Upon removal, immediately press the centers again to reinforce the cup’s structural integrity.
- Allow the cookie cups to cool completely within the tin, ensuring they maintain their delicate shape and crisp texture.
- Whip ricotta and mascarpone together with powdered sugar, introducing vanilla extract and bright orange zest. Blend until achieving a silky, smooth consistency.
- Gently fold mini chocolate chips into the creamy mixture, then refrigerate to allow the filling to set and develop its rich flavor profile.
- Once chilled, generously fill each cooled cookie cup with the decadent cannoli cream, using a piping bag or spoon for precision.
- Embellish the filled cups with an artful sprinkle of additional chocolate chips, finely chopped pistachios, or a delicate dusting of powdered sugar for visual and textural appeal.
- Serve immediately or store briefly in the refrigerator to maintain optimal taste and presentation.
Notes
- Ensure butter is softened at room temperature for easier mixing and smoother cookie dough texture.
- Use whole milk ricotta cheese and drain excess moisture using a cheesecloth for a creamier, less watery filling.
- Chill cookie dough for 30 minutes before forming balls to prevent spreading and maintain cup shape during baking.
- Experiment with alternative mix-ins like candied orange peel or chopped almonds for unique flavor variations.
- For gluten-free option, substitute all-purpose flour with a 1:1 gluten-free baking blend to maintain recipe structure.
- Create a lighter version by using low-fat ricotta and reducing powdered sugar quantity for health-conscious guests.
- Make ahead and store cookie cups separately from filling to prevent soggy bottoms, assembling just before serving for optimal crispness.
- Use a piping bag with a star tip for professional-looking, elegant filling presentation in each cookie cup.
- Prep Time: 20 minutes
- Cook Time: 12 minutes
- Category: Desserts, Snacks
- Method: Baking
- Cuisine: Italian
Nutrition
- Serving Size: 24
- Calories: 227
- Sugar: 10 g
- Sodium: 85 mg
- Fat: 12 g
- Saturated Fat: 7 g
- Unsaturated Fat: 5 g
- Trans Fat: 0 g
- Carbohydrates: 29 g
- Fiber: 1 g
- Protein: 3 g
- Cholesterol: 37 mg
Isabella Rossi
Founder & Culinary Content Creator
Expertise
Recipe Development, Traditional Irish and European Cuisines, Food Styling and Photography, Culinary Education
Education
Dublin Institute of Technology (DIT) – School of Culinary Arts and Food Technology
Ballymaloe Cookery School
Liam is the voice behind many of Craft Meats’ most flavorful features. With roots in Dublin’s smoky barbecue scene and a culinary degree from the Dublin Institute of Technology, he brings time-tested cooking techniques to life.
His training at Ballymaloe Cookery School sharpened his farm-to-table approach, giving him a deep respect for every ingredient he writes about.
He’s not about overcomplicating the process, just helping you cook meat that’s worth talking about. When he’s not writing or grilling, he’s out foraging or nerding out on regional spice blends to add to his next recipe.