
Fluffy Cheesy Biscuit Bake Recipe for a Cozy Meal
Cheesy biscuit delights spark memories of warm kitchen gatherings and comfort food nostalgia.
Soft, buttery textures mingle with sharp cheese notes that dance across your palate.
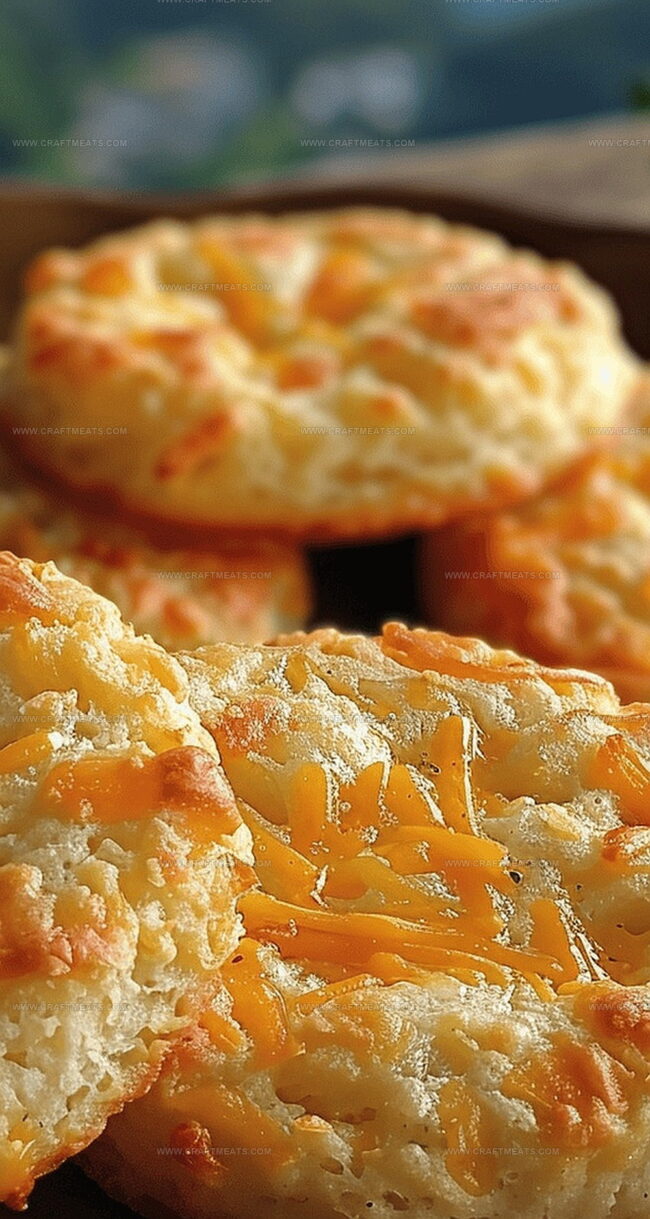
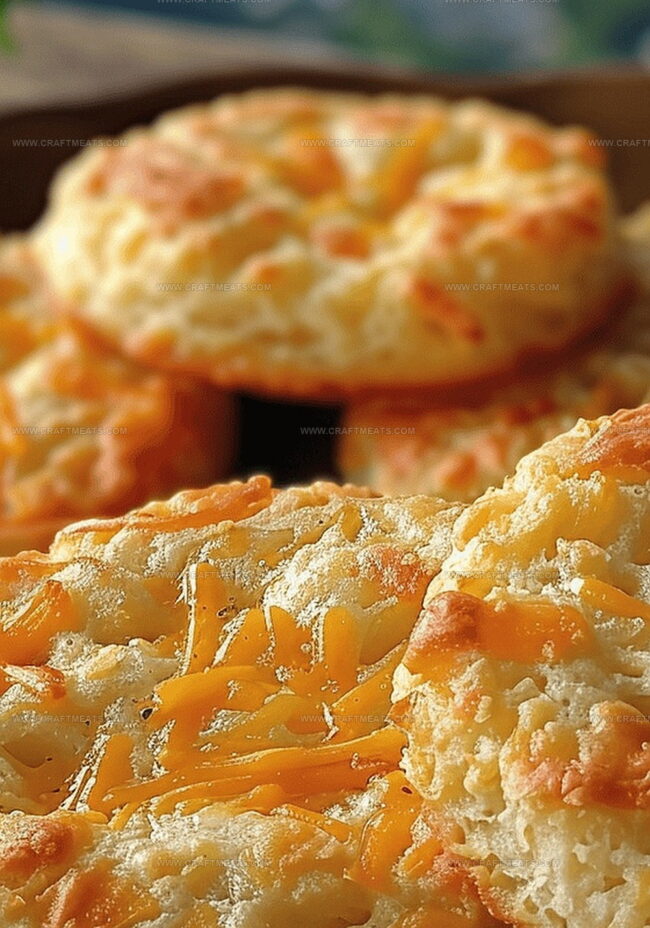
Imagine breaking open a golden-brown biscuit where melted cheese oozes from its tender crumb.
Southern kitchens have long celebrated these delectable treasures as crowd-pleasing additions to any meal.
Rich, flaky layers promise a sensory experience that goes beyond simple bread.
Quick preparation meets remarkable flavor in this uncomplicated recipe that welcomes both novice and experienced bakers.
You can want to savor every bite of these irresistible morsels that blend simplicity with sophisticated taste.
These biscuits are guaranteed to become your new favorite culinary adventure.
Cheesy Biscuits Overview
Ingredients for Cheesy Biscuits
Dry Ingredients:Dairy and Fat:Liquid and Spice:Directions for Cheesy Biscuits
Step 1: Warm Up the Oven
Crank your oven to a toasty 450°F. Grab a large baking sheet and give it a cozy parchment paper blanket. Spritz the paper with a light layer of nonstick cooking spray to keep things from getting sticky.
Step 2: Create the Dry Mix
Grab a medium mixing bowl and combine:Drop in cold butter chunks. Use your fingertips to massage the butter into the flour until it looks like tiny, crumbly snowflakes.
Step 3: Cheese Explosion
Sprinkle in sharp cheddar cheese. Get your hands involved and mix until the cheese is perfectly distributed throughout the floury mix.
Step 4: Bring the Dough Together
Pour in water, starting with 6 tablespoons. Dust the mixture with a sprinkle of cayenne pepper for a surprising kick. Use a fork to transform the ingredients into a unified, soft dough. Add an extra tablespoon of water if the mix seems too dry.
Step 5: Shape and Prep the Biscuits
Dust your countertop with a light flour shower. Roll out the dough to about 1/4-inch thickness. Use a 3-inch cookie cutter to create perfect round biscuits. Collect the leftover dough scraps and re-roll to maximize your biscuit yield.
Step 6: Bake to Golden Perfection
Arrange the biscuits on the prepared baking sheet. Take a fork and playfully poke each biscuit about 10 times. Slide the sheet into the preheated oven and bake for 15 minutes, watching for those beautiful golden-brown edges.
Step 7: Cool and Enjoy
Once baked, let the biscuits rest on the baking sheet for 5 minutes. Transfer them to a wire rack to cool completely. Serve warm and watch them disappear!
Tips for Cheesy Biscuits
Storage and Reheating for Cheesy Biscuits
Pairing Cheesy Biscuits with Meals
Variations of Cheesy Biscuits
Cheesy Biscuit FAQs
Yes, you can substitute cheddar with other sharp cheeses like parmesan or gruyere. Just make sure the cheese melts well and has a strong flavor.
Store the biscuits in an airtight container at room temperature for 3-4 days. For longer storage, refrigerate for up to a week or freeze for up to a month.
These biscuits are great as a side for soups, salads, or alongside breakfast dishes. They also make a delicious standalone snack with a bit of butter or jam.
Absolutely! You can prepare the dough and refrigerate it for up to 24 hours before baking. Just wrap it tightly in plastic wrap to prevent drying out.
Print
Cheesy Biscuit Delights Recipe
- Total Time: 35 minutes
- Yield: 12 1x
Description
Cheesy biscuit delights bring comfort and warmth to weekend mornings with their golden, flaky texture and rich cheddar flavor. Crisp edges and melted cheese promise a delicious start that will make breakfast feel like a special celebration for everyone at the table.
Ingredients
Main Ingredients:
- 3.5 cups shredded cheddar cheese
- 2 cups all-purpose flour
- 8 tablespoons (½ cup) butter
Seasoning and Spices:
- 1 teaspoon salt
- 1/8 teaspoon cayenne pepper
Liquid Ingredient:
- 6 to 7 tablespoons water
Instructions
- Prepare the oven environment by cranking the temperature to a scorching 450F. Carefully line a spacious baking sheet with parchment paper, then lightly mist with nonstick spray to guarantee effortless biscuit removal.
- In a medium mixing bowl, combine flour and salt with precision. Incorporate the diced butter, using gentle fingertip motions to break down the butter into delicate, sandy-like particles throughout the flour mixture.
- Sprinkle shredded cheddar cheese into the flour-butter blend, using nimble fingers to distribute the cheese evenly and create a uniform texture.
- Create the dough by gradually introducing water and sprinkling cayenne pepper across the surface. Gently fold and mix with a fork until the ingredients merge into a cohesive, soft dough.
- Transfer the dough onto a lightly floured workspace. Roll the mixture to approximately 1/4-inch thickness, ensuring an even surface. Use a cookie cutter to craft 3-inch circular shapes, regathering and re-rolling scraps to maximize biscuit yield.
- Arrange the cut biscuits on the prepared baking sheet. Perforate each disc with a fork approximately 10 times, creating small ventilation points for even baking.
- Slide the baking sheet into the preheated oven, allowing the biscuits to transform into golden-edged delicacies over 15 minutes of intense heat.
- Once baked, extract the biscuits and let them rest on the baking sheet for a brief 5-minute cooling period. Subsequently, transfer to a wire rack for complete cooling, ensuring a crisp exterior and tender interior.
Notes
- Chilling butter beforehand ensures flakier, more tender biscuits with exceptional texture.
- Cayenne pepper adds a subtle heat that complements the rich, cheesy flavor without overwhelming the palate.
- Use freshly grated cheddar cheese for maximum melting potential and more intense cheese flavor compared to pre-shredded varieties.
- Avoid overworking the dough to prevent tough, dense biscuits; handle gently and minimally for best results.
- Pricking biscuits with a fork helps release steam and prevents uneven rising during baking.
- Store cooled biscuits in an airtight container at room temperature for up to 3 days, or freeze for longer preservation.
- Prep Time: 20 minutes
- Cook Time: 15 minutes
- Category: Breakfast, Snacks
- Method: Baking
- Cuisine: American
Nutrition
- Serving Size: 12
- Calories: 150
- Sugar: 0 g
- Sodium: 200 mg
- Fat: 10 g
- Saturated Fat: 6 g
- Unsaturated Fat: 3 g
- Trans Fat: 0 g
- Carbohydrates: 12 g
- Fiber: 0 g
- Protein: 5 g
- Cholesterol: 30 mg
Isabella Rossi
Founder & Culinary Content Creator
Expertise
Recipe Development, Traditional Irish and European Cuisines, Food Styling and Photography, Culinary Education
Education
Dublin Institute of Technology (DIT) – School of Culinary Arts and Food Technology
Ballymaloe Cookery School
Liam is the voice behind many of Craft Meats’ most flavorful features. With roots in Dublin’s smoky barbecue scene and a culinary degree from the Dublin Institute of Technology, he brings time-tested cooking techniques to life.
His training at Ballymaloe Cookery School sharpened his farm-to-table approach, giving him a deep respect for every ingredient he writes about.
He’s not about overcomplicating the process, just helping you cook meat that’s worth talking about. When he’s not writing or grilling, he’s out foraging or nerding out on regional spice blends to add to his next recipe.