Cheesy Garlic Bread Twists Recipe for Family Dinners
Cheesy garlic bread twists burst with irresistible flavor and kitchen magic that captures everyone’s attention.
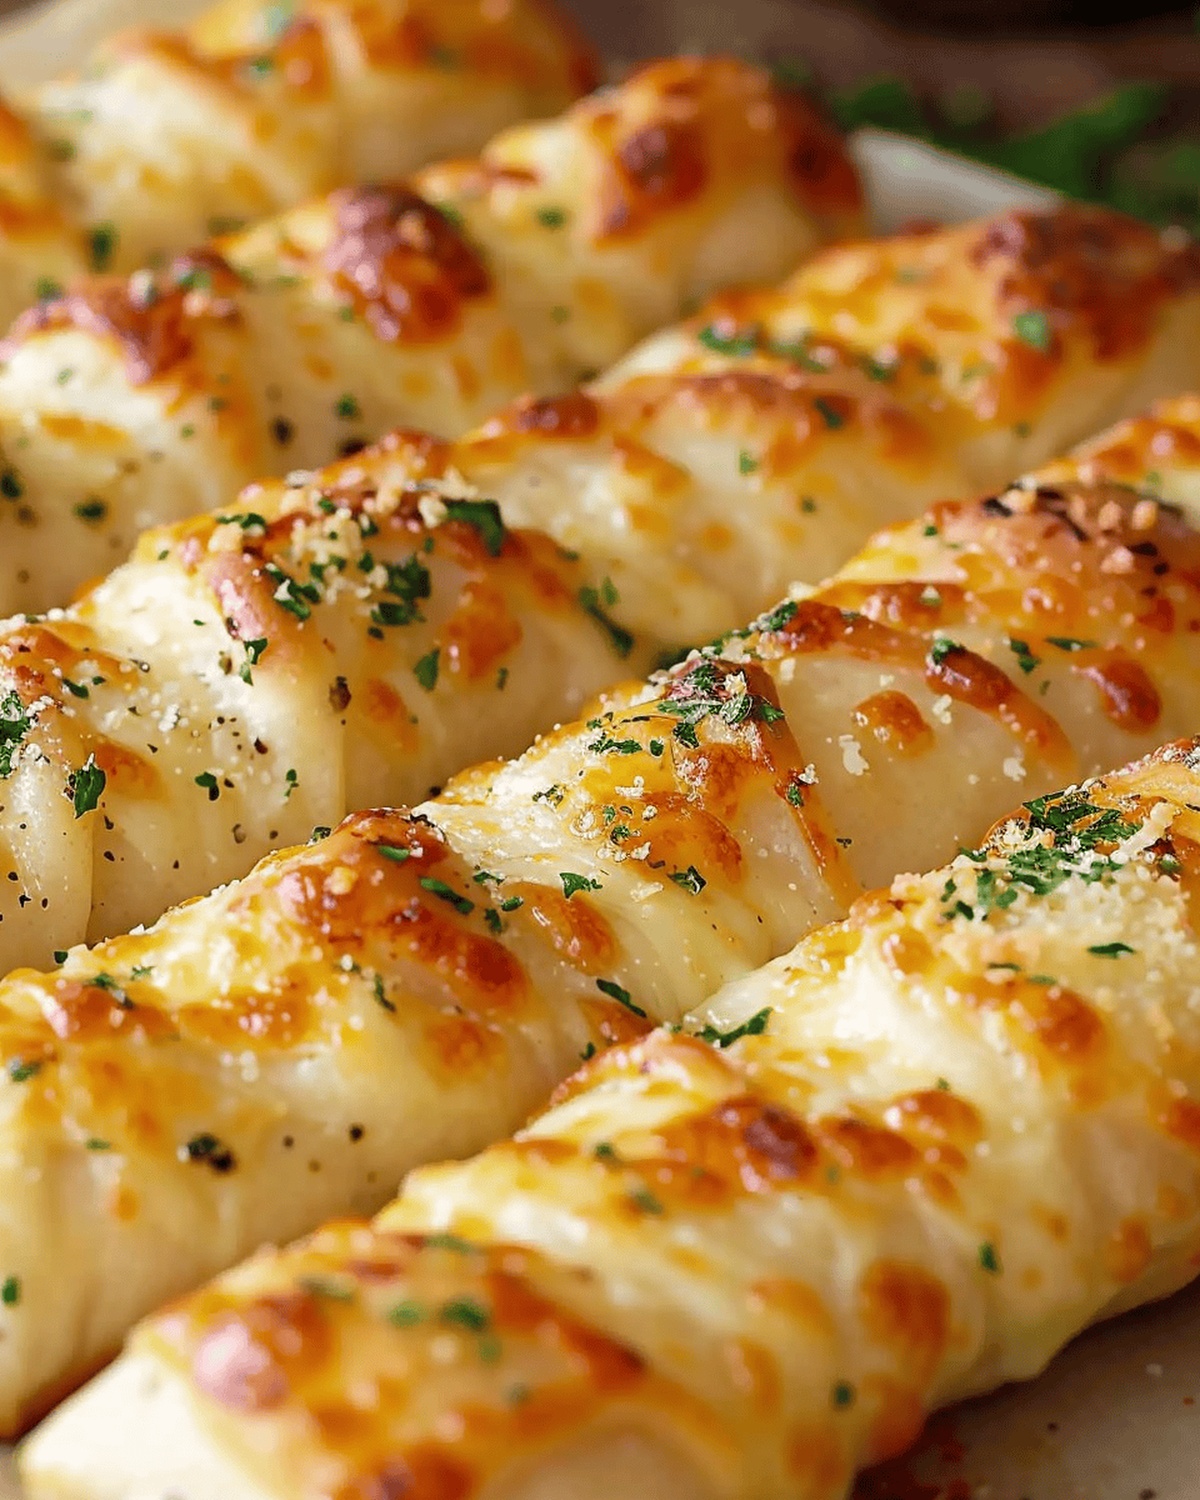
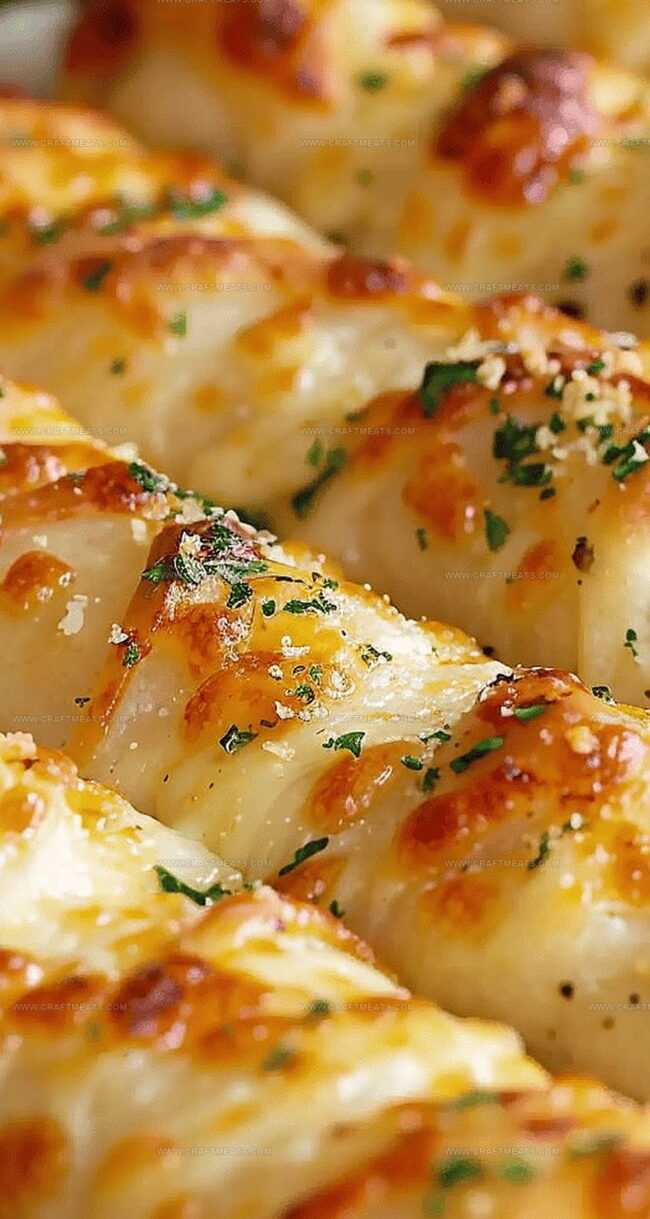
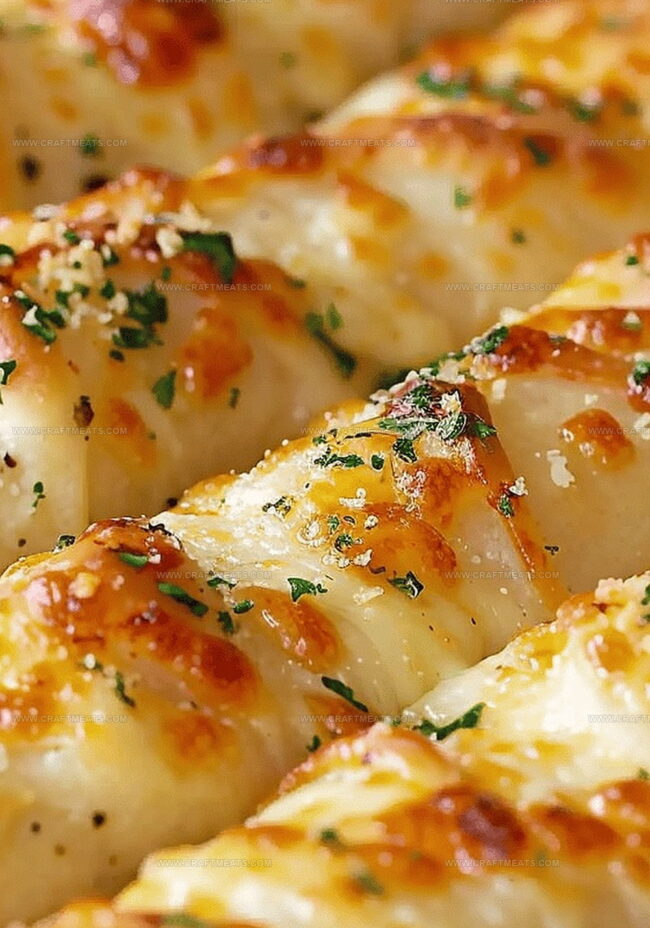
Golden, crispy spirals promise a delightful appetizer or snack that sparks immediate cravings.
Imagine soft dough wrapped in rich, aromatic seasonings and melted cheese that dance across your taste buds.
Each twist combines simple ingredients into something extraordinary, blending comfort and excitement in one delectable package.
Warm, buttery notes intermingle with sharp cheese and robust herbs, creating a sensory experience that feels both familiar and surprising.
You can find these spiraled delicacies perfect for casual gatherings or quiet evenings when comfort food calls.
Explore this recipe and redefine an ordinary moment into a memorable culinary adventure.
Benefits of Making Cheesy Garlic Bread Twists
Ingredients for Cheesy Garlic Bread Twists
Bread Base:Cheese Filling:Seasoning and Topping:Serving Accompaniment:Additional Requirements:Steps to Prepare Cheesy Garlic Bread Twists
Step 1: Prepare the Dough
Grab your pizza dough and sprinkle some flour on your work surface. Slice the dough into 12 perfect portions. Gently roll each piece into a neat rectangle, aiming for about 4×3 inches in size. Don’t stress about making them perfectly identical – rustic is beautiful!
Step 2: Create Cheese Center
Select your favorite cheese stick. Place the cheese on the shorter side of each dough rectangle. Carefully roll the dough around the cheese, making sure to:Step 3: Season and Dress
In a small mixing bowl, combine:Take a pastry brush and lavishly coat each breadstick with this flavor-packed mixture. For extra pizzazz, sprinkle some grated Parmesan cheese on top.
Step 4: Bake to Golden Perfection
Fire up your oven to 375°F (190°C). Line a baking sheet with parchment paper. Arrange the breadsticks with a little breathing room between them. Slide the tray into the oven and bake for 15-20 minutes until they transform into a gorgeous golden brown.
Step 5: Serve and Enjoy
Let the breadsticks cool for a few minutes – patience is key! Serve them alongside some zesty marinara sauce for dipping.
Pro Tips for Perfect Garlic Bread Twists
Best Ways to Keep Garlic Bread Twists Fresh
Pairing Ideas for Garlic Bread Twists
Creative Spins on Garlic Bread Twists
Common Questions About Garlic Bread Twists
You can substitute mozzarella with cheddar, provolone, or any other melting cheese that you enjoy. Just ensure it’s a cheese that melts well and complements the garlic flavor.
Store them in an airtight container at room temperature for 1-2 days. Reheat in the oven at 350°F for 5-7 minutes to restore their crispy texture and warm cheese center.
Yes! You can prepare the breadsticks and assemble them beforehand. Cover and refrigerate for up to 4 hours before baking. Just add an extra 2-3 minutes to the baking time if they’re cold from the refrigerator.
They’re perfect with marinara sauce, pizza sauce, or as a side to soups, salads, and pasta dishes. They also make a great appetizer for parties or game nights.
Print
Cheesy Garlic Bread Twists Recipe
- Total Time: 30 minutes
- Yield: 8 1x
Description
Garlic bread twists bring irresistible Italian-inspired magic to your dinner table with golden, crispy edges and melted cheese. Cheesy, herby spirals promise pure comfort that beckons you to savor each delightful, herb-infused bite.
Ingredients
Main Ingredients:
- 1 pound (454 grams) pizza dough (homemade or store-bought)
- 12 sticks (12 ounces or 340 grams) string cheese or favorite cheese, cut into sticks
Seasoning and Flavor Enhancers:
- 2 tablespoons (30 milliliters) unsalted butter, melted
- 1 teaspoon (5 grams) garlic powder
- 1 teaspoon (3 grams) Italian seasoning
- ¼ cup (25 grams) grated Parmesan cheese
Dipping Sauce:
- Marinara sauce
Instructions
- Divide the pizza dough into 12 uniform segments, creating a clean work surface on a lightly dusted countertop.
- Gently stretch each dough portion into a slender rectangular shape, approximately 4×3 inches in dimension.
- Position a cheese stick vertically along the shorter edge of each dough rectangle, ensuring precise placement.
- Carefully roll the dough around the cheese, applying gentle pressure to create a tight spiral, meticulously sealing the edges to prevent cheese leakage.
- Craft a luxurious coating by whisking melted butter with garlic powder and Italian seasoning in a small mixing bowl.
- Lavishly brush the prepared butter mixture over each twisted breadstick, ensuring complete and even coverage.
- Optional: Dust the breadsticks with a delicate sprinkle of grated Parmesan cheese for extra flavor complexity.
- Heat the oven to 375°F (190°C), preparing a parchment-lined baking sheet for the breadsticks.
- Arrange the cheese-filled twists with ample spacing to promote even browning and crisp texture.
- Bake for 15-20 minutes, monitoring until the breadsticks transform into a golden, appetizing hue.
- Remove from the oven and allow a brief cooling period to set the cheese and stabilize the structure.
- Serve alongside a vibrant marinara sauce, creating a perfect dipping experience for these savory cheese twists.
Notes
- Dough Prep Tip: Ensure each pizza dough piece is roughly the same size for uniform cooking and consistent cheese-to-bread ratio.
- Cheese Sealing Technique: Pinch dough edges firmly to prevent cheese from leaking during baking, creating perfect stuffed breadsticks.
- Butter Blend Trick: Use freshly melted butter with garlic powder for maximum flavor infusion and aromatic golden-brown exterior.
- Baking Precision: Watch breadsticks closely after 15 minutes to prevent over-browning, aiming for a delicate golden color.
- Serving Suggestion: Pair these cheesy twists with warm marinara sauce or your favorite dipping condiment for enhanced taste experience.
- Prep Time: 10 minutes
- Cook Time: 20 minutes
- Category: Snacks, Appetizer
- Method: Baking
- Cuisine: Italian
Nutrition
- Serving Size: 8
- Calories: 150
- Sugar: 1g
- Sodium: 320mg
- Fat: 7g
- Saturated Fat: 4g
- Unsaturated Fat: 2g
- Trans Fat: 0g
- Carbohydrates: 18g
- Fiber: 1g
- Protein: 6g
- Cholesterol: 20mg
Isabella Rossi
Founder & Culinary Content Creator
Expertise
Recipe Development, Traditional Irish and European Cuisines, Food Styling and Photography, Culinary Education
Education
Dublin Institute of Technology (DIT) – School of Culinary Arts and Food Technology
Ballymaloe Cookery School
Liam is the voice behind many of Craft Meats’ most flavorful features. With roots in Dublin’s smoky barbecue scene and a culinary degree from the Dublin Institute of Technology, he brings time-tested cooking techniques to life.
His training at Ballymaloe Cookery School sharpened his farm-to-table approach, giving him a deep respect for every ingredient he writes about.
He’s not about overcomplicating the process, just helping you cook meat that’s worth talking about. When he’s not writing or grilling, he’s out foraging or nerding out on regional spice blends to add to his next recipe.