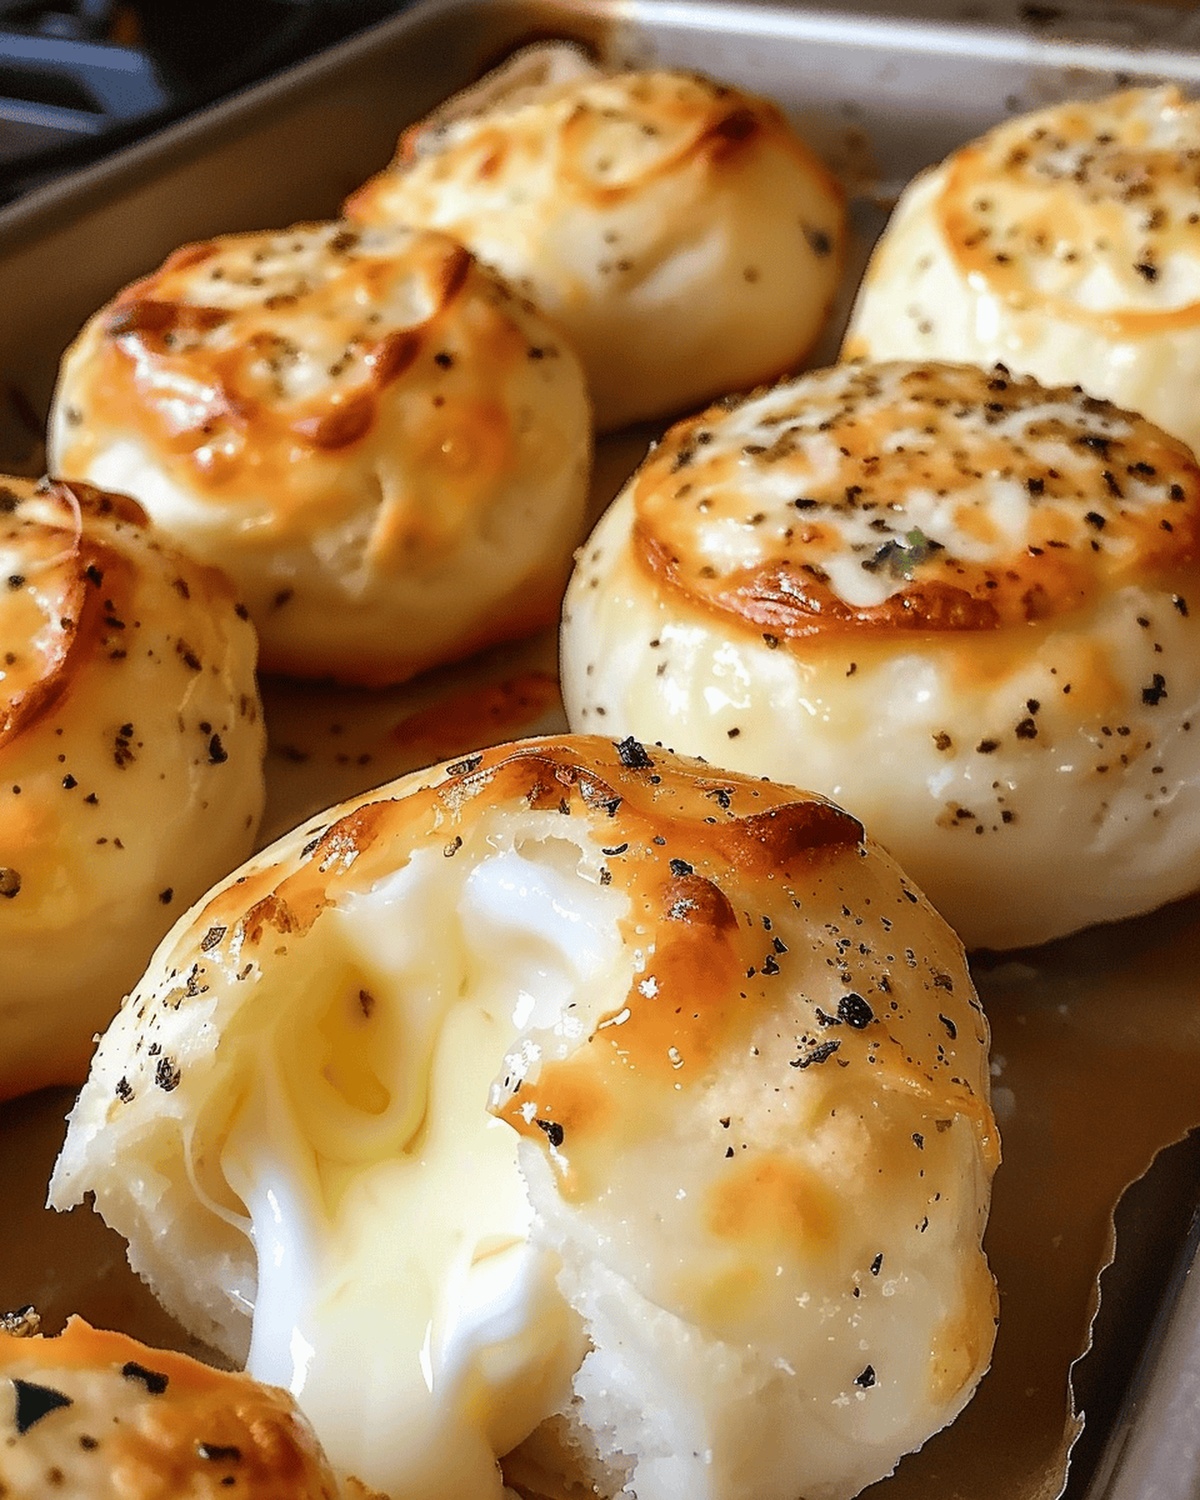
Garlic Butter Puff Recipe That’s Cheesy and Golden
Garlic butter puffs emerge as a delightful culinary marvel that whispers indulgence with every bite.
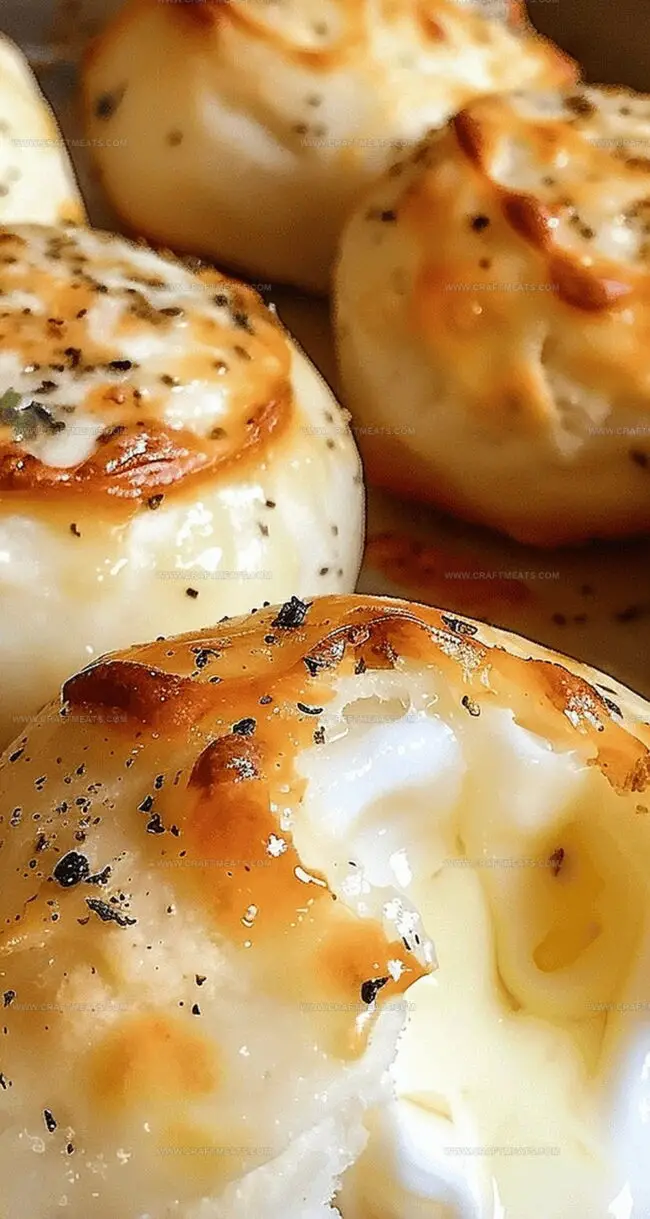
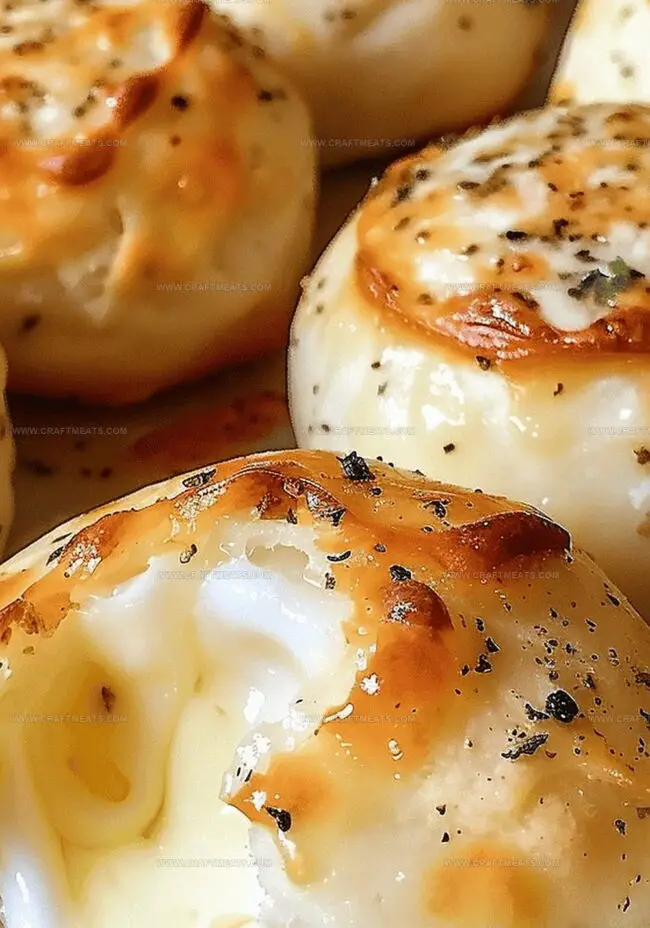
Crisp, golden edges hint at the luxurious interior waiting to tantalize your taste buds.
Light-as-air pastry shells cradle a rich, aromatic filling that promises pure comfort.
These delectable morsels blend classic ingredients into something magnificently unexpected and irresistible.
Imagine a snack that effortlessly bridges elegant appetizer and crowd-pleasing treat with graceful simplicity.
Warm, buttery layers melt seamlessly, creating a sensory experience that beckons you closer.
Serving these puffs guarantees instant smiles and eager requests for seconds.
Why You’ll Love Cheesy Garlic Butter Puffs
Cheesy Garlic Butter Puffs Ingredient Guide
Main Ingredients:
Biscuit Dough: – Refrigerated Biscuit Dough: Soft, pre-made dough that provides a quick and easy base for the puffs. Store-bought works best for convenience.
Seasoning Ingredients:
Butter Mixture: – Butter, Garlic Powder, Italian Seasoning, Salt: Flavor-packed combination that adds richness and aromatic herbs to the puffs. Use unsalted butter to control salt content.
Preparation Ingredients:
Baking Essentials: – Parchment Paper or Cooking Spray: Prevents sticking and ensures easy removal of puffs from the baking sheet. Parchment paper provides the most even surface.
How to Prepare Cheesy Garlic Butter Puffs
Step 1: Warm Up The Oven
Fire up your oven to 375°F (190°C). Grab a baking sheet and line it with parchment paper or give it a quick spray of cooking oil to keep everything from sticking.
Step 2: Prepare Dough Circles
Crack open the refrigerated biscuit dough package. Gently separate each biscuit and press them flat into delicate 3-inch rounds on a clean countertop.
Step 3: Create Cheesy Centers
Place a chunk of mozzarella right in the middle of each dough circle. Carefully wrap the dough edges around the cheese, pinching and sealing them into adorable little pouches.
Step 4: Season And Transform
In a small mixing bowl, whisk together:Lovingly brush this magical mixture over each dough ball. Arrange the pouches seam-side down on the prepared baking sheet.
Step 5: Bake To Golden Perfection
Slide the baking sheet into the preheated oven. Let these delightful puffs dance and transform for 12-15 minutes until they turn a gorgeous golden brown. The cheese inside will become beautifully melted and irresistible.
Serving Tip: Let the puffs cool for a few minutes before serving. They’re perfect as a snack, appetizer, or unexpected party treat!
Pro Tips for Cheesy Garlic Butter Puffs
Storing and Reheating Cheesy Garlic Butter Puffs
What to Pair with Cheesy Garlic Butter Puffs
Fun Variations of Cheesy Garlic Butter Puffs
FAQs for Cheesy Garlic Butter Puffs
Yes! Cheddar, provolone, or monterey jack work great. Just make sure it melts well and you’ll have delicious results.
Store in an airtight container in the refrigerator for up to 3 days. Reheat in the oven at 350°F for 5-7 minutes to restore crispiness.
You can prepare the puffs and keep them unbaked in the refrigerator for up to 2 hours before baking. Brush with garlic butter right before putting them in the oven.
Yes! Freeze unbaked puffs on a baking sheet, then transfer to a freezer bag. When ready to eat, bake directly from frozen, adding 3-5 extra minutes to cooking time.
Print
Cheesy Garlic Butter Puffs Recipe
- Total Time: 30 minutes
- Yield: 8 1x
Description
Garlic lovers rejoice with these heavenly cheesy garlic butter puffs that melt perfectly in your mouth. Crisp pastry shells filled with rich, garlicky cheese create an irresistible appetizer you’ll crave at every gathering.
Ingredients
Main Ingredients:
- 1 16 ounces (454 grams) container of refrigerated biscuit dough (8 biscuits)
- 4 ounces (113 grams) mozzarella cheese (soft, shredded, or diced string cheese)
Seasoning Ingredients:
- 4 tablespoons (60 milliliters) of melted butter
- 1 teaspoon (5 milliliters) of garlic powder
- 1 teaspoon (5 milliliters) of Italian seasoning
Finishing Ingredient:
- 1 pinch of salt
Instructions
- Preheat the oven to 375°F (190°C) and prepare a baking sheet with parchment paper or a light coating of grease to ensure easy removal of the puffs.
- Gently separate each refrigerated biscuit dough piece and carefully flatten into delicate 3-inch rounds on a clean, smooth work surface.
- Position a generous chunk of mozzarella cheese directly in the center of each dough circle, creating a tempting core of melty goodness.
- Delicately lift and fold the dough edges around the cheese, meticulously pinching and sealing the borders to craft a smooth, compact sphere that encases the cheese completely.
- Arrange the sealed cheese puffs with their seam facing downward on the prepared baking sheet, ensuring they have slight spacing between each other.
- Craft a fragrant butter mixture by combining melted butter with garlic powder, Italian seasoning, and a subtle sprinkle of salt in a small mixing bowl.
- Generously brush the aromatic butter blend across the surface of each puff, ensuring even coverage to enhance flavor and promote a golden, crispy exterior.
- Transfer the baking sheet to the preheated oven and bake for 12-15 minutes, watching for a rich golden-brown color and ensuring the cheese inside becomes perfectly molten and gooey.
Notes
- Prepare these irresistible puffs when you need a quick, crowd-pleasing appetizer that takes less than 30 minutes from start to finish.
- Seal the dough edges completely to prevent cheese from leaking during baking, ensuring each bite is packed with melty goodness.
- Room temperature butter helps create a more even coating and allows seasonings to blend seamlessly with the garlic butter mixture.
- Experiment with different cheese varieties like cheddar or pepper jack for unique flavor variations that match your meal or mood.
- Let the puffs cool for a few minutes after baking to allow the cheese to set and prevent burning your mouth when taking the first delicious bite.
- Store any leftover puffs in an airtight container in the refrigerator and reheat in the oven to maintain their crispy texture.
- Prep Time: 15 minutes
- Cook Time: 15 minutes
- Category: Snacks, Appetizer
- Method: Baking
- Cuisine: American
Nutrition
- Serving Size: 8
- Calories: 210
- Sugar: 1g
- Sodium: 400mg
- Fat: 15g
- Saturated Fat: 9g
- Unsaturated Fat: 4g
- Trans Fat: 0g
- Carbohydrates: 18g
- Fiber: 0g
- Protein: 5g
- Cholesterol: 30mg
Isabella Rossi
Founder & Culinary Content Creator
Expertise
Recipe Development, Traditional Irish and European Cuisines, Food Styling and Photography, Culinary Education
Education
Dublin Institute of Technology (DIT) – School of Culinary Arts and Food Technology
Ballymaloe Cookery School
Liam is the voice behind many of Craft Meats’ most flavorful features. With roots in Dublin’s smoky barbecue scene and a culinary degree from the Dublin Institute of Technology, he brings time-tested cooking techniques to life.
His training at Ballymaloe Cookery School sharpened his farm-to-table approach, giving him a deep respect for every ingredient he writes about.
He’s not about overcomplicating the process, just helping you cook meat that’s worth talking about. When he’s not writing or grilling, he’s out foraging or nerding out on regional spice blends to add to his next recipe.