
Soft Peanut Butter Cookie Recipe That Melts in Your Mouth
Baking these delightful soft peanut butter cookies will transport you to a world of sweet, nutty bliss.
The aroma of fresh peanut butter cookies wafting through your kitchen promises pure comfort and joy.
Crafted with simple ingredients, this recipe delivers melt-in-your-mouth goodness that everyone adores.
Each golden, tender cookie carries the rich, creamy essence of peanut butter in every delectable bite.
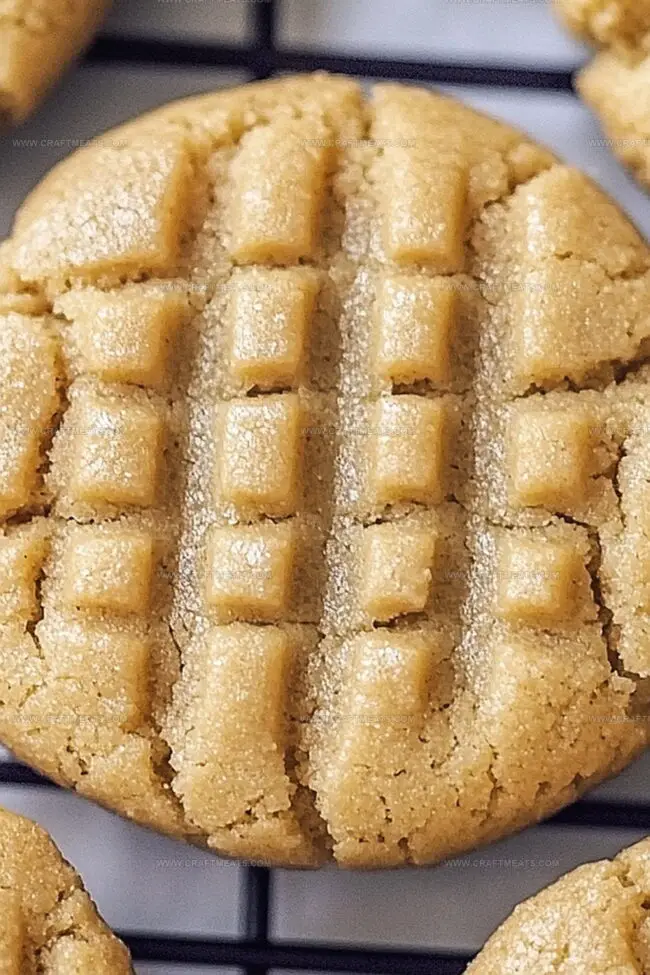
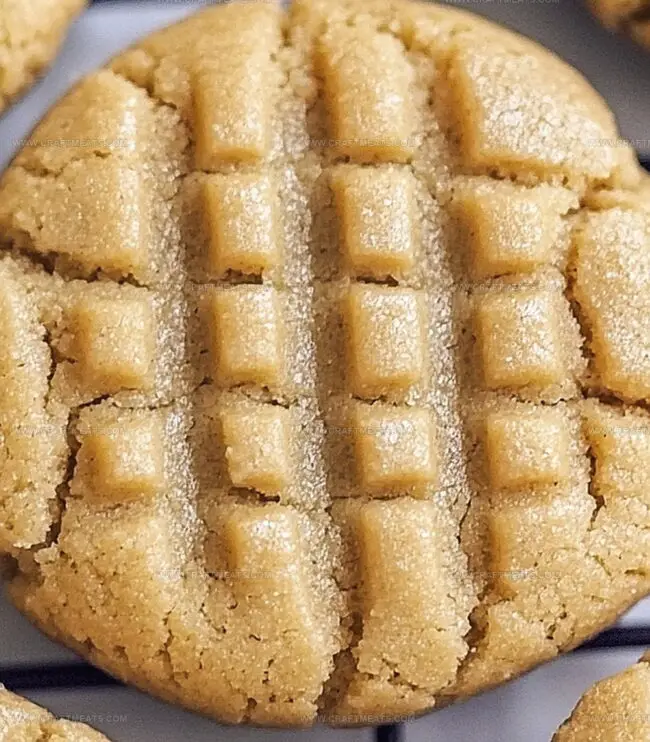
The texture strikes a perfect balance between crisp edges and a soft, pillowy center that beckons you closer.
Perfectly suited for afternoon snacks or dessert, these cookies bring instant happiness to any moment.
No cookie jar will remain full for long once you start baking these irresistible treats.
Quick Recipe Overview
Ingredients For Soft Peanut Butter Cookies
For Wet Ingredients:For Dry Ingredients:For Finishing:Tools For Soft Peanut Butter Cookies
How To Make Soft Peanut Butter Cookies Easy
Warm the kitchen appliance to a cozy 350F. Spread parchment paper across baking trays to create a welcoming surface for delicious cookies.
Blend butter, peanut butter, and sugars in a spacious bowl until the combination looks fluffy and light. Add an egg and vanilla, stirring until everything looks smooth and happy together.
In another bowl, gently mix flour, baking soda, and a pinch of salt. Slowly fold these powdery friends into the creamy mixture, stirring until just combined.
Roll small rounds of dough between your palms. Place these little balls on the prepared trays, leaving room for them to breathe. Press a fork gently across each one, creating a delicate crosshatch design.
Slide the trays into the warm oven. Watch closely for 8-10 minutes until cookie edges look set and tops have a slight crackled appearance. Allow cookies to rest on the tray for a few moments before moving them to a cooling rack.
Grab a cookie, pour some cold milk, and savor the soft, nutty goodness of your homemade treat.
Peanut Butter Tips And Tricks
Ways To Serve Soft Peanut Butter Cookies Warm
Best Storage For Soft Peanut Butter Cookies
Print
Chewy Peanut Butter Cookies Recipe
- Total Time: 20 minutes
- Yield: 23 1x
Description
Irresistible peanut butter cookies blend creamy comfort with nostalgic American baking charm. Crisp edges and tender centers promise a delightful treat you’ll savor with pure enjoyment.
Ingredients
- ½ cup (115 g) unsalted butter, softened
- ½ cup (120 g) creamy peanut butter
- ½ cup (100 g) granulated sugar
- ½ cup (100 g) brown sugar, packed
- 1 large egg
- 1 ¼ cups (160 g) all-purpose flour
- ½ tsp baking soda
- ¼ tsp salt
- 1 tsp vanilla extract
Instructions
- Preheat and Prepare: Warm the oven to 350F (175C) and line baking sheets with parchment paper for effortless cookie removal.
- Blend Wet Ingredients: Whip softened butter, peanut butter, granulated sugar, and brown sugar until light and fluffy. Integrate egg and vanilla extract, mixing until completely smooth.
- Combine Dry Components: Sift flour, baking soda, and salt together, then gently fold into the wet mixture until just incorporated, preserving a tender cookie consistency.
- Shape and Mark Cookies: Form dough into 1-inch spheres, positioning them on prepared sheets with ample spacing. Create classic crisscross patterns using a fork, which helps flatten and decorates each cookie.
- Bake to Perfection: Slide trays into the oven, baking 8-10 minutes until edges set and tops develop a delicate crackled finish. Watch carefully to maintain optimal softness.
- Cool and Set: Rest cookies on baking sheet for 5 minutes to stabilize, then transfer to a wire rack for complete cooling, allowing flavors to fully develop.
- Serve and Store: Enjoy immediately with milk or preserve in an airtight container to maintain their irresistible soft texture.
Notes
- Butter Temperature Matters: Use room temperature butter and peanut butter for smoother, more evenly mixed dough that guarantees soft, consistent cookies.
- Avoid Overmixing: Stir dry ingredients into wet mixture just until combined to prevent tough, dense cookies and maintain a tender, delicate crumb.
- Fork Technique Perfection: Press fork gently when creating crisscross pattern to flatten cookies without crushing their delicate structure, ensuring even baking.
- Cooling is Crucial: Let cookies rest on baking sheet for exactly 5 minutes before transferring to wire rack, allowing them to set without becoming hard or crispy.
- Prep Time: 10 minutes
- Cook Time: 10 minutes
- Category: Desserts, Snacks
- Method: Baking
- Cuisine: American
Nutrition
- Serving Size: 23
- Calories: 150
- Sugar: 10 g
- Sodium: 90 mg
- Fat: 8 g
- Saturated Fat: 4 g
- Unsaturated Fat: 3 g
- Trans Fat: 0 g
- Carbohydrates: 18 g
- Fiber: 1 g
- Protein: 3 g
- Cholesterol: 15 mg
Liam O’Sullivan
Founder & Culinary Content Creator
Expertise
Recipe Development, Traditional Irish and European Cuisines, Food Styling and Photography, Culinary Education
Education
Dublin Institute of Technology (DIT) – School of Culinary Arts and Food Technology
Ballymaloe Cookery School
Isabella brings a global spark to the Craft Meats table. Born in Florence and trained at the Apicius International School of Hospitality, she blends classic Italian flavor with modern writing that’s easy to follow and hard to forget.
Her additional training at the Italian Chef Academy fueled her love for well-crafted dishes, especially ones that spotlight beautiful cuts of meat.
She’s a food writer with heart, and a deep love for storytelling through single recipes. Her goal? To help you cook with more confidence and a little more joy, no matter where you start.