Classic Chicago-Style Apple Squares Recipe to Bake Today
Decadent Chicago-style bakery apple squares promise a delightful dessert adventure that captures the essence of midwestern comfort.
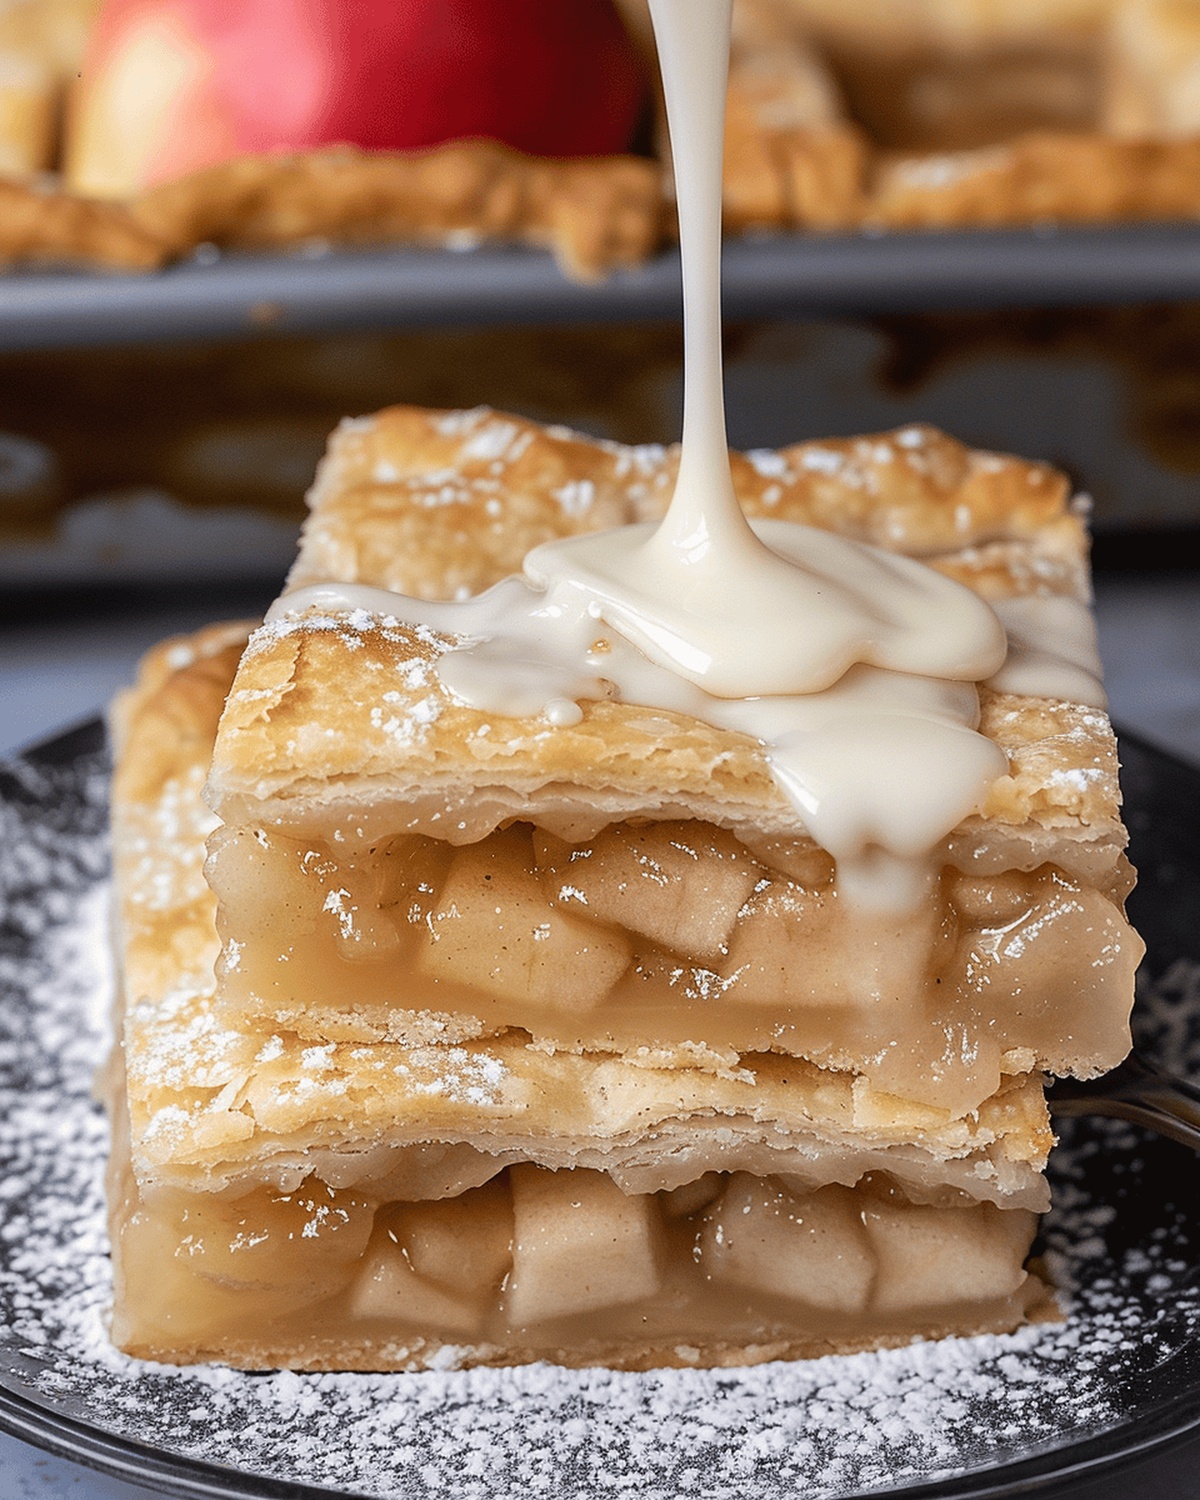
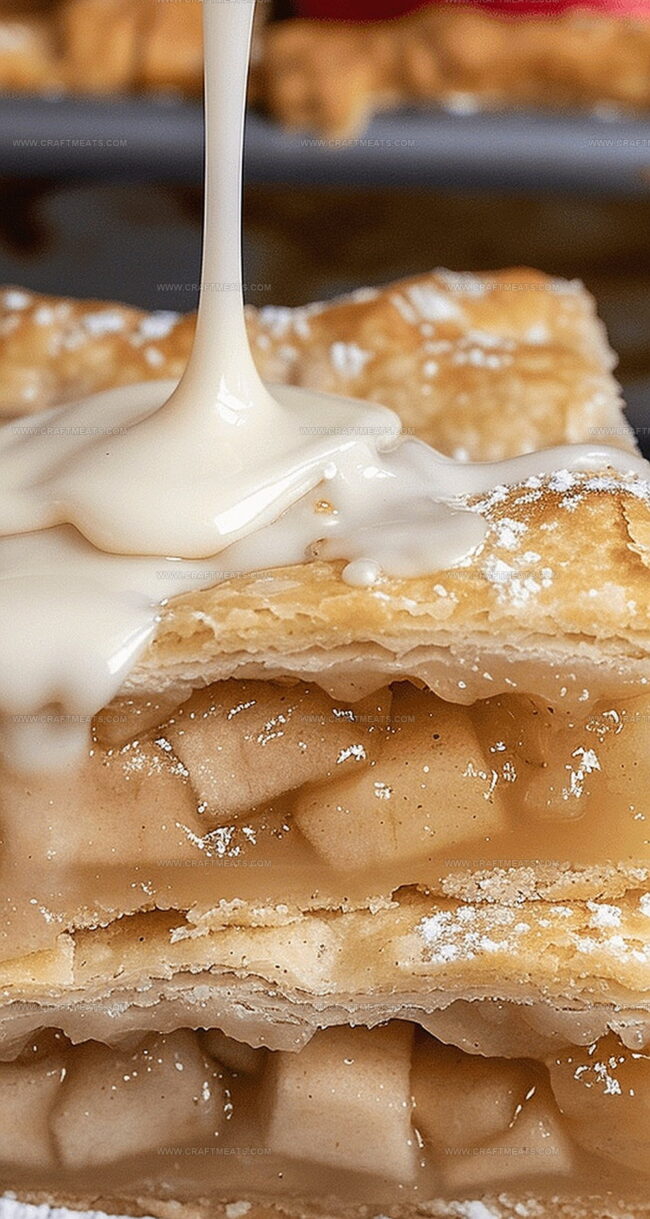
Imagine biting into a perfectly crafted pastry that blends sweet, tangy fruit with buttery, crumbly textures.
Warm spices dance through layers of tender apples nestled between flaky, golden crusts.
Rich memories of hometown bakeries emerge with each delectable bite you take.
Seasonal ingredients meld into a nostalgic treat that speaks to cherished culinary traditions.
Layers of carefully balanced flavors create a harmonious experience that feels both familiar and exciting.
The magic happens when simple ingredients change into something truly extraordinary.
Explore this irresistible recipe and let your kitchen become a canvas of delicious creativity.
Bakery Apple Squares That Taste Like Fall
What You’ll Need for Chicago-Style Apple Squares
Pastry Dough:Filling:Glaze:Baking Instructions for Apple-Filled Pastry Bars

Step 1: Prepare Dough Base
In a spacious mixing bowl, combine:Grate chilled butter using a cheese grater directly over the dry ingredients. Alternatively, dice butter into tiny cubes and blend using a pastry blender until mixture resembles coarse crumbs. Slowly pour ice-cold water, stirring gently until dough forms a cohesive ball without feeling sticky.
Step 2: Chill Dough
Softly knead dough on a lightly floured surface. Divide into two equal portions. Shape each portion into a flat rectangle. Wrap individually in plastic wrap. Refrigerate for minimum 30 minutes to allow dough to rest and firm up.
Step 3: Assemble Apple Filling Layer
Preheat oven to 400°F. Roll out first dough rectangle on floured surface. Carefully transfer to a 9×13-inch baking pan. Spread apple pie filling evenly across the first pastry layer.
Step 4: Create Top Crust
Roll second dough rectangle. Gently place over apple filling. Crimp and seal edges using fingertips. Create several small decorative vents across top crust using a sharp knife.
Step 5: Bake Golden Squares
Slide pan into preheated oven. Bake approximately 40 minutes until crust turns golden brown and edges look crispy.
Step 6: Prepare Sweet Glaze
While squares cool on wire rack, prepare glaze by mixing:Drizzle glaze evenly over cooled pastry. Allow glaze to set completely before cutting into delightful squares.
Tips for Tender Apples and Flaky Dough
Best Practices for Storing Apple Squares
Drinks and Sides to Serve with These Squares
Apple Square Variations That Add Something Extra
Bakery Apple Square FAQs
Yes, you can use store-bought apple pie filling, but homemade filling will give a fresher, more authentic taste to your Chicago-Style Apple Squares.
These squares can be stored at room temperature in an airtight container for 2-3 days, or refrigerated for up to 5 days. Just make sure to cover them to maintain freshness.
Absolutely! You can freeze the baked squares for up to 3 months. Wrap them tightly in plastic wrap and place in a freezer-safe container. Thaw at room temperature before serving.
No worries! You can use a pastry cutter or even two knives to cut the cold butter into the flour mixture. The key is keeping the butter cold to achieve a flaky crust.
Print
Chicago-Style Bakery Apple Squares Recipe
- Total Time: 1 hour
- Yield: 12 1x
Description
Sweet memories of Midwestern comfort emerge in these Chicago-style bakery apple squares, promising a nostalgic dessert that celebrates classic American baking. Rich pastry layers and caramelized apples deliver a homemade taste that connects generations of home cooks with pure, honest flavor.
Ingredients
Main Ingredients (Pastry):
- 4 cups all-purpose flour
- 1 ¼ cups (2 ½ sticks) unsalted butter, chilled
- ½ cup (120 milliliters) ice water, plus more as needed
- 1 tablespoon granulated sugar
- 1 teaspoon salt
Filling Ingredients:
- 4 cups apple pie filling (canned or homemade)
Glaze Ingredients:
- 1 cup powdered sugar
- 2 tablespoons unsalted butter, softened
- 1 tablespoon (15 milliliters) whole milk
- 1 teaspoon vanilla extract
Instructions
- Create a robust pastry foundation by blending flour, sugar, and salt in a spacious mixing vessel.
- Utilize a cheese grater to delicately shred chilled butter over the dry ingredients, ensuring even distribution through gentle stirring.
- Introduce ice water incrementally, mixing until the dough forms a cohesive, non-adhesive texture.
- Transfer the dough onto a lightly dusted work surface and tenderly manipulate it into a unified mass.
- Partition the dough into two symmetrical portions, then carefully flatten each into rectangular shapes.
- Encase the dough rectangles in plastic film and allow them to rest in the refrigerator for a minimum of half an hour.
- Extract one dough rectangle and roll it out on a flour-coated surface, then carefully transfer and press into a 9×13-inch baking pan.
- Distribute the apple pie filling uniformly across the initial pastry layer, ensuring complete coverage.
- Roll out the second dough rectangle and drape it over the apple filling, meticulously sealing the edges by pinching them together.
- Create strategic ventilation by cutting several slits across the top pastry layer.
- Position the pan in a preheated oven at 400°F and bake until the surface achieves a rich, golden-brown complexion, approximately 40 minutes.
- Remove from the oven and transfer to a wire cooling rack, allowing the pastry to reach room temperature.
- Craft a luxurious glaze by whisking together powdered sugar, softened butter, vanilla extract, and milk until smooth.
- Once the pastry has completely cooled, generously spread the glaze across the surface and permit it to set naturally.
Notes
- Master the art of grating chilled butter using a cheese grater for a flakier, more delicate pastry texture that melts in your mouth.
- Refrigerate dough for a minimum of 30 minutes to ensure the butter stays cold, creating layers of buttery goodness in your apple squares.
- Use a 9×13-inch jelly roll pan for even baking and perfect rectangular cuts that showcase the beautiful apple filling.
- Create strategic vents on the top crust to allow steam to escape, preventing a soggy bottom and ensuring a crisp, golden-brown finish.
- Glaze the cooled pastry with a smooth, vanilla-infused powdered sugar mixture for an extra touch of sweetness that complements the tart apples.
- Allow the glaze to set completely before slicing to achieve clean, picture-perfect squares that are as delightful to look at as they are to eat.
- Prep Time: 20 minutes
- Cook Time: 40 minutes
- Category: Desserts, Snacks
- Method: Baking
- Cuisine: American
Nutrition
- Serving Size: 12
- Calories: 300
- Sugar: 10g
- Sodium: 150mg
- Fat: 18g
- Saturated Fat: 11g
- Unsaturated Fat: 7g
- Trans Fat: 0g
- Carbohydrates: 34g
- Fiber: 2g
- Protein: 3g
- Cholesterol: 40mg
Isabella Rossi
Founder & Culinary Content Creator
Expertise
Recipe Development, Traditional Irish and European Cuisines, Food Styling and Photography, Culinary Education
Education
Dublin Institute of Technology (DIT) – School of Culinary Arts and Food Technology
Ballymaloe Cookery School
Liam is the voice behind many of Craft Meats’ most flavorful features. With roots in Dublin’s smoky barbecue scene and a culinary degree from the Dublin Institute of Technology, he brings time-tested cooking techniques to life.
His training at Ballymaloe Cookery School sharpened his farm-to-table approach, giving him a deep respect for every ingredient he writes about.
He’s not about overcomplicating the process, just helping you cook meat that’s worth talking about. When he’s not writing or grilling, he’s out foraging or nerding out on regional spice blends to add to his next recipe.