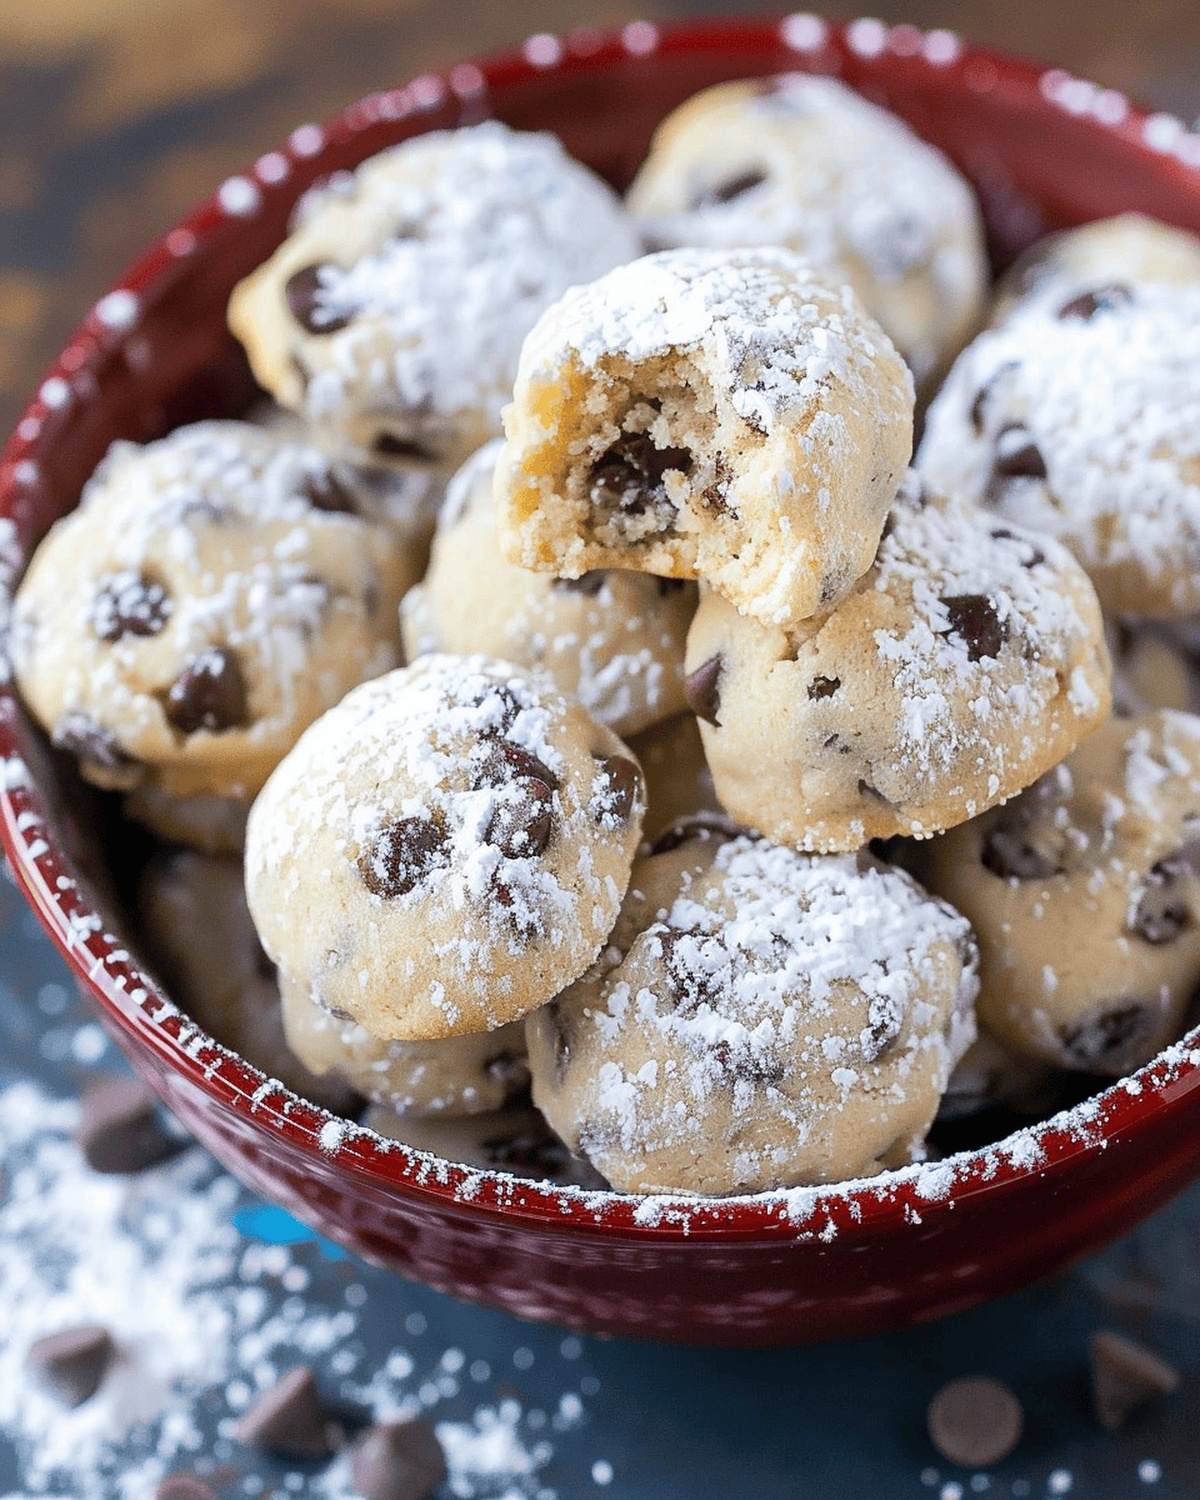
Chocolate Chip Bites Recipe That’s Soft and Gooey
Chocolate chip bliss bites deliver pure culinary magic in every delightful morsel.
Sweet morsels packed with incredible potential await your kitchen adventure.
Imagine a treat that combines irresistible crunch and melt-in-your-mouth texture with pure comfort.
Minimal ingredients create maximum satisfaction through a simple yet ingenious approach to snacking.
These bite-sized delights promise a quick escape from ordinary desserts, bringing joy in compact form.
Indulgent yet balanced, they spark moments of pure happiness with each delectable nibble.
You can want to savor every single incredible creation that emerges from this delightful recipe.
Chocolate Chip Bites Overview
Ingredients for Chocolate Chip Bites
Base Ingredients:Binding and Flavor Ingredients:Mix-In and Finishing Ingredients:Instructions for Chocolate Chip Bites

Step 1: Warm Up the Oven and Prep Baking Surfaces
Get your oven toasty at 375°F (190°C). Grab two cookie sheets and line them with parchment paper for a smooth, non-stick experience. This magical barrier will make your baking adventure a breeze.
Step 2: Whip Up Butter Bliss
Grab a spacious mixing bowl and your trusty electric mixer. Toss in softened butter, powdered sugar, and vanilla. Whirl and blend until the mixture transforms into a fluffy cloud of deliciousness.
Step 3: Marry Dry Ingredients
Slowly introduce flour and salt to your buttery base. Mix with love and dedication until the dough becomes a smooth, unified masterpiece.
Step 4: Sprinkle Chocolate Magic
Gently fold mini chocolate chips into the dough. Ensure these little nuggets of joy are evenly scattered throughout, creating pockets of pure chocolate delight.
Step 5: Chill Dough (Optional Cool-Down)
If your dough feels too soft and rebellious, send it to the refrigerator for a quick 30-minute timeout. This helps the dough become more cooperative and easier to handle.
Step 6: Shape and Bake Perfection
Scoop out tablespoon-sized dough balls and place them generously on your prepared sheets. Space them about 2 inches apart to give them room to spread their wings. Slide the sheets into the preheated oven and bake for 7-10 minutes. Look for a subtle golden hue on the bottoms – that’s your signal of cookie success.
Step 7: Sugar Coat and Cool
Once the cookies have cooled slightly, roll them in a luxurious blanket of powdered sugar. Let them rest on a wire rack until completely cool, allowing the sugar to set and create a delicate, sweet exterior.
Tips for Perfect Chocolate Chip Bites
How to Store and Reheat Chocolate Chip Bites
Serving Chocolate Chip Bites
Variations for Chocolate Chip Bites
FAQs on Chocolate Chip Bites
The recipe works best with powdered sugar as it creates a softer, more delicate texture. Regular granulated sugar won’t give the same melt-in-your-mouth quality.
Store the cookies in an airtight container at room temperature for up to 5 days. They’ll stay fresh and soft if kept away from humidity and direct sunlight.
Absolutely! You can freeze the dough for up to 3 months. Wrap it tightly in plastic wrap and place in a freezer bag. Thaw in the refrigerator before baking.
Chill the dough in the refrigerator for 30 minutes. This will firm it up and make it easier to shape into cookies. If it’s still too soft, add a little more flour, one teaspoon at a time.
Print
Chocolate Chip Bliss Bites Recipe
- Total Time: 40 minutes
- Yield: 24 1x
Description
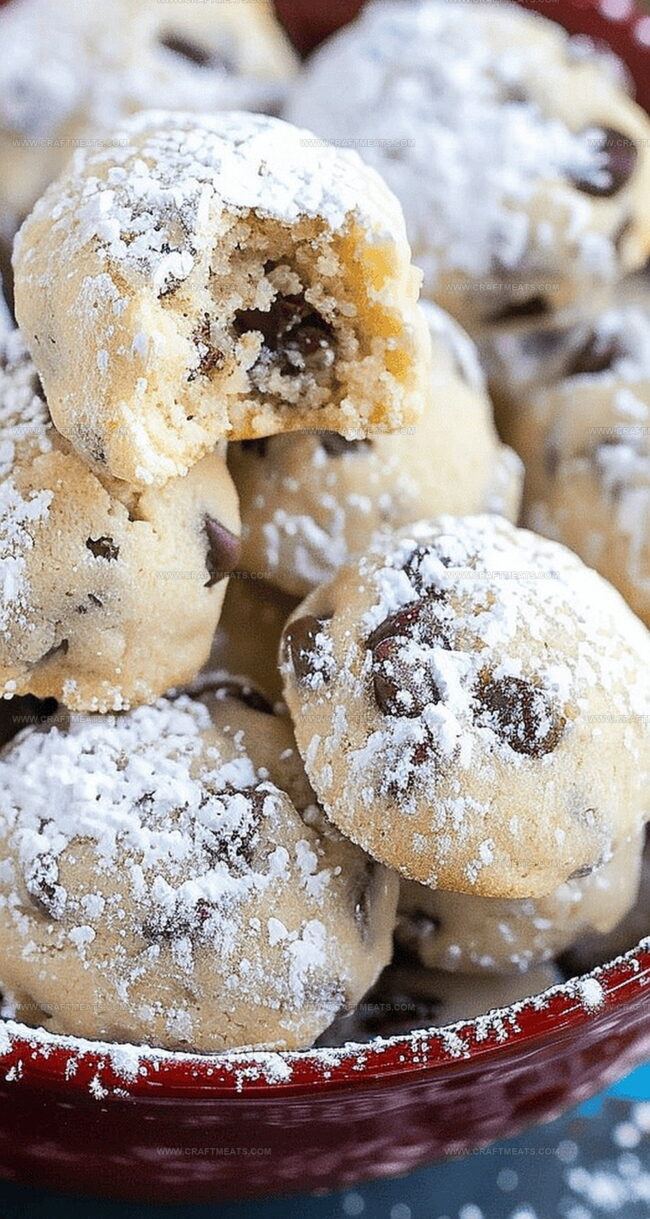
Sweet chocolate chip bliss bites combine rich chocolate and buttery cookie goodness for an irresistible indulgence. Compact treats deliver pure dessert happiness with minimal effort, ensuring pure delight when craving something deliciously simple.
Ingredients
Main Ingredients:
- 2 ¼ cups (279g) all-purpose flour
- 1 cup (226g) unsalted butter, softened
- 1 cup (170g) mini chocolate chips
Sweeteners and Flavoring:
- ½ cup (57g) powdered sugar
- 1 teaspoon vanilla extract
Seasoning:
- ½ teaspoon salt
Coating:
- Additional powdered sugar for rolling
Instructions
- Prepare the workspace by positioning oven racks in the middle position and heating the oven to 375°F (190°C). Cover two baking trays with parchment paper to ensure effortless cookie removal.
- In a spacious mixing bowl, cream together butter, powdered sugar, and vanilla using an electric mixer until the mixture transforms into a light, airy consistency with soft peaks.
- Sift flour and salt directly into the butter mixture, incorporating them gradually to create a smooth, cohesive dough. Mix until no dry ingredients remain visible.
- Delicately introduce mini chocolate chips into the dough, using a spatula to distribute them evenly throughout the mixture, ensuring each bite will have a perfect chocolate balance.
- If the dough feels too soft or sticky, transfer it to the refrigerator for 20-25 minutes. This chilling process will firm up the mixture and make shaping easier.
- Scoop uniform portions of dough using a tablespoon, placing each mound approximately 2 inches apart on the prepared baking sheets. This spacing allows cookies to spread without touching.
- Transfer trays to the preheated oven and bake for 8-9 minutes, watching for subtle golden edges and a slightly set center. The cookies should appear soft but not wet.
- Remove from the oven and let cookies rest for 2-3 minutes. While still warm, gently roll each cookie in additional powdered sugar, creating a delicate, snow-like coating.
- Transfer cookies to a wire cooling rack, allowing them to reach room temperature and develop a delightful, melt-in-your-mouth texture.
Notes
- Chilling the dough for 30 minutes helps prevent spreading and creates a more compact, thicker cookie texture.
- Use room temperature butter for smoother mixing and better incorporation with sugar.
- Choose high-quality chocolate chips for richer, more intense flavor in every bite.
- Ensure even sizing when shaping cookies to guarantee consistent baking and attractive presentation.
- Let cookies cool on the baking sheet for 5 minutes before transferring to a wire rack to maintain structural integrity.
- Rolling in sugar before baking creates a delightful crispy, sparkly exterior that adds extra sweetness and crunch.
- Prep Time: 30 minutes
- Cook Time: 10 minutes
- Category: Snacks, Desserts
- Method: Baking
- Cuisine: American
Nutrition
- Serving Size: 24
- Calories: 126
- Sugar: 5g
- Sodium: 95mg
- Fat: 8g
- Saturated Fat: 5g
- Unsaturated Fat: 3g
- Trans Fat: 0g
- Carbohydrates: 14g
- Fiber: 0.5g
- Protein: 1g
- Cholesterol: 31mg
Isabella Rossi
Founder & Culinary Content Creator
Expertise
Recipe Development, Traditional Irish and European Cuisines, Food Styling and Photography, Culinary Education
Education
Dublin Institute of Technology (DIT) – School of Culinary Arts and Food Technology
Ballymaloe Cookery School
Liam is the voice behind many of Craft Meats’ most flavorful features. With roots in Dublin’s smoky barbecue scene and a culinary degree from the Dublin Institute of Technology, he brings time-tested cooking techniques to life.
His training at Ballymaloe Cookery School sharpened his farm-to-table approach, giving him a deep respect for every ingredient he writes about.
He’s not about overcomplicating the process, just helping you cook meat that’s worth talking about. When he’s not writing or grilling, he’s out foraging or nerding out on regional spice blends to add to his next recipe.