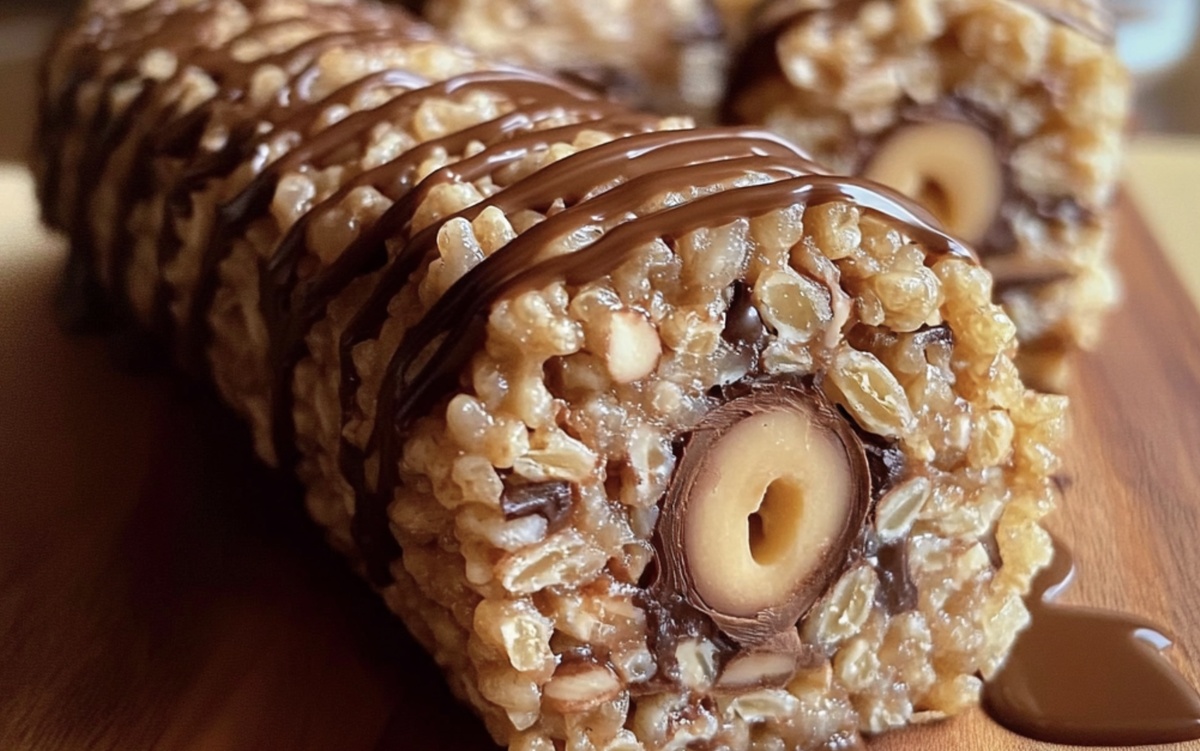
Gooey Chocolate Peanut Butter Rice Krispies Roll Recipe
A delightful chocolate peanut butter rice Krispies roll that dances between sweet and salty memories.
Childhood snacks never looked so grown-up and irresistible.
Crispy cereal meets rich chocolate in a swirl of pure indulgence.
Rolling these treats and watching faces light up with pure excitement.
Each bite promises a magical combination that melts seamlessly in your mouth.
Layers of texture and flavor collide in this simple yet extraordinary dessert.
You won’t be able to resist making these again and again.
Get ready to become the ultimate dessert hero among your friends.
Why Chocolate Peanut Butter Rice Krispies Roll Is A Crowd-Pleaser
Ingredients List For Chocolate Peanut Butter Rice Krispies Roll
Base Ingredients:Binding Ingredients:Chocolate Layer:Preparation Ingredients:Note: Choose natural peanut butter for a more intense flavor. Use semi-sweet or dark chocolate chips for a deeper chocolate taste. Unsalted butter works best for controlling sweetness. Fresh, crisp Rice Krispies ensure the best texture and crunch.
How To Make Chocolate Peanut Butter Rice Krispies Roll
Step 1: Craft Peanut Butter Base
In a cozy saucepan, blend peanut butter, butter, sugar, and corn syrup over medium heat. Stir gently until everything melts into a silky smooth mixture. Take the pan off the heat and fold in Rice Krispies, ensuring every crispy morsel gets a delicious coating.
Step 2: Create Rice Krispies Canvas
Spread out a sheet of parchment paper on a clean, flat surface. Gently press the Rice Krispies mixture into a rectangular shape. Use your hands or a rolling pin to smooth and flatten the layer, creating an even canvas for your sweet creation.
Step 3: Melt Chocolate Magic
Grab a microwave-safe bowl and combine chocolate chips with butter. Zap in short 30-second bursts, stirring between each interval. Keep going until the chocolate transforms into a glossy, velvety river of deliciousness.
Step 4: Layer Chocolate Dream
Pour the melted chocolate over the Rice Krispies rectangle. Let it rest for a few minutes to cool slightly but remain wonderfully flexible.
Step 5: Roll Into Sweet Perfection
Start from the shorter side of the rectangle. Carefully lift the parchment paper and guide the mixture into a tight, elegant roll. Use the paper as your rolling assistant to create a smooth, even log.
Step 6: Chill and Slice
Wrap the roll completely in the parchment paper. Tuck it into the refrigerator for at least an hour until it firms up. Once chilled, slice into delectable rounds and serve these irresistible treats.
Smart Tips For Chocolate Peanut Butter Rice Krispies Roll
How To Keep Chocolate Peanut Butter Rice Krispies Fresh
What Goes With Chocolate Peanut Butter Rice Krispies Roll
Ways To Switch Up Chocolate Peanut Butter Rice Krispies Roll
Chocolate Peanut Butter Rice Krispies Roll FAQs To Know
Corn syrup or honey helps bind the peanut butter and Rice Krispies together, creating a smoother texture and preventing the mixture from crumbling when you roll it.
Absolutely! You can use milk chocolate, dark chocolate, or even white chocolate based on your preference. Just make sure it melts smoothly and evenly.
When spreading the mixture, lightly grease the parchment paper with cooking spray or a thin layer of butter. This will help ensure easy removal and a clean roll.
Yes, letting the chocolate cool for a few minutes makes it easier to roll and helps prevent the mixture from becoming too soft or breaking apart during the rolling process.
Print
Chocolate Peanut Butter Rice Krispies Roll Recipe
- Total Time: 1 hour 15 minutes
- Yield: 12 1x
Description
Indulgent chocolate peanut butter rice krispies roll blends sweet and salty flavors in a crispy, creamy dessert. Crunchy rice cereal meets rich chocolate and smooth peanut butter, creating an irresistible treat you’ll crave again and again.
Ingredients
Main Ingredients:
- 3 cups (90 g / 3.17 ounces) Rice Krispies cereal
- ½ cup (120 g / 4.23 ounces) creamy peanut butter
- ¼ cup (60 g / 2.12 ounces) unsalted butter
Sweeteners:
- ½ cup (100 g / 3.53 ounces) granulated sugar
- ¼ cup (60 ml / 2 fluid ounces) light corn syrup or honey
Chocolate Layer:
- 1 cup (175 g / 6.17 ounces) semi-sweet chocolate chips
- 2 tablespoons (30 g / 1.06 ounces) unsalted butter
Instructions
- Prepare a smooth, luxurious peanut butter mixture by gently heating peanut butter, butter, sugar, and corn syrup in a saucepan until fully combined and glossy. Remove from heat and fold in Rice Krispies, ensuring each crisp morsel is thoroughly coated.
- Lay a sheet of parchment paper on a clean work surface. Transfer the peanut butter and Rice Krispies mixture onto the paper, using gentle pressure to create an even, rectangular landscape approximately 12×8 inches thick.
- Craft the chocolate layer by slowly melting chocolate chips and butter in a microwave-safe bowl. Stir periodically to achieve a silky, uniform consistency with no lumps.
- Pour the molten chocolate over the Rice Krispies rectangle, spreading it carefully to create an even, tempting layer. Allow the chocolate to slightly cool and set for 3-4 minutes, maintaining its spreadable texture.
- Utilize the parchment paper as a guide, delicately roll the rectangle from the shorter edge into a compact, tight log. Apply gentle, consistent pressure to ensure a uniform shape.
- Encase the rolled dessert in the parchment paper, securing the edges. Transfer to the refrigerator and chill for 60-90 minutes until the roll becomes firm and sliceable.
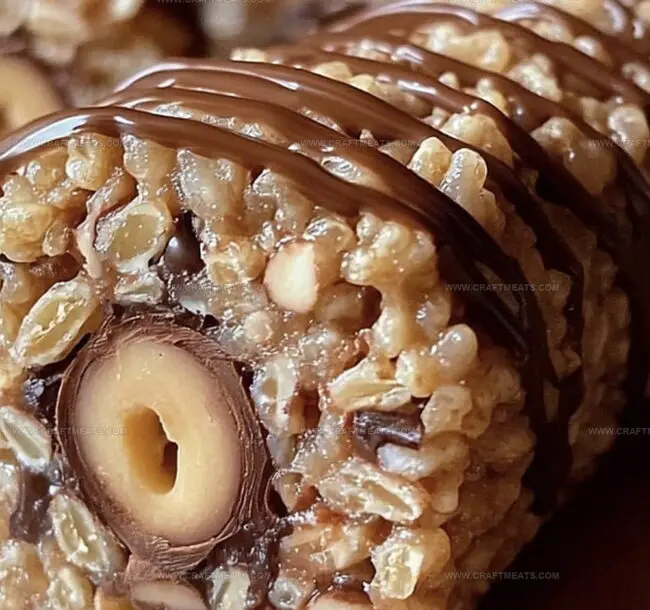
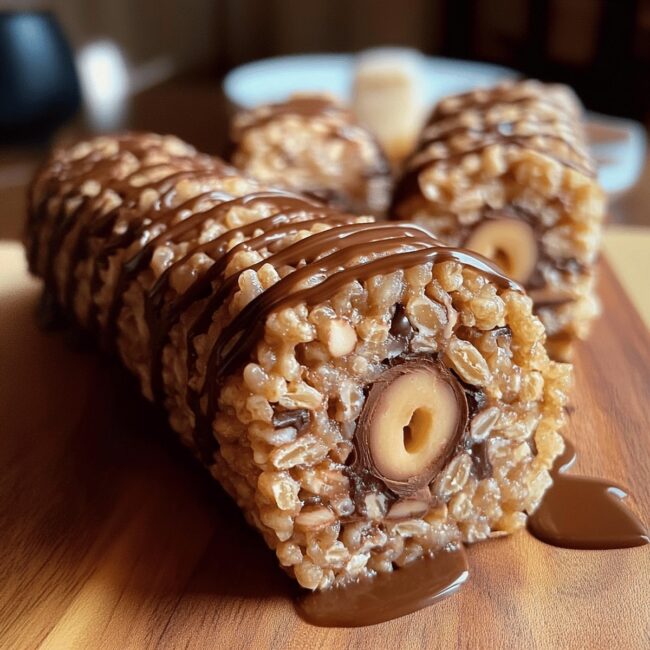
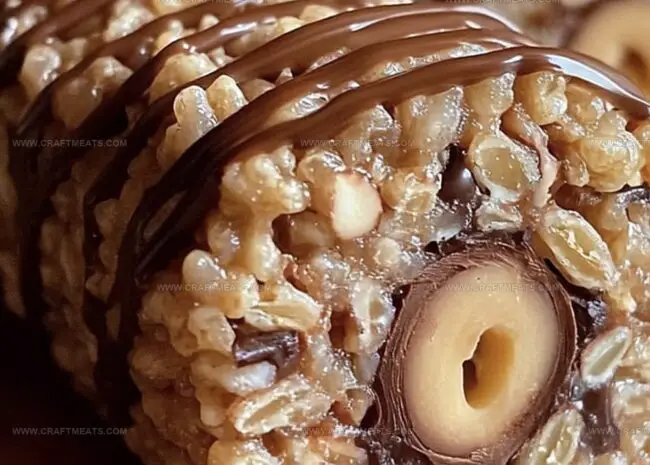
- Once chilled, unwrap the roll and slice into elegant rounds approximately 1/2-inch thick, revealing the beautiful swirled layers of chocolate and peanut butter.
Notes
- Choose high-quality chocolate chips for a richer, more decadent flavor that elevates the entire dessert.
- Use smooth peanut butter to ensure a creamy, consistent texture throughout the Rice Krispies layer.
- Chilling the roll helps it maintain its shape and allows the flavors to meld together perfectly.
- For a gluten-free version, double-check that your Rice Krispies are certified gluten-free, as some brands may contain traces of wheat.
- Prep Time: 15 minutes
- Cook Time: 1 hour
- Category: Snacks, Desserts
- Method: Mixing
- Cuisine: American
Nutrition
- Serving Size: 12
- Calories: 211
- Sugar: 13 g
- Sodium: 90 mg
- Fat: 10 g
- Saturated Fat: 4 g
- Unsaturated Fat: 6 g
- Trans Fat: 0 g
- Carbohydrates: 27 g
- Fiber: 1 g
- Protein: 3 g
- Cholesterol: 10 mg
Isabella Rossi
Founder & Culinary Content Creator
Expertise
Recipe Development, Traditional Irish and European Cuisines, Food Styling and Photography, Culinary Education
Education
Dublin Institute of Technology (DIT) – School of Culinary Arts and Food Technology
Ballymaloe Cookery School
Liam is the voice behind many of Craft Meats’ most flavorful features. With roots in Dublin’s smoky barbecue scene and a culinary degree from the Dublin Institute of Technology, he brings time-tested cooking techniques to life.
His training at Ballymaloe Cookery School sharpened his farm-to-table approach, giving him a deep respect for every ingredient he writes about.
He’s not about overcomplicating the process, just helping you cook meat that’s worth talking about. When he’s not writing or grilling, he’s out foraging or nerding out on regional spice blends to add to his next recipe.