Quick & Creamy Peppermint Delight Mints Recipe for Sweet Smiles
Creamy peppermint delight mints spark imagination with their cool, refreshing charm.
Delicate swirls of smooth flavor dance across your palate, promising a sensational treat.
Sweet and invigorating sensations blend seamlessly in this delightful confection.
Subtle hints of crisp mint weave through each soft, luxurious bite.
Sophisticated yet simple, these morsels invite culinary creativity and playful indulgence.
Homemade confectionery becomes an art form with this delectable recipe.
Rich textures and vibrant flavors await your culinary adventure.
You can effortlessly craft these heavenly morsels that will impress and delight.
Peppermint Cream Mints That Melt in Your Mouth
Everything You Need for Peppermint Mints
Base Ingredients:Sugar and Flavoring:Decoration and Shaping:Peppermint Cream Mint Instructions
Step 1: Whip Up The Creamy Base
In a stand mixer, blend softened cream cheese and butter until smooth and velvety. The mixture should look light and fluffy, with no lumps visible.
Step 2: Create The Sweet Foundation
Add salt to the creamy mixture. Gradually introduce powdered sugar, mixing on medium-low speed. Pour in peppermint extract and continue adding sugar tablespoon by tablespoon. Mix thoroughly, scraping down bowl sides to ensure everything combines perfectly.
Step 3: Color Your Mint Magic
If desired, separate dough into different bowls for multiple colors. Add gel food coloring sparingly, mixing gently to create vibrant or pastel shades.
Step 4: Shape Your Delightful Treats
Pinch off small portions of dough (about 1 teaspoon each). Roll into smooth balls, ensuring no visible seams. Place on parchment-lined baking sheet, spacing them 2 inches apart.
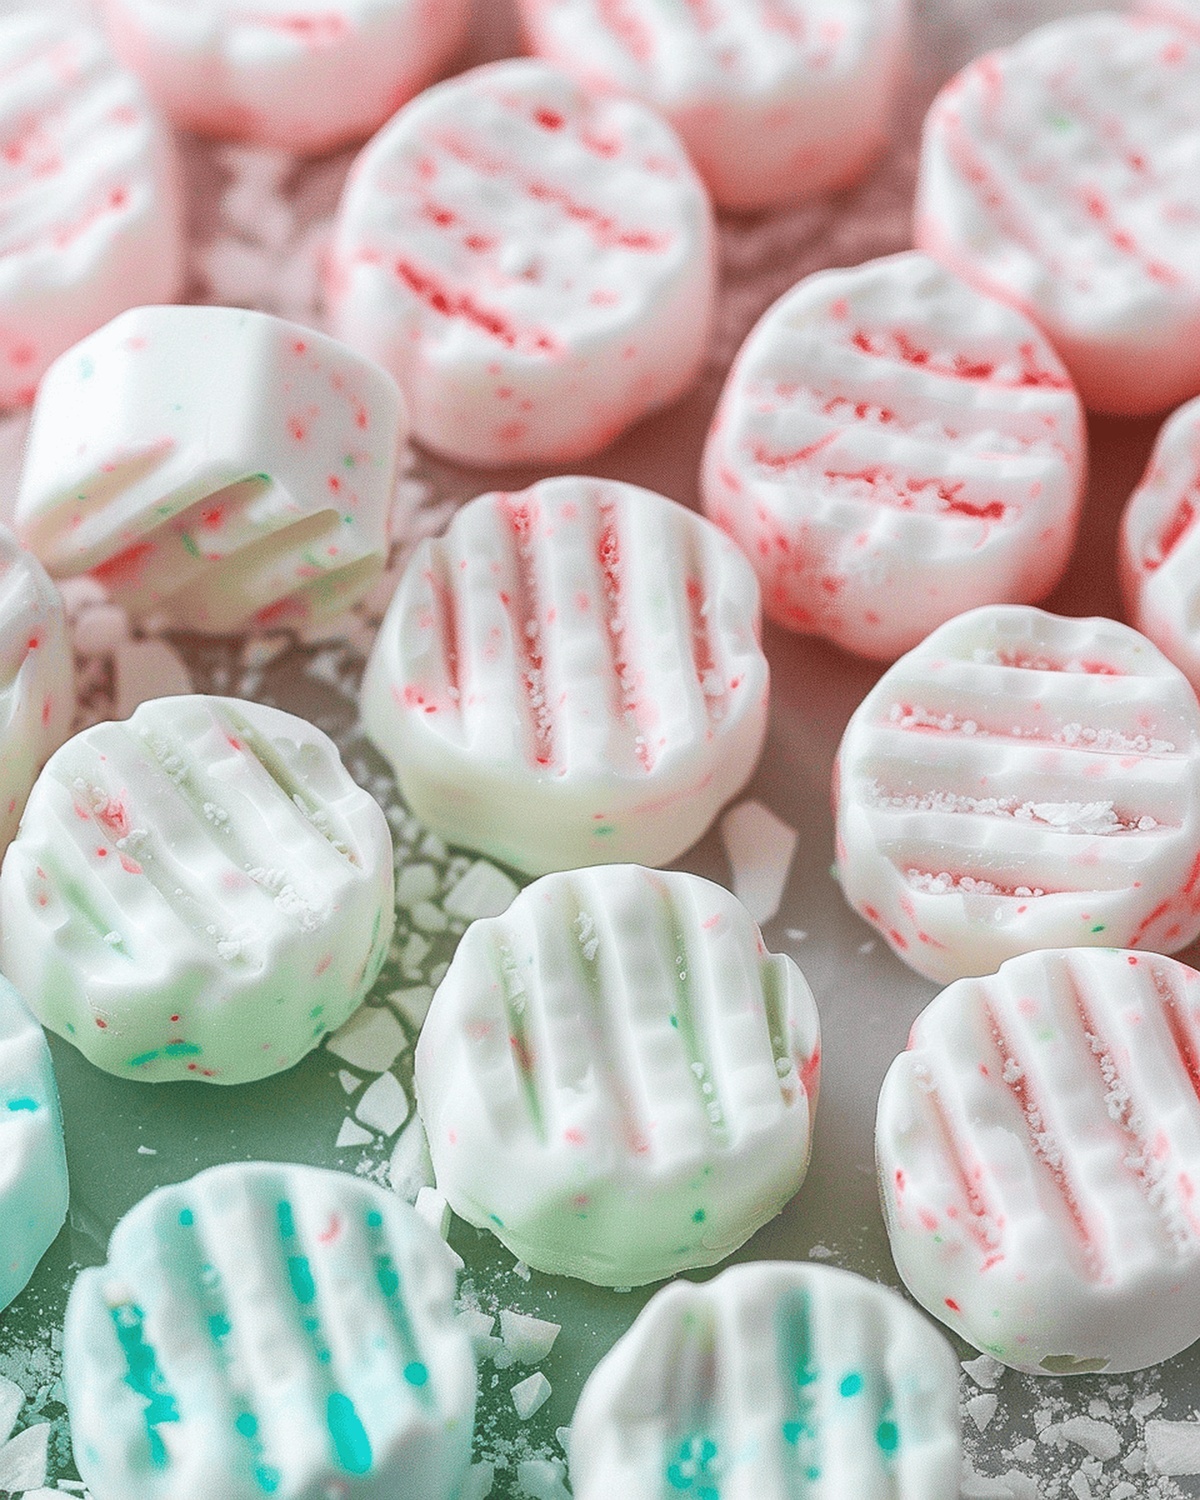
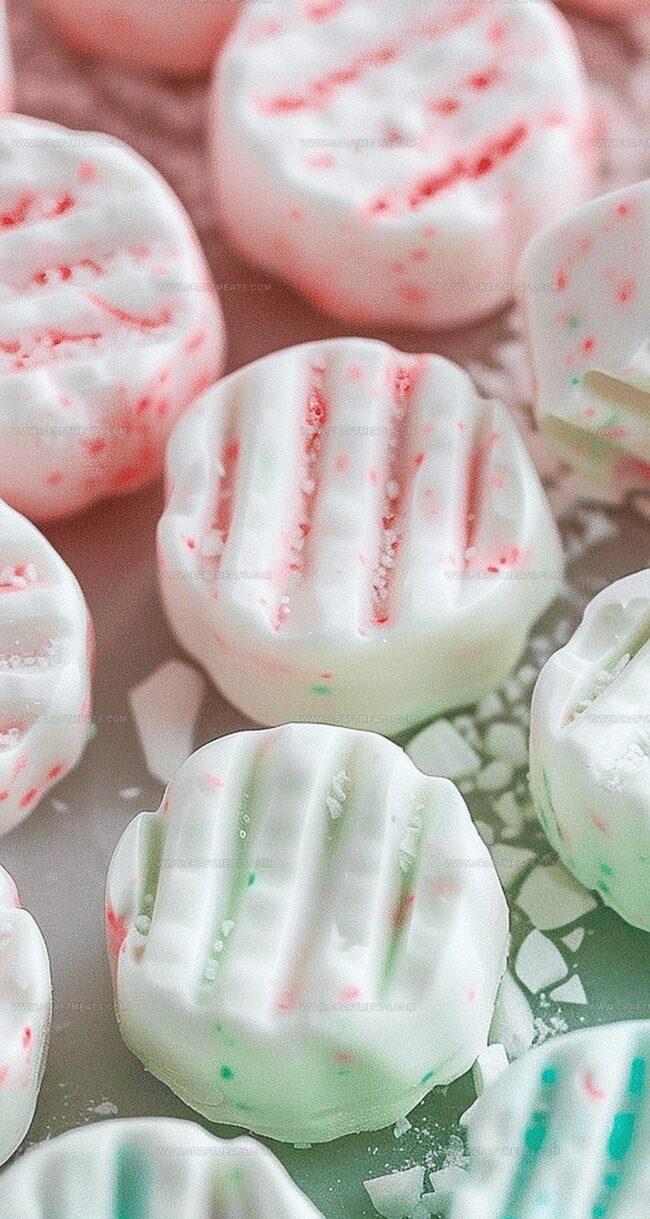
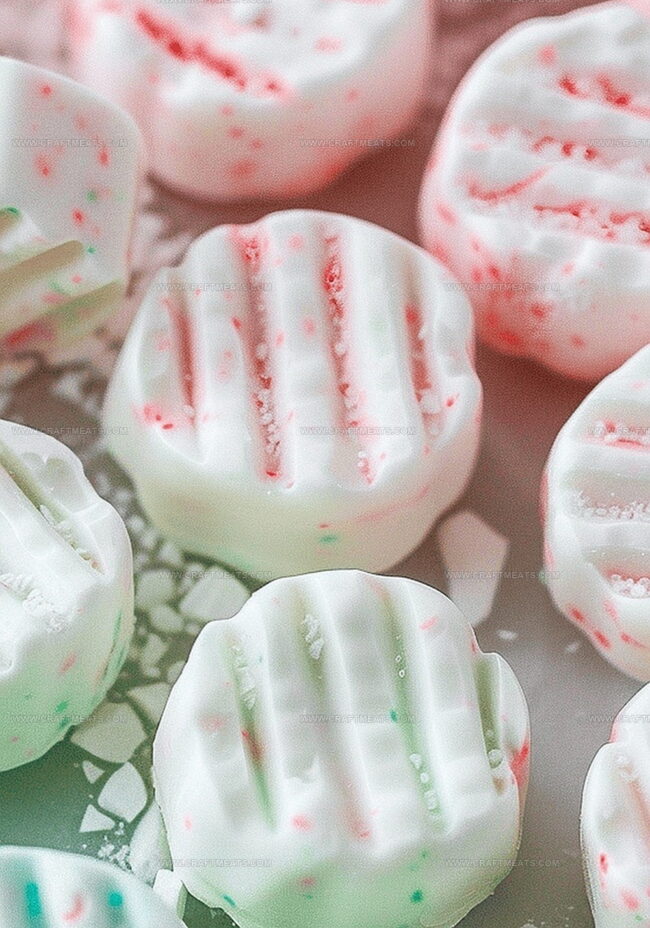
Step 5: Press And Design Your Mints
Dust a fork with powdered sugar. Gently press down on each mint ball, creating a classic fork-imprinted design. Rotate fork for consistent patterns.
Step 6: Let Mints Set And Preserve
Allow mints to dry at room temperature for 2 hours. Transfer to an airtight container. Refrigerate up to 1 month or freeze up to 6 months for long-lasting enjoyment.
Pro Tips for Smooth Peppermint Mints
How to Store Homemade Peppermint Treats
Serving Ideas for Creamy Mints
Mint Variations with Flavor Twists
Peppermint Mint FAQs That Help You Nail It
These mints can be stored in an airtight container in the refrigerator for up to a month, or frozen for up to 6 months for longer preservation.
While a stand mixer makes the process easier, you can use a hand mixer or even mix by hand with a wooden spoon. Just ensure the cream cheese and butter are thoroughly blended.
Gel food coloring is recommended as it provides vibrant color without adding extra liquid to the mixture. Start with just a tiny amount and gradually add more to achieve your desired shade.
Ensure the dough balls are smooth before pressing, and dust the fork with powdered sugar to prevent sticking. Work with small portions of dough at a time to keep it cool and manageable.
Print
Creamy Peppermint Delight Mints Recipe
- Total Time: 20 minutes
- Yield: 12 1x
Description
Silky smooth “Creamy Peppermint Delight” mints melt deliciously on tongues with festive winter charm. Homemade confections offer pure peppermint pleasure you’ll savor with each delightful bite.
Ingredients
Primary Ingredients:
- 8 ounces (226 grams) cream cheese, softened (full fat)
- 8 cups (907 grams) powdered sugar
- 2 tablespoons (28 grams) unsalted butter, softened
Flavor and Seasoning Ingredients:
- ¼ teaspoon fine sea salt
- 1 ½ teaspoons peppermint extract
Optional Ingredient:
- Gel food coloring
Instructions
- Prepare the base mixture by blending softened cream cheese and butter in a stand mixer until achieving a silky, uniform consistency.
- Introduce salt to the mixture, then gradually incorporate powdered sugar at medium-low speed, ensuring thorough integration.
- Infuse the blend with peppermint extract, continuing to slowly add remaining sugar one heaping tablespoon at a time, mixing completely between additions.
- Continue blending for several minutes, periodically scraping down the mixer bowl to guarantee a well-combined texture.
- If desired, separate the dough into distinct bowls for color variation, sparingly adding gel food coloring to reach preferred shade intensity.
- Portion the dough into small sections, rolling approximately one teaspoon of mixture into smooth, uniform balls.
- Arrange dough balls on a parchment-lined baking sheet, spacing them roughly two inches apart and carefully smoothing any visible seams.
- Dust a fork with powdered sugar and gently press each mint, creating a flattened shape with decorative fork imprints.
- Allow mints to air dry at room temperature for a minimum of two hours, enabling them to set and develop a slightly firmer texture.
- Transfer the finished mints to an airtight container, storing in the refrigerator for up to one month or freezing for extended preservation of up to six months.
Notes
- Optimal Texture Depends on Precise Mixing: Blend cream cheese and butter thoroughly until completely smooth to ensure creamy, consistent mint texture.
- Sugar Integration Matters: Add powdered sugar gradually and mix slowly to prevent lumps and achieve perfect consistency for shaping.
- Gentle Food Coloring Technique: Use gel food coloring sparingly to maintain delicate mint color without altering dough moisture.
- Precise Shaping Ensures Uniform Mints: Create consistent one-teaspoon sized balls and smooth seams to prevent cracking during pressing.
- Powdered Sugar Prevents Sticking: Dust fork with powdered sugar while creating mint imprints to keep dough from adhering to utensil.
- Extended Freshness Through Proper Storage: Allow mints to dry at room temperature before refrigerating, which preserves texture and flavor for up to a month.
- Prep Time: 20 minutes
- Cook Time: 0 minutes
- Category: Desserts, Snacks
- Method: Mixing
- Cuisine: American
Nutrition
- Serving Size: 12
- Calories: 36
- Sugar: 8 g
- Sodium: 0.5 mg
- Fat: 1.2 g
- Saturated Fat: 0.7 g
- Unsaturated Fat: 0.4 g
- Trans Fat: 0 g
- Carbohydrates: 9 g
- Fiber: 0 g
- Protein: 0.3 g
- Cholesterol: 3 mg
Isabella Rossi
Founder & Culinary Content Creator
Expertise
Recipe Development, Traditional Irish and European Cuisines, Food Styling and Photography, Culinary Education
Education
Dublin Institute of Technology (DIT) – School of Culinary Arts and Food Technology
Ballymaloe Cookery School
Liam is the voice behind many of Craft Meats’ most flavorful features. With roots in Dublin’s smoky barbecue scene and a culinary degree from the Dublin Institute of Technology, he brings time-tested cooking techniques to life.
His training at Ballymaloe Cookery School sharpened his farm-to-table approach, giving him a deep respect for every ingredient he writes about.
He’s not about overcomplicating the process, just helping you cook meat that’s worth talking about. When he’s not writing or grilling, he’s out foraging or nerding out on regional spice blends to add to his next recipe.