Pineapple Dessert Recipe That Tastes Like Sunshine in a Bowl
Creamy, dreamy layers of pure delight define this classic pineapple dream dessert that dances between sweet and tangy.
Southern kitchens have long cherished this nostalgic treat with its irresistible combination of textures.
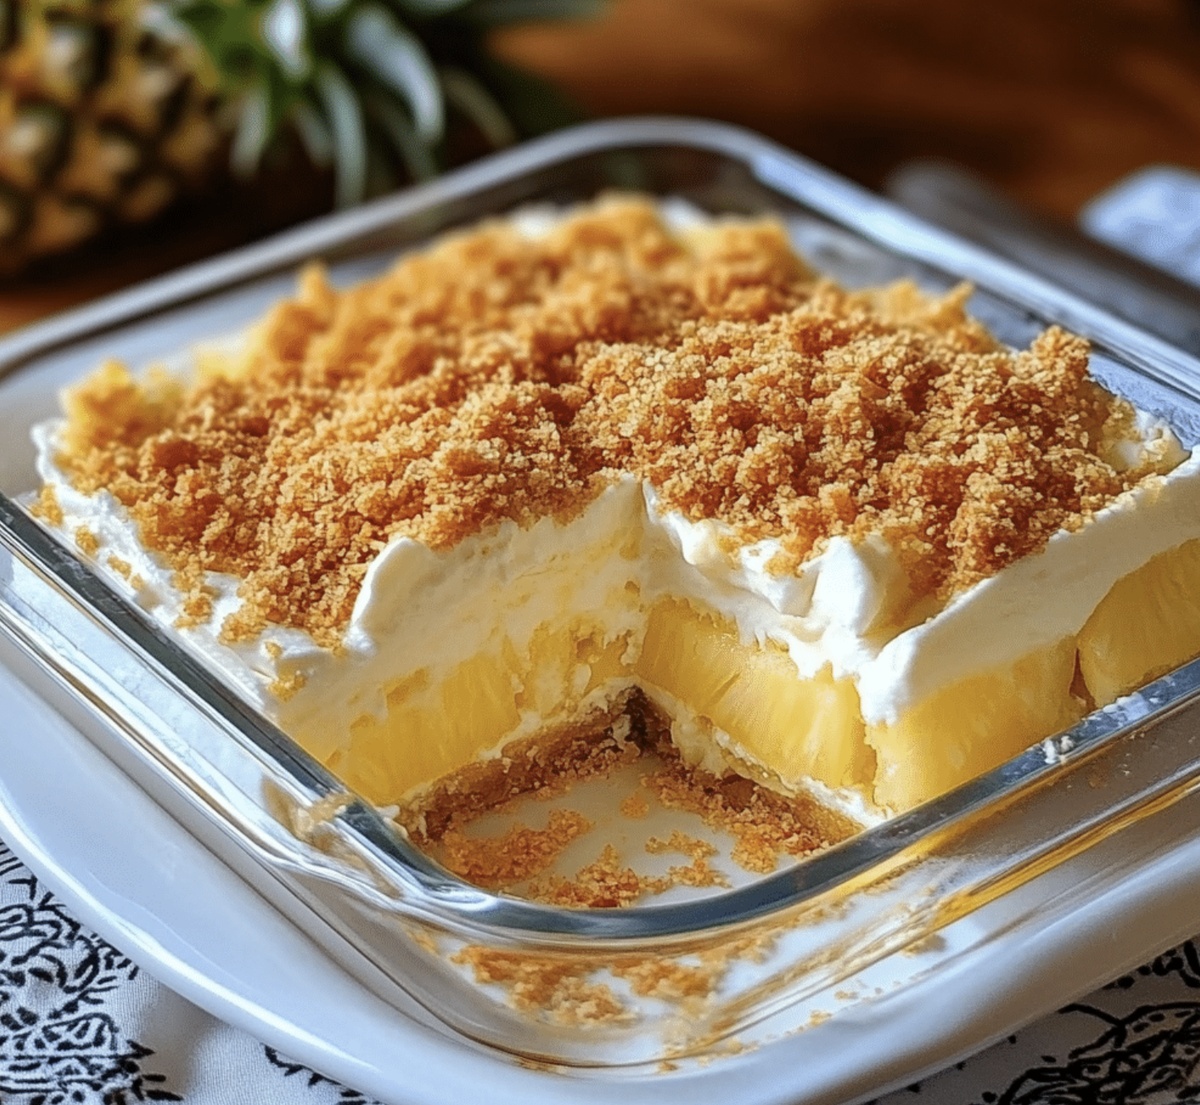
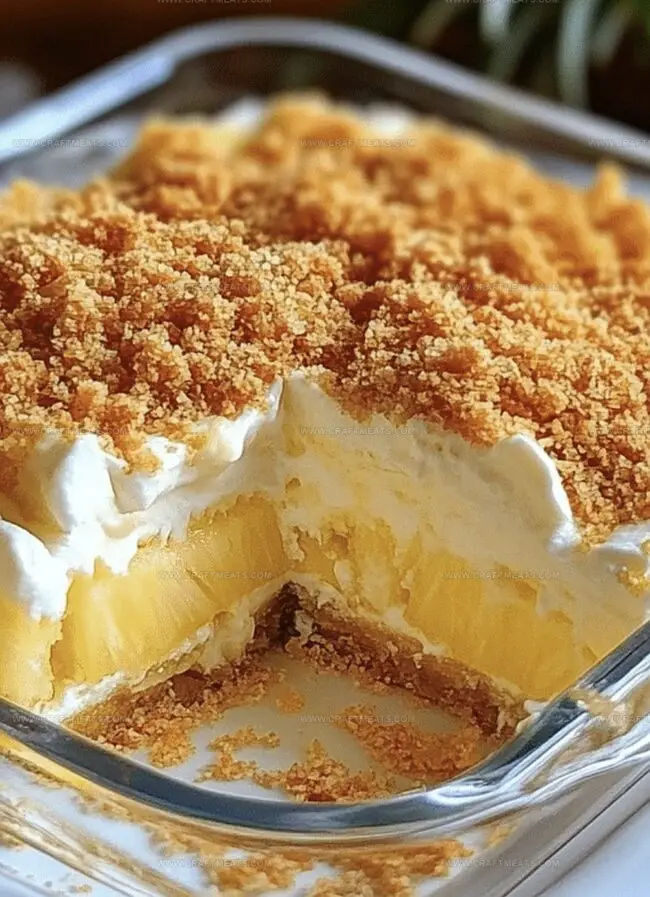
Crushed graham crackers form a buttery base that cradles a velvety cream cheese filling.
Chunks of tropical pineapple weave through each luscious bite, creating a refreshing contrast to the rich, smooth layers.
Cool and light, this dessert promises a moment of pure indulgence that transports you to sunny afternoons.
Whip up this simple yet spectacular dessert and watch smiles spread across faces as everyone takes their first delectable spoonful.
Quick Recipe Overview
All You Need For Pineapple Dream Dessert
For Crust Base:For Creamy Filling:For Topping and Garnish:Tools List For Pineapple Dream Dessert
Simple Steps For Pineapple Dream Dessert

Crush graham crackers into fine crumbs and blend with melted butter until perfectly combined. Press the mixture into a baking dish, creating a smooth, compact base. Let the crust rest in the refrigerator while preparing the next delightful layer.
Whip cream cheese until silky and light. Gradually incorporate powdered sugar, creating a dreamy mixture. Fold in juicy crushed pineapple, ensuring an even distribution of tropical sweetness throughout the creamy base.
Carefully spread the pineapple-cream cheese mixture over the chilled crust, creating a smooth and even surface that promises delectable bites.
Cover the pineapple layer with a generous blanket of whipped topping. For an extra touch of tropical elegance, sprinkle toasted coconut flakes across the surface.
Refrigerate the dessert for several hours, allowing the flavors to mingle and the layers to set perfectly. The waiting is part of the delicious journey.
Slice into beautiful squares and serve. Each bite transports you to a sunny beachside paradise, bursting with creamy, fruity goodness.
Tips For A Perfect Pineapple Dream Dessert
Best Ways To Serve Pineapple Dream Dessert
Pineapple Dream Dessert Storage Instructions
Seal the dessert in an airtight container to maintain freshness and prevent flavor absorption from other foods.
Print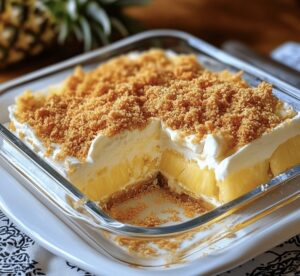
Creamy Pineapple Dream Dessert Recipe
- Total Time: 4 hours 20 minutes
- Yield: 7 1x
Description
Creamy pineapple dream dessert blends tropical flavors into a luscious no-bake treat. Cool graham cracker crust and silky pineapple filling invite sweet summer memories that will delight you.
Ingredients
- 1 20 oz / 567 g can crushed pineapple (drained well)
- 8 oz / 226 g cream cheese (softened)
- 2 cups graham cracker crumbs
- ½ cup unsalted butter (melted)
- ½ cup unsalted butter (softened)
- ¼ cup granulated sugar
- 2 cups powdered sugar
- 1 cup whipped topping (like Cool Whip or homemade whipped cream)
- ¼ cup toasted coconut flakes (optional, for garnish)
Instructions
- Crust Creation: Blend graham cracker crumbs, melted butter, and granulated sugar into a cohesive mixture. Press firmly into a 9×13-inch baking dish, ensuring an even, compact base. Refrigerate to set while preparing subsequent layers.
- Cream Cheese Fusion: Whip cream cheese and butter until smooth and creamy. Gradually add powdered sugar, continuing to blend until achieving a light, airy consistency. Fold in drained crushed pineapple, distributing evenly throughout the mixture.
- Layer Assembly: Spread the pineapple-cream cheese blend over the chilled crust, creating a uniform layer that promises consistent flavor in every serving.
- Topping Finesse: Generously cover the cream cheese layer with whipped topping, smoothing the surface with gentle, precise movements. Sprinkle toasted coconut flakes across the top for added texture and visual appeal.
- Flavor Melding: Refrigerate the dessert for a minimum of four hours, or preferably overnight. This resting period allows the layers to set and flavors to harmonize, transforming individual components into a cohesive, luxurious dessert.
- Serving Presentation: Cut into neat squares, revealing the beautiful layers. Serve chilled and enjoy the refreshing, tropical-inspired delicacy.
Notes
- Optimize Crust Texture: Press graham cracker mixture firmly and evenly to create a solid, compact base that prevents crumbling and provides a stable foundation for the creamy layers.
- Prevent Watery Layers: Thoroughly drain crushed pineapple to eliminate excess moisture, ensuring the cream cheese mixture maintains a thick, luxurious consistency without becoming runny.
- Enhance Flavor Depth: Consider toasting coconut flakes briefly before sprinkling to intensify their nutty flavor and add a delightful aromatic dimension to the dessert’s profile.
- Make It Dietary-Friendly: Swap traditional ingredients with low-fat cream cheese, sugar-free whipped topping, and gluten-free graham crackers to accommodate various dietary restrictions without compromising taste.
- Prep Time: 20 minutes
- Cook Time: 4 hours
- Category: Desserts
- Method: Mixing
- Cuisine: American
Nutrition
- Serving Size: 7
- Calories: 401
- Sugar: 31 g
- Sodium: 150 mg
- Fat: 24 g
- Saturated Fat: 14 g
- Unsaturated Fat: 8 g
- Trans Fat: 0 g
- Carbohydrates: 43 g
- Fiber: 1 g
- Protein: 3 g
- Cholesterol: 45 mg
Liam O’Sullivan
Founder & Culinary Content Creator
Expertise
Recipe Development, Traditional Irish and European Cuisines, Food Styling and Photography, Culinary Education
Education
Dublin Institute of Technology (DIT) – School of Culinary Arts and Food Technology
Ballymaloe Cookery School
Isabella brings a global spark to the Craft Meats table. Born in Florence and trained at the Apicius International School of Hospitality, she blends classic Italian flavor with modern writing that’s easy to follow and hard to forget.
Her additional training at the Italian Chef Academy fueled her love for well-crafted dishes, especially ones that spotlight beautiful cuts of meat.
She’s a food writer with heart, and a deep love for storytelling through single recipes. Her goal? To help you cook with more confidence and a little more joy, no matter where you start.