
Chi-Chis Baked Chicken Chimichangas Recipe: A Fiesta!
Crispy, golden chimichangas burst with flavor in this chi-chis baked chicken chimichangas recipe that brings restaurant-style magic straight to your kitchen.
Tender shredded chicken nestles inside perfectly toasted tortillas, creating a meal that sparks excitement at first bite.
Packed with zesty seasonings and melted cheese, these chimichangas offer a delightful twist on classic Mexican-inspired comfort food.
You’ll love how easily these come together with simple ingredients and minimal prep time.
The baking method ensures a healthier alternative to traditional deep-fried versions without sacrificing an ounce of crunch.
Each bite delivers a satisfying combination of crisp exterior and succulent filling that will have everyone at the table asking for seconds.
Dive into this mouthwatering recipe and transform your weeknight dinner into a fiesta of flavors.
Quick Recipe Overview
Ingredients That Make Chi-Chis Baked Chicken Chimichangas
For Protein Base:For Cheese and Melting Ingredients:For Seasoning and Flavor Enhancers:For Wrapping and Cooking:Tools Used For Chi-Chis Baked Chicken Chimichangas
How To Bake Chi-Chis Baked Chicken Chimichangas
Warm up the kitchen with a toasty 400F heat. Cover a baking sheet with a protective layer to prevent sticking and ensure easy cleanup.
Combine tender chicken with a symphony of cheese, cream, and zesty spices. Mix everything together until the ingredients dance and blend seamlessly.
Spread the vibrant filling onto soft tortillas. Carefully fold and roll each one into a neat package, creating little pockets of deliciousness. Arrange them seam-side down on the prepared baking sheet.
Brush the chimichangas with a light coating of melted butter or a quick spray of cooking oil. Let them bake until they turn a beautiful golden brown, creating a crispy exterior that crackles with each bite.
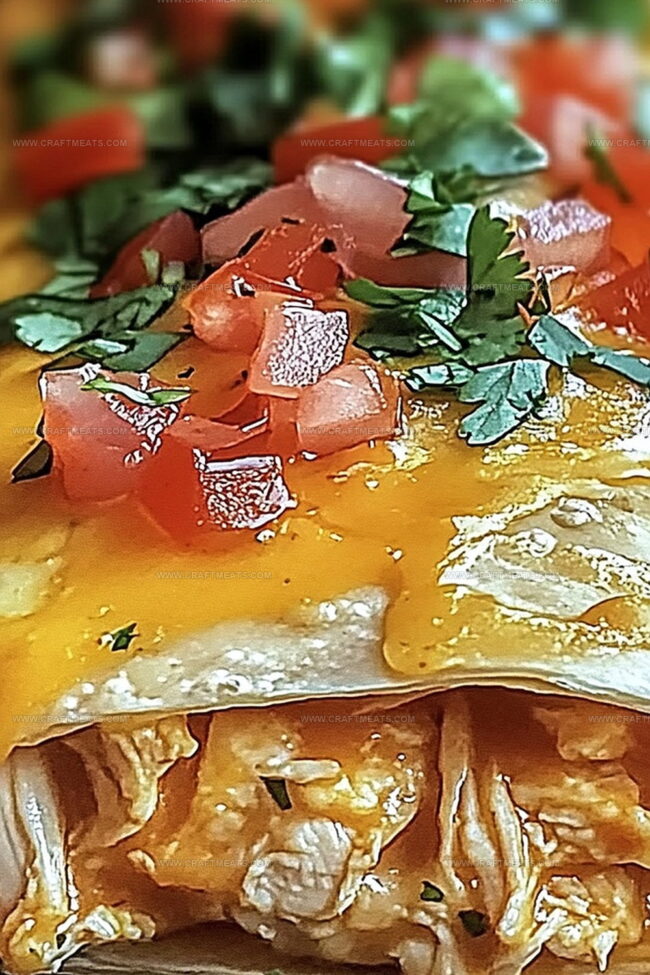
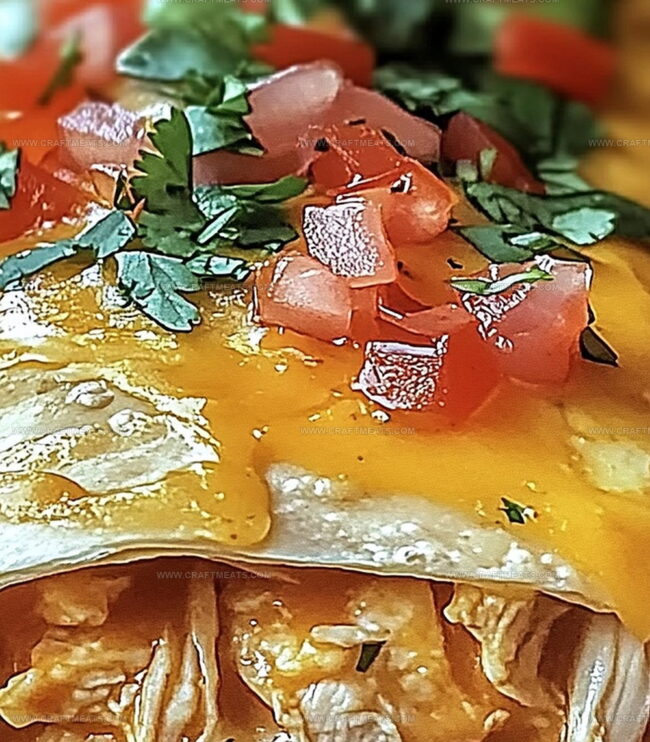
Bring these golden treasures to the table and surround them with a colorful array of fresh toppings. Invite everyone to garnish their chimichanga with salsa, creamy guacamole, cool sour cream, and crisp vegetables.
Simple Tips For Chi-Chis Baked Chicken Chimichangas
Fun Ways To Serve Chi-Chis Baked Chicken Chimichangas
Smart Storage For Chi-Chis Baked Chicken Chimichangas
Print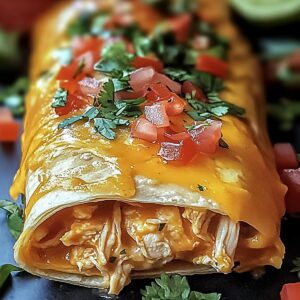
Crispy Chi-Chis Baked Chicken Chimichangas Recipe
- Total Time: 40 minutes
- Yield: 5 1x
Description
Mexican-inspired chi-chis baked chicken chimichangas offer a delightful twist on traditional fare. Crispy tortillas packed with seasoned chicken create a satisfying meal you can easily prepare at home.
Ingredients
- 2 cups cooked shredded chicken (rotisserie)
- 1 cup shredded cheddar cheese
- ½ cup shredded monterey jack cheese
- 6 large flour tortillas
- ½ cup sour cream
- 2 tbsps (30 mL) melted butter or cooking spray
- ¼ cup diced green chilies (canned)
- 1 tsp ground cumin
- 1 tsp chili powder
- ½ tsp garlic powder
- ½ tsp onion powder
- Salt and pepper to taste
- Salsa
- Guacamole
- Sour cream
- Shredded lettuce
- Diced tomatoes
Instructions
- Oven Preparation: Preheat the oven to 400F (200C) and line a baking sheet with parchment paper or a silicone mat for easy cleanup and non-stick performance.
- Filling Creation: In a large mixing bowl, combine shredded chicken, cheddar and Monterey Jack cheeses, sour cream, green chilies, cumin, chili powder, garlic powder, onion powder, salt, and pepper. Mix thoroughly until all ingredients are evenly distributed and create a cohesive filling.
- Chimichanga Assembly: Place a tortilla flat, spoon the chicken mixture into the center, fold the sides inward, and roll tightly into a compact bundle. Position each chimichanga seam-side down on the prepared baking sheet, ensuring they are securely sealed.
- Baking and Browning: Brush or mist the chimichanga tops with melted butter to promote a golden, crispy exterior. Bake in the preheated oven for 20-25 minutes until the surface achieves a rich, bronzed appearance and the filling is heated through.
- Serving and Garnishing: Plate the hot chimichangas and accompany with an array of vibrant toppings such as salsa, guacamole, sour cream, shredded lettuce, and diced tomatoes to elevate the dining experience.
Notes
- Seal Securely: Ensure tortilla edges are tightly folded to prevent filling from leaking during baking, creating perfect compact chimichangas.
- Cheese Melting Tip: Use room temperature cheeses for smoother, more even distribution throughout the chicken mixture.
- Butter Brushing Technique: Apply melted butter sparingly and evenly to achieve a crisp, golden exterior without making the tortilla soggy.
- Diet Adaptation: Swap regular tortillas with low-carb or gluten-free alternatives, and use reduced-fat cheese for lighter version without compromising flavor intensity.
- Prep Time: 15 minutes
- Cook Time: 25 minutes
- Category: Dinner, Snacks
- Method: Baking
- Cuisine: Mexican
Nutrition
- Serving Size: 5
- Calories: 380
- Sugar: 2 g
- Sodium: 780 mg
- Fat: 20 g
- Saturated Fat: 10 g
- Unsaturated Fat: 8 g
- Trans Fat: 0 g
- Carbohydrates: 36 g
- Fiber: 2 g
- Protein: 22 g
- Cholesterol: 75 mg
Liam O’Sullivan
Founder & Culinary Content Creator
Expertise
Recipe Development, Traditional Irish and European Cuisines, Food Styling and Photography, Culinary Education
Education
Dublin Institute of Technology (DIT) – School of Culinary Arts and Food Technology
Ballymaloe Cookery School
Isabella brings a global spark to the Craft Meats table. Born in Florence and trained at the Apicius International School of Hospitality, she blends classic Italian flavor with modern writing that’s easy to follow and hard to forget.
Her additional training at the Italian Chef Academy fueled her love for well-crafted dishes, especially ones that spotlight beautiful cuts of meat.
She’s a food writer with heart, and a deep love for storytelling through single recipes. Her goal? To help you cook with more confidence and a little more joy, no matter where you start.