Fluffy Homemade Garlic Bread Rolls Recipe: Golden Buttery Bites
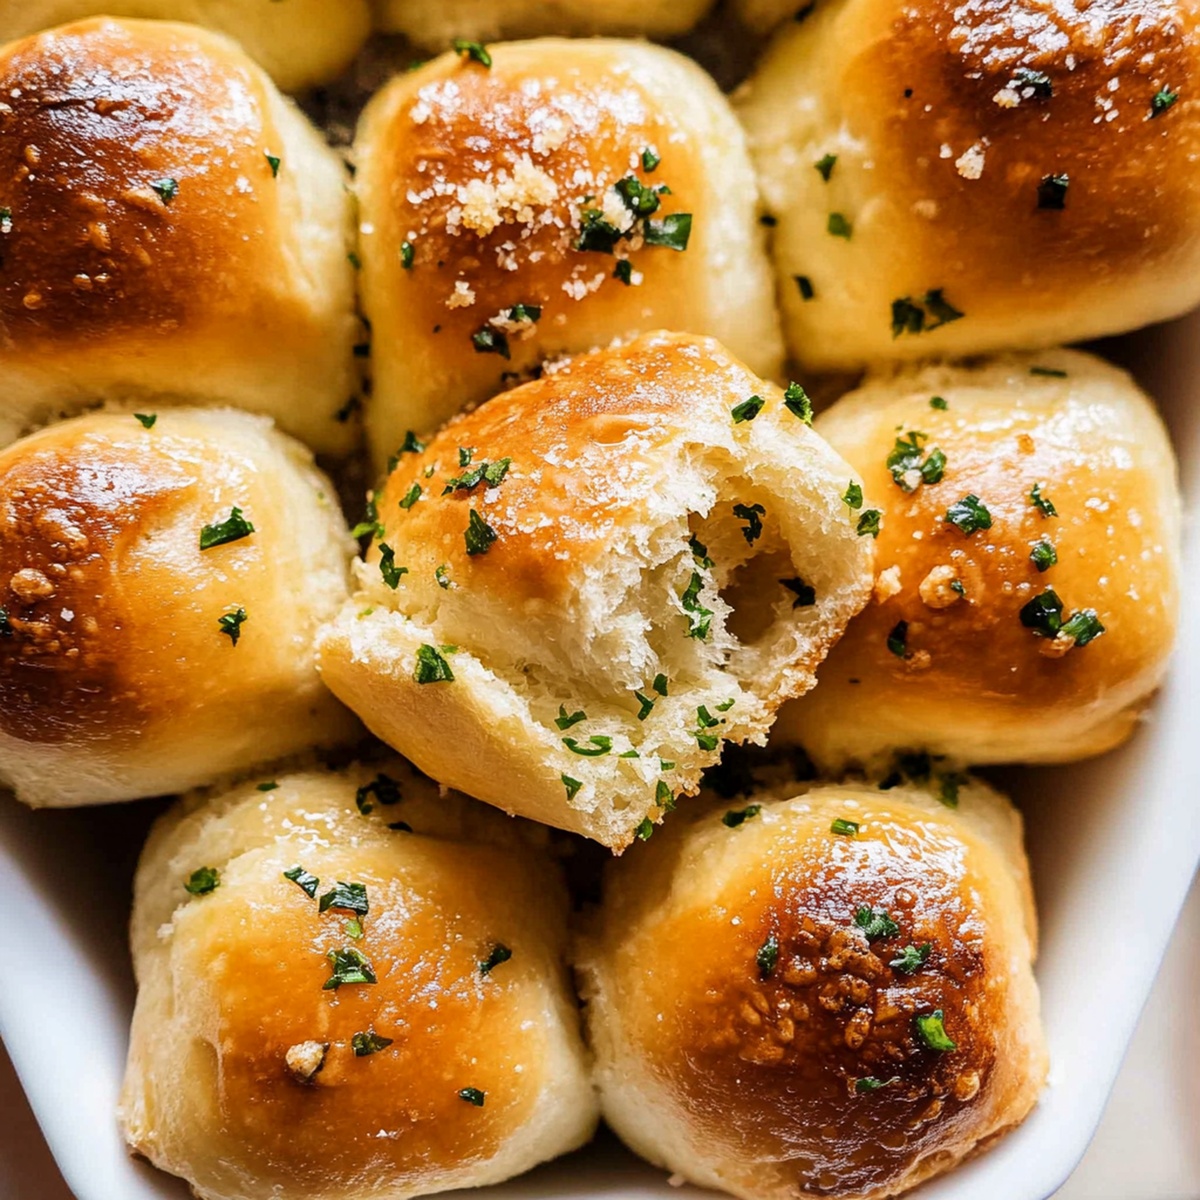
Warm, golden-brown garlic bread rolls emerge straight from the oven, filling your kitchen with an irresistible aroma that promises comfort and deliciousness.
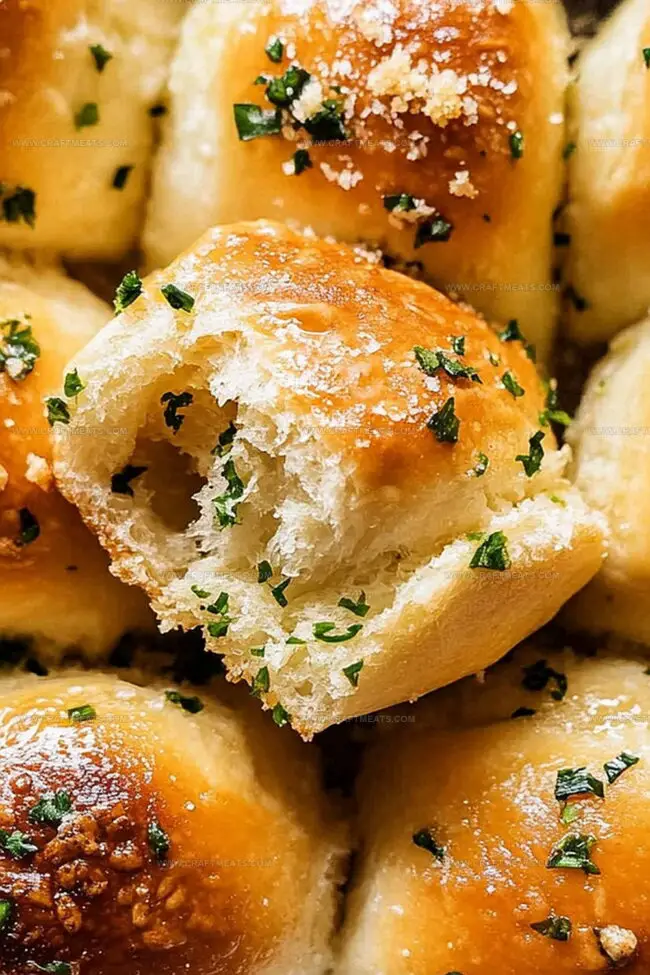
Soft, pillowy dough gets brushed with a fragrant blend of herbs and minced garlic, creating a mouthwatering side dish everyone craves.
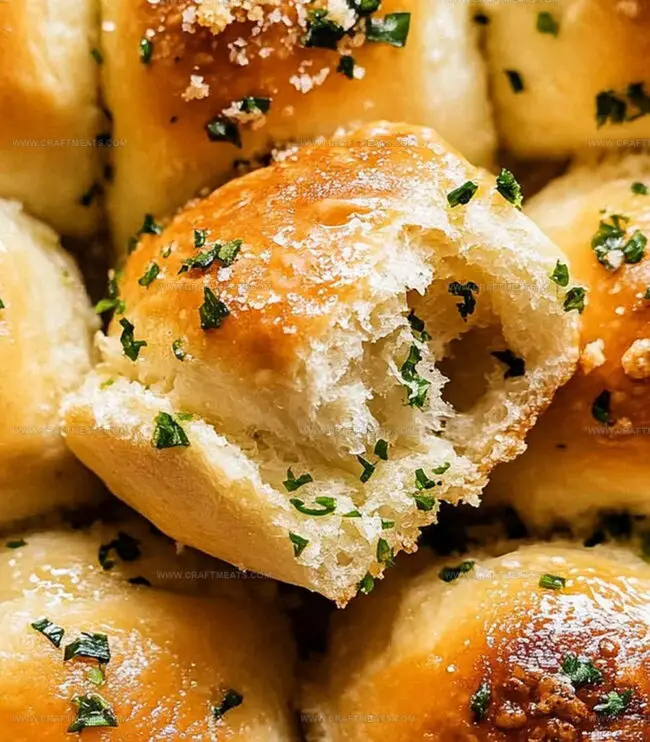
Each roll boasts a crispy exterior and tender interior that melts in your mouth with savory goodness.
Butter-rich and perfectly seasoned, these rolls complement any meal from casual weeknight dinners to special gatherings.
Simple ingredients transform into something extraordinary with just a few easy steps.
Homemade bread never tasted this good, and once you start baking these rolls, they’ll become a staple in your recipe collection.
Dive into this delectable recipe and watch as these garlic bread rolls become the star of your dining table.
Quick Recipe Overview
Everything In Garlic Bread Rolls
For Dough Base:For Activation and Moisture:For Flavor and Finishing:Kitchen Items Needed For Garlic Bread Rolls
Step-By-Step Guide For Garlic Bread Rolls
Awaken the magic of yeast by mixing it with warm water and sugar. Let the mixture sit and become frothy, signaling the start of a delicious journey.
Blend flour and salt in a spacious bowl. Pour in the bubbly yeast mixture along with warm milk, soft butter, and a beaten egg. Knead the dough until it becomes smooth and elastic, either by hand or with a mixer.
Allow the dough to rest and expand in a cozy, warm spot. Watch it double in size, transforming into a puffy cloud of potential deliciousness.
Gently deflate the risen dough and divide it into equal portions. Shape each piece into a round ball, placing them carefully on a baking tray with a bit of breathing room between them.
Cover the rolls and let them puff up again, becoming plump and promising.
Melt butter and infuse it with minced garlic and fresh parsley. This aromatic mixture will bring your rolls to life with incredible flavor.
Slide the tray into a hot oven and watch the rolls turn golden brown. Brush them generously with garlic butter right after baking, creating a glistening, irresistible finish.
Bring these heavenly rolls to the table while they’re warm, ready to be devoured alongside a comforting meal or enjoyed all on their own.
Tips And Switch-Ups For Garlic Bread Rolls
Serving Garlic Bread Rolls Made Easy
Keep Garlic Bread Rolls Fresh And Ready
Keep your freshly baked garlic bread rolls at room temperature in an airtight container for 2-3 days, ensuring maximum softness and flavor.
Print
Crispy Garlic Bread Rolls Recipe
- Total Time: 2.5 hours
- Yield: 11 1x
Description
Savory garlic bread rolls bring warmth from Italian kitchens to your table. Herb-infused dough and melted butter create a comforting side that complements many main dishes you’ll love serving.
Ingredients
- 500 g (4 cups) all-purpose flour
- 250 ml (1 cup) warm milk
- 60 ml (¼ cup) warm water
- 1 egg, lightly beaten
- 1 packet (7 g or 2 ¼ tsps) active dry yeast
- 1 tbsp sugar
- 1 tsp salt
- 60 g (4 tbsps) unsalted butter, softened
- 60 g (4 tbsps) unsalted butter, melted
- 3 cloves garlic, minced
- 1 tbsp fresh parsley, chopped
- ¼ cup parmesan cheese (optional, for sprinkling)
Instructions
- Yeast Activation: Combine warm water, sugar, and yeast in a small bowl. Let the mixture become frothy, signaling active yeast.
- Dough Formation: In a large bowl, blend flour and salt. Incorporate activated yeast, warm milk, softened butter, and beaten egg until a cohesive dough emerges. Knead on a floured surface or use a stand mixer with a dough hook for 8-10 minutes, developing elasticity and smoothness.
- First Proofing: Transfer dough to a greased bowl, cover with a kitchen towel, and place in a warm, draft-free location. Allow the dough to rise and double in volume, approximately 1-1.5 hours.
- Shaping and Second Proofing: Gently deflate the dough and divide into 12 equal portions. Roll each into a smooth ball and arrange on a greased or parchment-lined baking tray. Cover with a towel and let rise for 30-40 minutes.
- Garlic Butter Preparation: Melt butter and mix with minced garlic and fresh parsley until thoroughly combined.
- Baking and Finishing: Preheat the oven to 190C (375F). Brush rolls with half the garlic butter and bake for 15-20 minutes until golden-brown. Remove from oven, immediately apply remaining garlic butter, and optionally sprinkle with Parmesan cheese. Serve warm alongside pasta, soup, or as a standalone delicacy.
Notes
- Choose Fresh Yeast: Select active dry yeast that’s recently purchased and stored properly to ensure optimal dough rising and flavor development.
- Manage Dough Temperature: Keep ingredients around 110-115°F for perfect yeast activation without killing microorganisms, using a kitchen thermometer for precision.
- Knead with Patience: Develop gluten structure by kneading thoroughly, either by hand or mixer, until dough becomes smooth, elastic, and slightly tacky – not sticky or dry.
- Customize Dietary Needs: Substitute all-purpose flour with gluten-free blend for celiac-friendly version, or use whole wheat flour for increased nutritional value and nutty undertone.
- Prep Time: 20 minutes
- Cook Time: 20 minutes
- Category: Appetizer, Snacks
- Method: Baking
- Cuisine: Italian
Nutrition
- Serving Size: 11
- Calories: 180
- Sugar: 1 g
- Sodium: 200 mg
- Fat: 8 g
- Saturated Fat: 5 g
- Unsaturated Fat: 2 g
- Trans Fat: 0 g
- Carbohydrates: 23 g
- Fiber: 1 g
- Protein: 4 g
- Cholesterol: 25 mg
Liam O’Sullivan
Founder & Culinary Content Creator
Expertise
Recipe Development, Traditional Irish and European Cuisines, Food Styling and Photography, Culinary Education
Education
Dublin Institute of Technology (DIT) – School of Culinary Arts and Food Technology
Ballymaloe Cookery School
Isabella brings a global spark to the Craft Meats table. Born in Florence and trained at the Apicius International School of Hospitality, she blends classic Italian flavor with modern writing that’s easy to follow and hard to forget.
Her additional training at the Italian Chef Academy fueled her love for well-crafted dishes, especially ones that spotlight beautiful cuts of meat.
She’s a food writer with heart, and a deep love for storytelling through single recipes. Her goal? To help you cook with more confidence and a little more joy, no matter where you start.