Gooey Homemade Garlic Butter Cheese Bombs Recipe for Fun Baking
Warm, gooey cheese garlic butter bombs burst with irresistible flavors that promise pure comfort.
These delectable pastry delights pack a punch of savory goodness in every single bite.
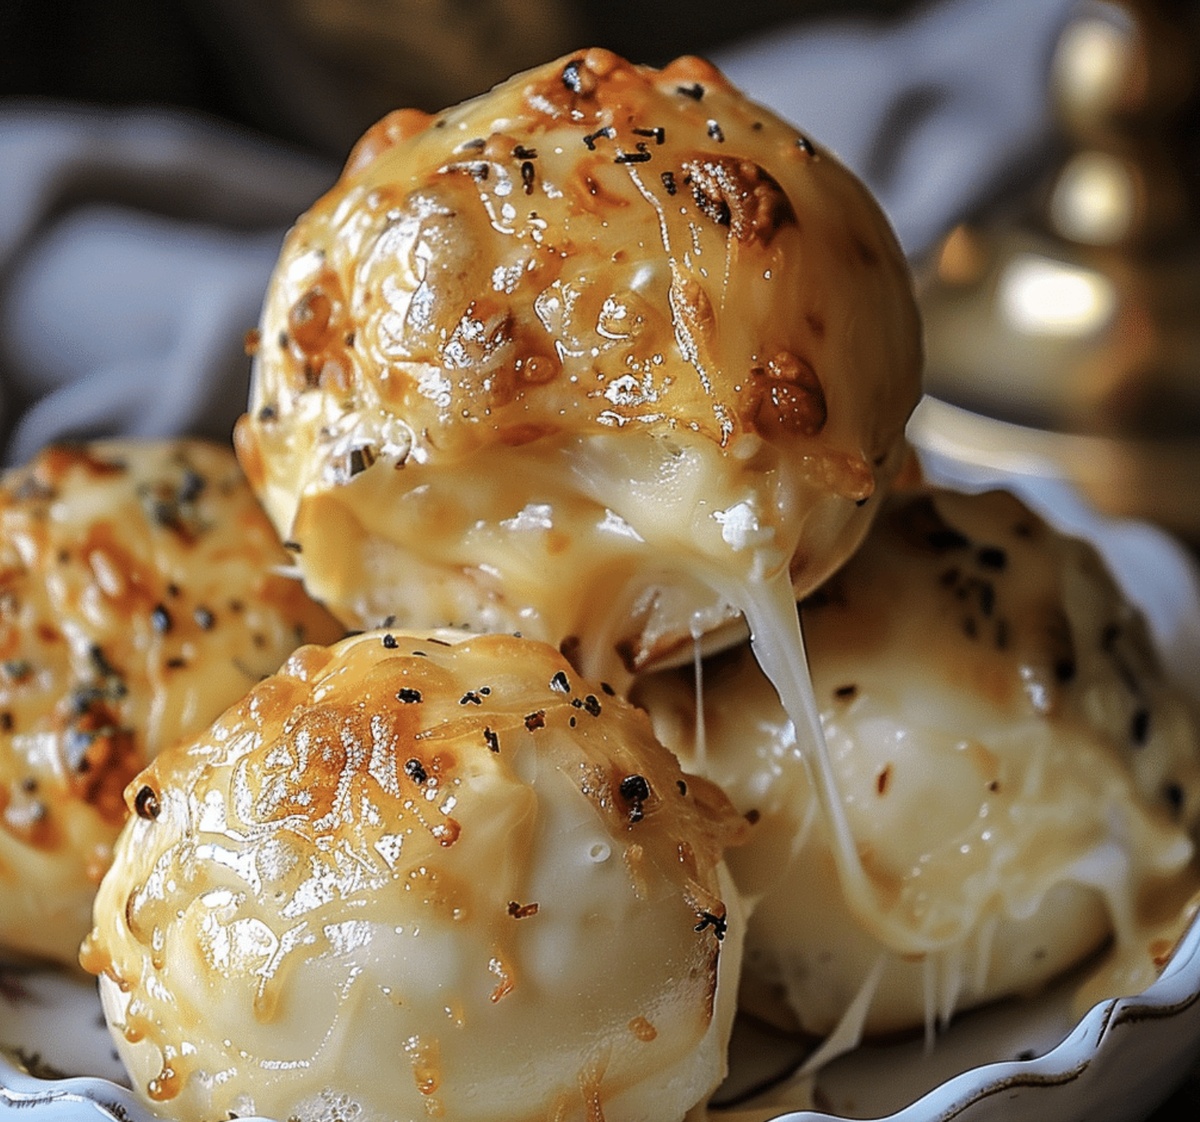
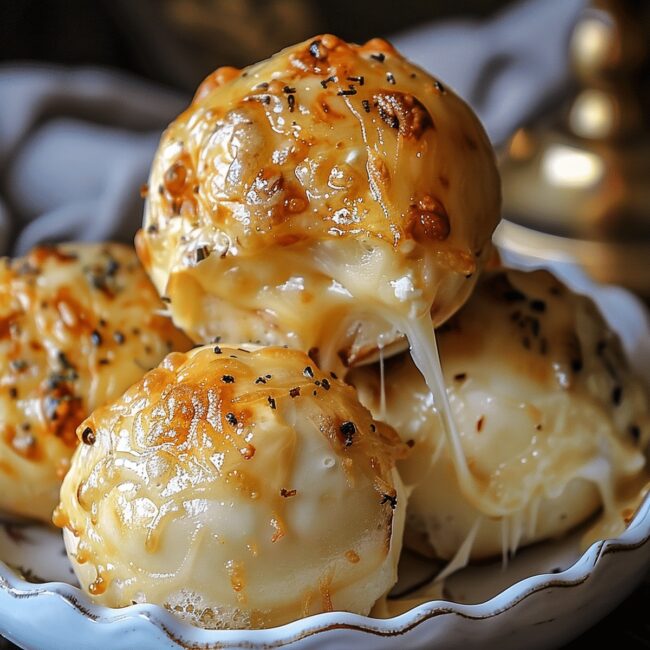
Crispy on the outside and molten soft within, these cheese bombs will become your new favorite appetizer.
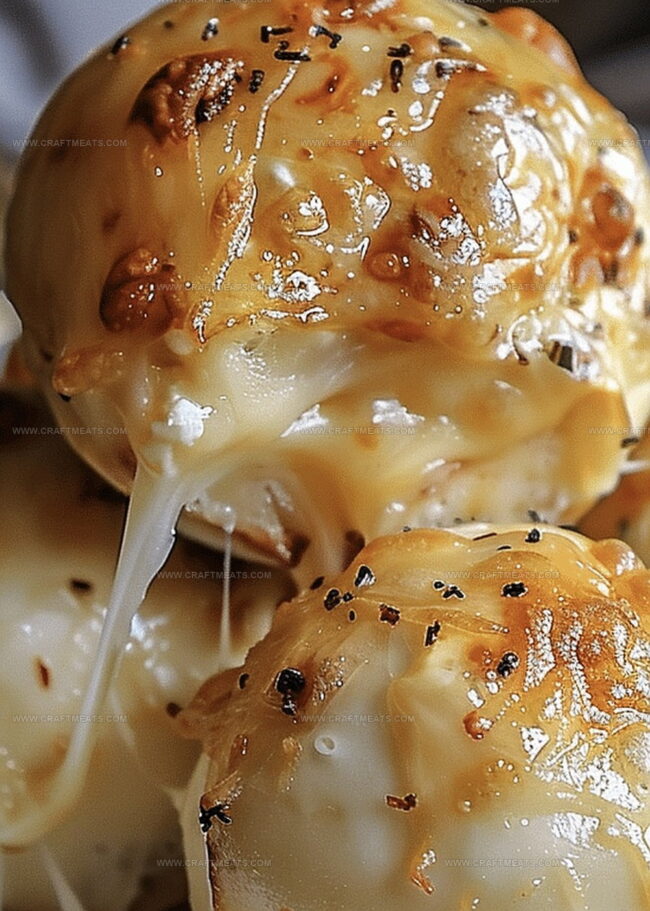
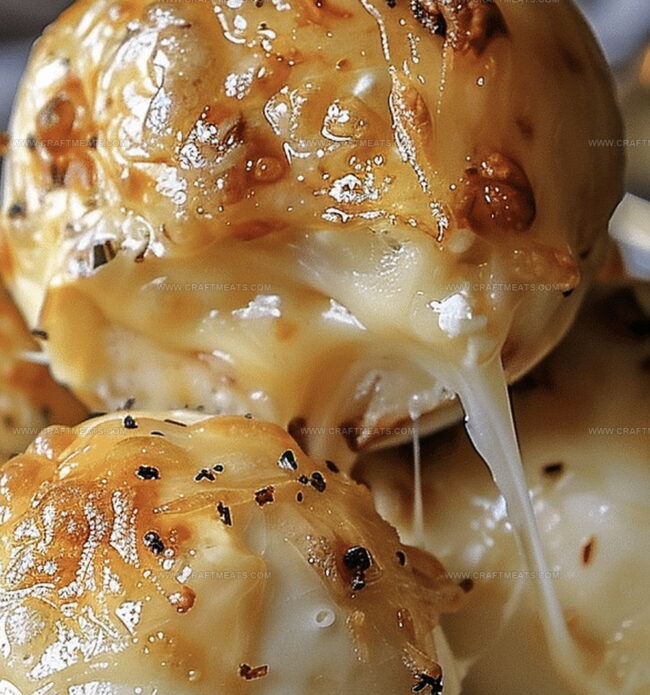
Golden-brown edges and melted cheese centers create an addictive texture that beckons hungry guests.
Simple ingredients combine to create something extraordinary on your dinner table.
Each bomb delivers a perfect blend of cheesy richness and aromatic garlic that elevates any meal.
Serve these crowd-pleasing delights and watch them disappear in seconds.
Quick Recipe Overview
What Goes In Homemade Garlic Butter Cheese Bombs
For Dough Base:For Garlic Butter Topping:For Optional Serving:Tools You’ll Use For Homemade Garlic Butter Cheese Bombs
How To Make Homemade Garlic Butter Cheese Bombs
Crank up the heat to a toasty 375F and grab a baking sheet lined with parchment paper. This sets the stage for cheesy magic.
Gently separate each biscuit and flatten them into soft, pillowy circles. These will become your crispy, golden vessels of cheesy goodness.
Nestle a chunk of mozzarella right in the center of each biscuit. Wrap and seal the dough around the cheese, creating little treasure pouches that promise gooey delights.
Arrange the sealed dough balls on the baking sheet, seam side down. Let them turn golden and puffy in the oven for about 10-12 minutes.
While the bombs are getting crispy, whip up a quick garlic butter mixture. Combine melted butter with minced garlic and a sprinkle of Italian seasoning for an irresistible coating.
Pull the hot cheese bombs from the oven and generously brush them with the aromatic garlic butter. Scatter some fresh parsley on top for a pop of color and fresh flavor.
Serve these warm, irresistible bombs immediately. The melted cheese will stretch dramatically when pulled apart, creating a mouthwatering experience perfect for sharing.
Tips For Homemade Garlic Butter Cheese Bombs
Ways To Serve Homemade Garlic Butter Cheese Bombs
Storage Tips For Homemade Garlic Butter Cheese Bombs
Print
Crispy Garlic Butter Cheese Bombs
- Total Time: 22 minutes
- Yield: 7 1x
Description
Garlic butter cheese bombs deliver pure comfort with crispy, golden pastry and melted cheese inside. Quick preparations and simple ingredients make this crowd-pleasing appetizer perfect when you want something deliciously indulgent.
Ingredients
- 1 (8) refrigerated biscuit dough, can (16 oz / 454 g)
- 4 oz (113 g) mozzarella cheese, cut into 8 cubes
- 4 tbsps (60 ml) unsalted butter, melted
- 2 cloves garlic, minced
- ½ tsp (2.5 ml) Italian seasoning
- 1 tbsp (15 ml) parsley, fresh, chopped (or 1 tsp / 5 ml dried)
Instructions
- Preparation: Gather all ingredients and tools on a clean, organized workspace to ensure a smooth cooking process.
- Dough Preparation: Unfold biscuit dough and gently flatten each piece into uniform circular shapes, creating an ideal base for the cheese filling.
- Cheese Filling: Center a mozzarella cheese cube on each biscuit round, then carefully fold and seal the dough edges, completely encasing the cheese to form sealed pouches.
- Baking Setup: Arrange the sealed dough spheres seam-side down on a parchment-lined baking sheet, preparing for a golden transformation in the preheated oven.
- Cooking Process: Bake the cheese bombs at the specified temperature for 10-12 minutes until they achieve a beautiful golden-brown exterior and the cheese melts internally.
- Garlic Butter Finish: Craft a luxurious garlic butter mixture by combining melted butter with finely minced garlic and Italian seasoning, then generously brush over the freshly baked bombs.
- Final Touch: Garnish with freshly chopped parsley and serve immediately, optionally pairing with marinara sauce for an extra burst of flavor.
Notes
- Manage Dough Temperature: Keep biscuit dough chilled until ready to use, preventing stickiness and ensuring easier handling during preparation.
- Seal Edges Thoroughly: Pinch dough edges completely to prevent cheese from leaking during baking, creating perfect contained cheese bombs every time.
- Control Cheese Placement: Center mozzarella precisely in dough’s middle to guarantee even melting and prevent potential rupturing during cooking process.
- Customize Flavor Variations: Experiment with different cheese types like cheddar or pepper jack, or add herbs like basil or oregano for unique taste profiles that suit personal preferences.
- Prep Time: 10 minutes
- Cook Time: 12 minutes
- Category: Appetizer, Snacks
- Method: Baking
- Cuisine: American
Nutrition
- Serving Size: 7
- Calories: 190
- Sugar: 1 g
- Sodium: 480 mg
- Fat: 14 g
- Saturated Fat: 8 g
- Unsaturated Fat: 4 g
- Trans Fat: 0 g
- Carbohydrates: 15 g
- Fiber: 0 g
- Protein: 5 g
- Cholesterol: 30 mg
Liam O’Sullivan
Founder & Culinary Content Creator
Expertise
Recipe Development, Traditional Irish and European Cuisines, Food Styling and Photography, Culinary Education
Education
Dublin Institute of Technology (DIT) – School of Culinary Arts and Food Technology
Ballymaloe Cookery School
Isabella brings a global spark to the Craft Meats table. Born in Florence and trained at the Apicius International School of Hospitality, she blends classic Italian flavor with modern writing that’s easy to follow and hard to forget.
Her additional training at the Italian Chef Academy fueled her love for well-crafted dishes, especially ones that spotlight beautiful cuts of meat.
She’s a food writer with heart, and a deep love for storytelling through single recipes. Her goal? To help you cook with more confidence and a little more joy, no matter where you start.