Garlic Knots Recipe with Warm, Buttery Homemade Flavor
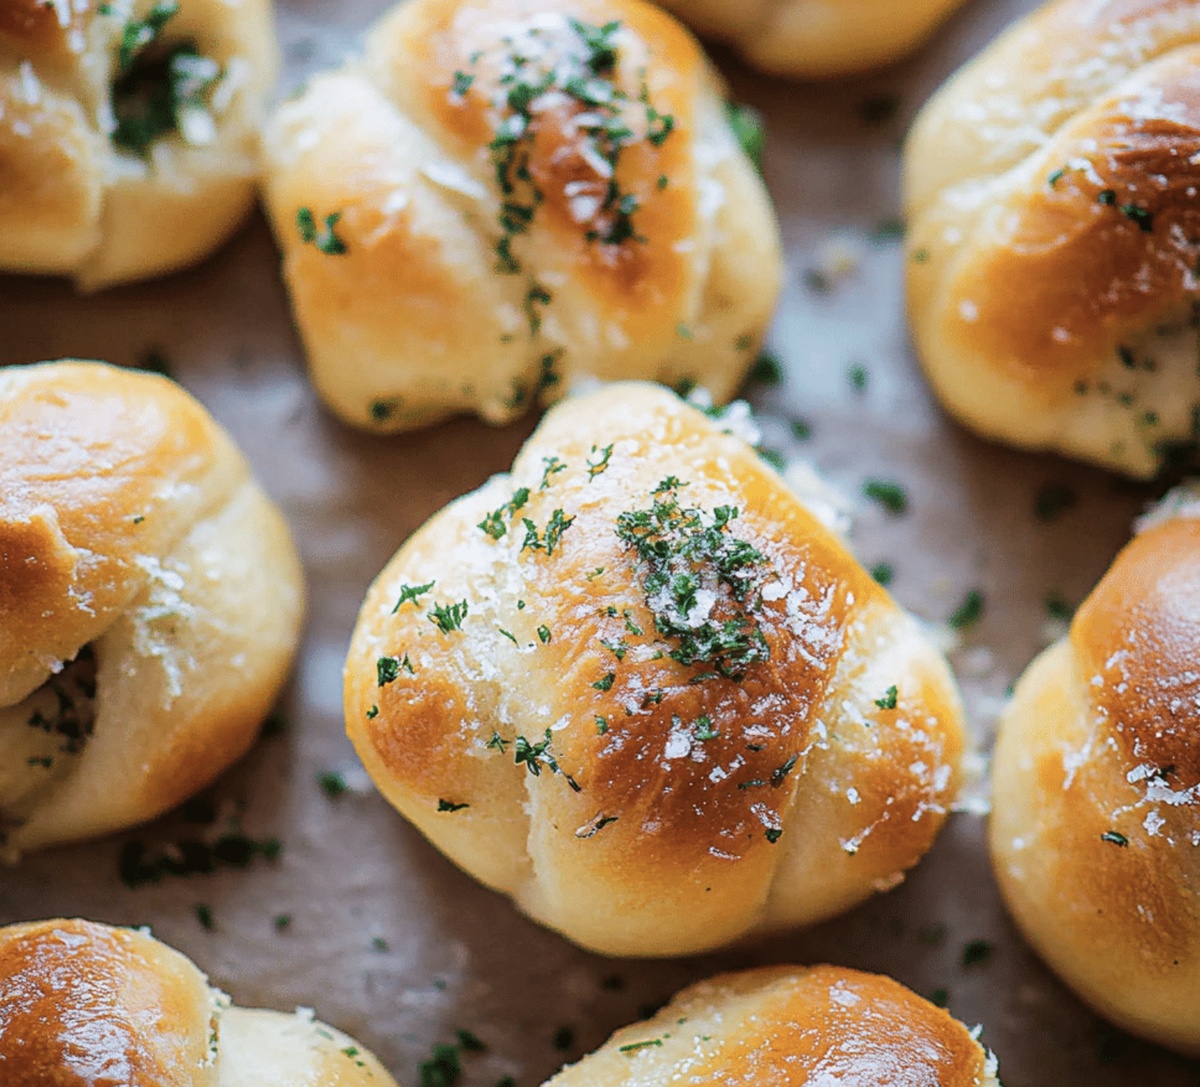
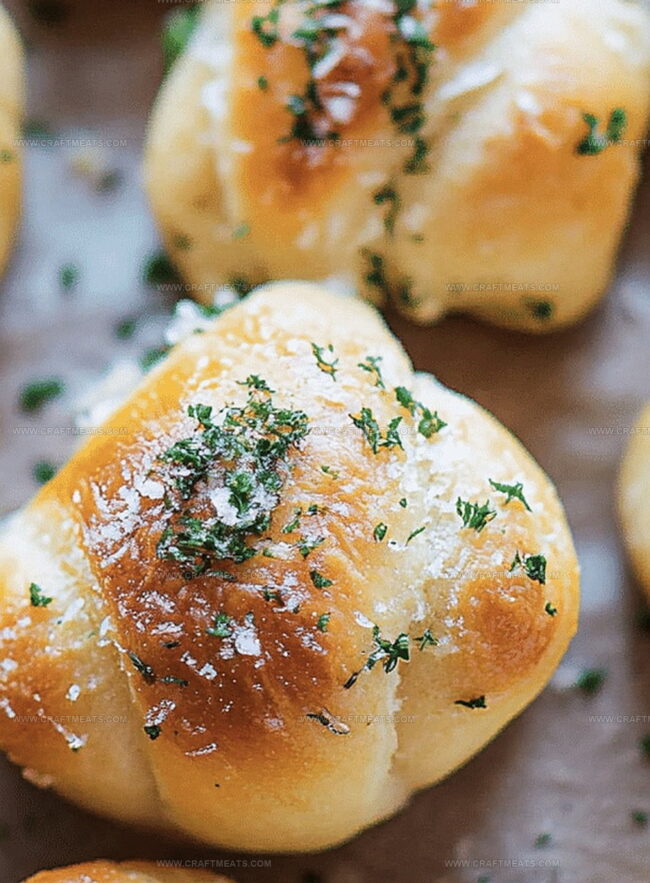
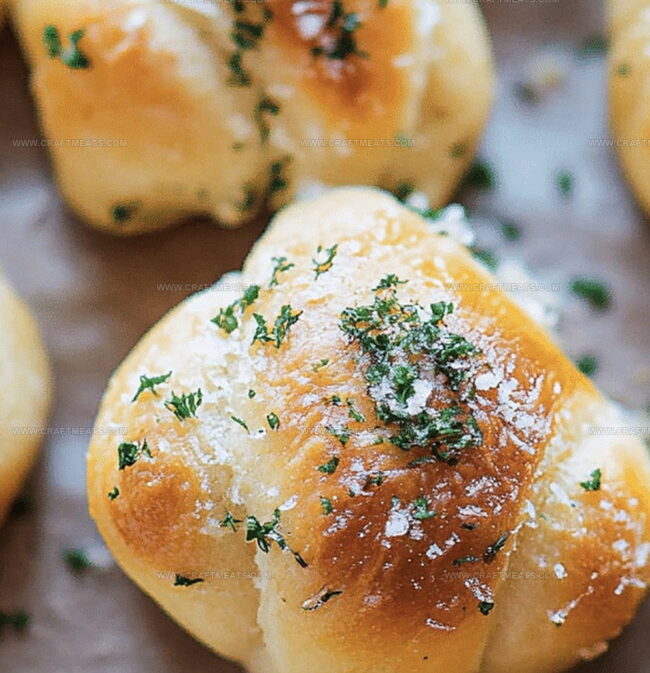
Warm, golden-brown garlic knots emerge as a crowd-pleasing appetizer that connects bread lovers worldwide.
These delectable twists of dough capture the essence of comfort food with their irresistible aroma.
A simple yet magical garlic knots recipe turns basic ingredients into something extraordinary.
Soft, pillowy dough wrapped in a rich blend of garlic, butter, and herbs creates an instant kitchen sensation.
Each knot promises a burst of flavor that dances between crispy edges and tender centers.
Restaurants and home cooks alike celebrate this Italian-inspired treat that transforms an ordinary meal into a memorable experience.
Brace yourself for a culinary journey that will have everyone reaching for seconds.
Quick Recipe Overview
Main Ingredients In Garlic Knots
For Dough Base:For Liquid Activation:For Garlic Butter Topping:Kitchen Tools For Garlic Knots
How To Bake Garlic Knots Easily
Grab your mixing bowl and prepare for a magical baking adventure. Mix warm water with a touch of sugar and yeast, letting the mixture bubble and come alive. Combine flour and a pinch of salt, then introduce the yeast blend and a splash of olive oil. Knead the dough until it feels smooth and springy, working it with love and enthusiasm.
After letting the dough rest and rise, gently deflate it and divide into playful little portions. Roll each piece into a rope-like shape and twist into a casual knot. Arrange these charming knots on a baking sheet, giving them space to breathe and expand.
Heat your oven to a toasty 400F. Slide the knots inside and watch them transform into golden, puffy delights. Keep an eye on them until they turn a beautiful sun-kissed color.
While the knots are still warm, create a dreamy garlic butter mixture. Generously brush each knot with this liquid gold, ensuring every crevice is coated with garlicky goodness. The aroma will make everyone’s mouth water instantly.
Garlic Knot Tips And Flavor Ideas
Simple Ways To Serve Garlic Knots
Keep Garlic Knots Warm And Fresh
Print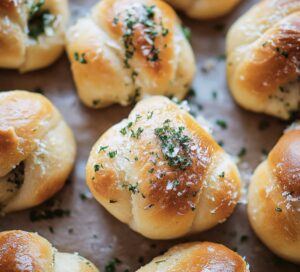
Crispy Garlic Knots Recipe
- Total Time: 2 hours 5 minutes
- Yield: 11 1x
Description
Classic garlic knots from Italian-American kitchens bring irresistible comfort to bread lovers. Crispy exterior and buttery herb coating make these simple appetizers a crowd-pleasing addition to any meal you’ll savor.
Ingredients
- 3 cups (375 g) all-purpose flour
- 2 ¼ tsps (1 packet) instant yeast
- 1 cup (240 ml) warm water (110°F/45°C)
- 2 tbsps olive oil
- ¼ cup (60 g) unsalted butter, melted
- 2 tsps granulated sugar
- 1 ¼ tsps salt
- 2 cloves garlic, minced
- 1 tbsp fresh parsley, finely chopped (or 1 tsp dried parsley)
Instructions
- Activate Yeast: Dissolve yeast in warm liquid, creating a frothy mixture that will help the dough rise and develop a light texture.
- Create Dough Base: Blend flour and salt in a large mixing bowl, then incorporate the activated yeast liquid and olive oil. Knead until a smooth, slightly tacky dough forms, developing gluten strands for about 6-7 minutes.
- First Rise: Transfer dough to a greased container, cover with a cloth, and let it rise in a warm, draft-free spot until doubled in volume, approximately 60-90 minutes.
- Shape Knots: Punch down the risen dough and divide into uniform portions. Roll each piece into 6-8 inch ropes, then twist each into a casual knot. Arrange on a parchment-lined baking sheet with ample spacing.
- Second Proof: Cover the shaped knots and allow a final rise for 25-35 minutes, enhancing their volume and softness.
- Bake to Perfection: Preheat oven to 400F. Bake the knots until they turn golden brown and achieve a rich, amber exterior, roughly 13-16 minutes.
- Finish and Garnish: Immediately after removing from the oven, generously brush the warm knots with garlic-infused butter, ensuring each knot is thoroughly coated with the aromatic herb-butter mixture.
Notes
- Activate Yeast Carefully: Ensure water temperature is between 100-110°F to perfectly activate yeast without killing it, creating a soft, fluffy texture.
- Knead with Precision: Develop gluten by kneading thoroughly for 6-7 minutes, creating a smooth, elastic dough that prevents dense, heavy knots.
- Control Proofing Environment: Place dough in a warm, draft-free area between 75-85°F to guarantee optimal rising and prevent uneven texture.
- Butter Coating Technique: Brush garlic butter immediately after baking while knots are piping hot to maximize flavor absorption and achieve a glistening, aromatic finish.
- Prep Time: 20 minutes
- Cook Time: 15 minutes
- Category: Appetizer, Snacks
- Method: Baking
- Cuisine: Italian
Nutrition
- Serving Size: 11
- Calories: 175
- Sugar: 1 g
- Sodium: 183 mg
- Fat: 7 g
- Saturated Fat: 3 g
- Unsaturated Fat: 4 g
- Trans Fat: 0 g
- Carbohydrates: 25 g
- Fiber: 1 g
- Protein: 3 g
- Cholesterol: 10 mg
Liam O’Sullivan
Founder & Culinary Content Creator
Expertise
Recipe Development, Traditional Irish and European Cuisines, Food Styling and Photography, Culinary Education
Education
Dublin Institute of Technology (DIT) – School of Culinary Arts and Food Technology
Ballymaloe Cookery School
Isabella brings a global spark to the Craft Meats table. Born in Florence and trained at the Apicius International School of Hospitality, she blends classic Italian flavor with modern writing that’s easy to follow and hard to forget.
Her additional training at the Italian Chef Academy fueled her love for well-crafted dishes, especially ones that spotlight beautiful cuts of meat.
She’s a food writer with heart, and a deep love for storytelling through single recipes. Her goal? To help you cook with more confidence and a little more joy, no matter where you start.