Rustic Sopaipillas Recipe: Homemade Treats with Authentic Flair
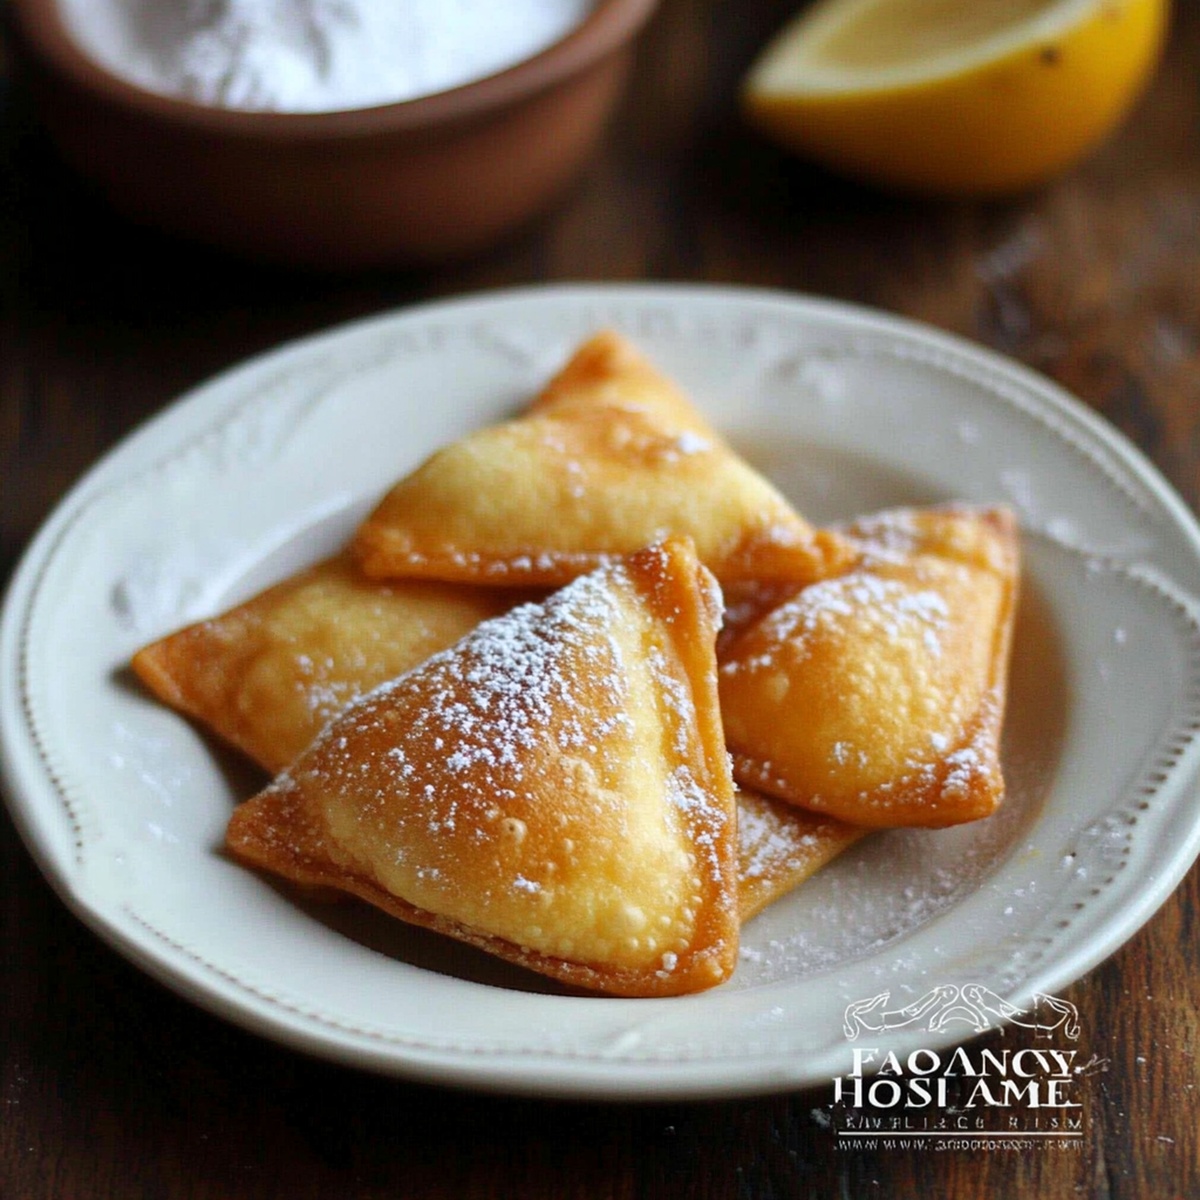
Crispy, golden, and irresistibly light, these sopaipillas bring the warmth of Chilean street food right to your kitchen.
Originating from the vibrant culinary landscape of authentic sopaipillas recipe traditions, these puffy pastries dance with delicate flavors.
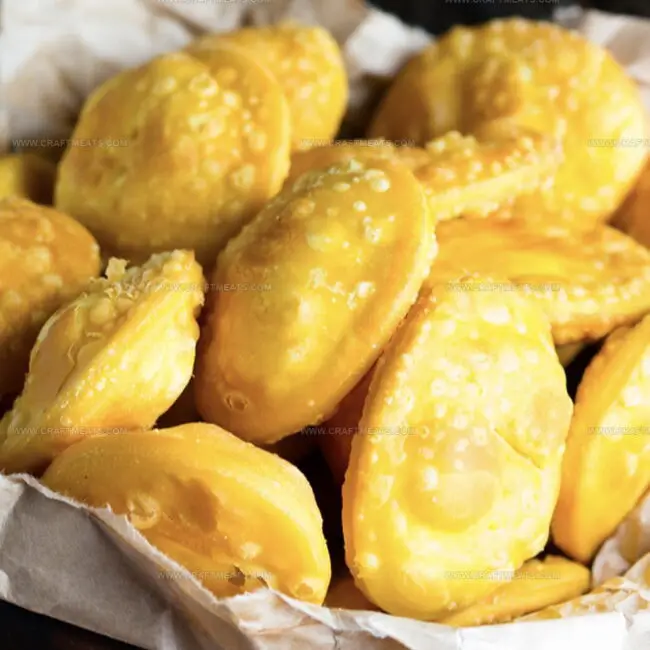
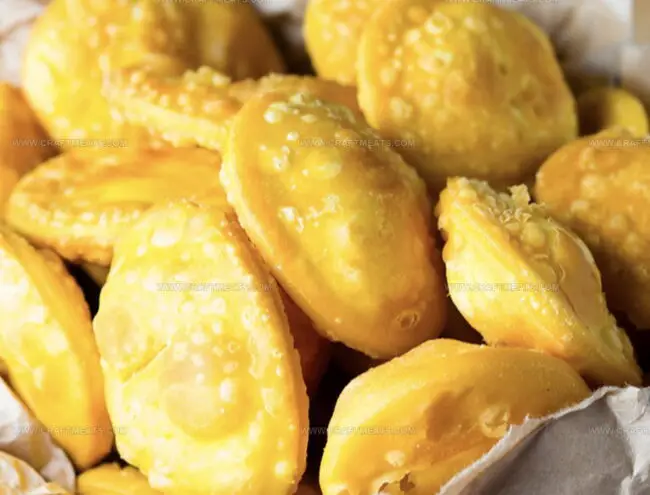
Pillowy squares of dough emerge from hot oil, creating a delightful crunch that beckons hungry appetites.
The simple ingredients transform into a magical treat that connects you to generations of South American cooking.
Flour, butter, and a pinch of salt come together in a culinary symphony that sings of comfort and celebration.
Each bite tells a story of tradition, warmth, and the joy of sharing delicious food.
You’ll fall in love with these perfectly crisp, tender sopaipillas that promise to become a cherished recipe in your home.
Quick Recipe Overview
What Goes Into Authentic Sopaipillas Recipe
For The Base:For The Binding And Moisture:For Cooking And Finishing:Tools For Making Authentic Sopaipillas Recipe
Steps To Follow For Authentic Sopaipillas Recipe
Blend flour, baking powder, and salt in a mixing bowl. Work softened butter into the dry ingredients using fingertips until the mixture looks crumbly. Pour warm water gradually and mix until a soft, pliable dough emerges.
Place dough on a floured surface and knead gently until smooth. Let the dough rest quietly under a kitchen towel, allowing its gluten to settle and become more elastic.
Split the dough into two portions. Roll each section into a thin, delicate sheet. Slice the sheet into playful squares or triangular shapes using a sharp kitchen tool.
Select a deep cooking vessel and fill with vegetable oil. Heat until the oil shimmers and reaches the perfect sizzling temperature, ready to transform dough into crispy clouds.
Slide small batches of dough shapes into the hot oil. Watch them puff and turn golden brown, flipping once to ensure even cooking. Rescue them with a slotted spoon when they reach crispy perfection.
Present these puffy treasures warm. Drizzle with golden honey, dust with powdered sugar, or sprinkle with cinnamon. For a savory twist, stuff with favorite fillings like beans or cheese.
Clever Tips For Authentic Sopaipillas Recipe
Serving Ideas For Authentic Sopaipillas Recipe
Smart Storage For Authentic Sopaipillas Recipe
Print
Crispy Sopaipillas Recipe
- Total Time: 45 minutes
- Yield: 3 1x
Description
Homemade sopaipillas, a cherished Chilean pastry, offer a delightful blend of crispy exterior and pillowy interior. Rich with cultural significance, these golden treats promise a delectable journey through South American culinary traditions you’ll savor completely.
Ingredients
- 2 cups (250 g) all-purpose flour
- 2 tsps baking powder
- ½ tsp salt
- 2 tbsps unsalted butter, softened
- ¾ cup (180 ml) warm water
- Vegetable oil, for frying
- Honey or agave syrup
- Powdered sugar
- Cinnamon sugar
Instructions
- Dough Preparation: Blend dry ingredients in a large mixing bowl. Incorporate softened butter using fingertips until mixture resembles coarse crumbs. Gradually add warm water, kneading until a smooth, elastic dough forms.
- Dough Resting: Transfer dough to a lightly floured surface. Knead thoroughly until achieving a silky texture. Drape with a clean kitchen towel and allow to rest for 20-30 minutes, permitting gluten to relax and develop.
- Shaping and Cutting: Divide rested dough into two equal portions. Roll each segment into a thin sheet approximately 1/8 inch thick. Slice into uniform geometric shapes using a sharp knife or pastry wheel.
- Frying Preparation: Heat vegetable oil in a deep, heavy-bottomed pot to 375°F. Ensure oil depth reaches two inches and maintain consistent temperature using a cooking thermometer.
- Frying Process: Carefully lower dough pieces into hot oil in small batches. Watch as sopaipillas quickly puff and transform to a golden brown. Use long-handled tongs to flip, cooking 1-2 minutes per side until perfectly crisp and inflated.
- Serving and Garnishing: Remove sopaipillas and drain excess oil on paper towels. Serve immediately while hot. Enhance with sweet options like honey or powdered sugar, or create savory versions by stuffing with beans, cheese, or seasoned meats.
Notes
- Dough Consistency Check: Ensure the dough feels smooth and elastic, not too sticky or dry. Knead thoroughly to develop gluten and create a silky texture that will help sopaipillas puff perfectly.
- Oil Temperature Precision: Maintain exact 375°F oil temperature for ideal results. Slightly lower temperatures cause greasy sopaipillas, while higher temps burn the exterior before cooking internally.
- Resting Dough Importance: Let dough rest covered for 20-30 minutes to relax gluten, making rolling and stretching easier. This step prevents tough, dense pastries and ensures light, airy texture.
- Quick Frying Technique: Fry in small batches to prevent oil temperature drop. Use long-handled tongs for safe maneuvering and flip quickly to achieve uniform golden-brown color without absorbing excess oil.
- Prep Time: 15 minutes
- Cook Time: 30 minutes
- Category: Snacks, Desserts
- Method: Frying
- Cuisine: Mexican
Nutrition
- Serving Size: 3
- Calories: 200
- Sugar: 0 g
- Sodium: 125 mg
- Fat: 9 g
- Saturated Fat: 5 g
- Unsaturated Fat: 4 g
- Trans Fat: 0 g
- Carbohydrates: 28 g
- Fiber: 1 g
- Protein: 3 g
- Cholesterol: 15 mg
Liam O’Sullivan
Founder & Culinary Content Creator
Expertise
Recipe Development, Traditional Irish and European Cuisines, Food Styling and Photography, Culinary Education
Education
Dublin Institute of Technology (DIT) – School of Culinary Arts and Food Technology
Ballymaloe Cookery School
Isabella brings a global spark to the Craft Meats table. Born in Florence and trained at the Apicius International School of Hospitality, she blends classic Italian flavor with modern writing that’s easy to follow and hard to forget.
Her additional training at the Italian Chef Academy fueled her love for well-crafted dishes, especially ones that spotlight beautiful cuts of meat.
She’s a food writer with heart, and a deep love for storytelling through single recipes. Her goal? To help you cook with more confidence and a little more joy, no matter where you start.