
Easy Fried Strawberry Cheesecake Sandwiches Recipe
Dessert lovers often seek unique culinary adventures that blend unexpected flavors and textures.
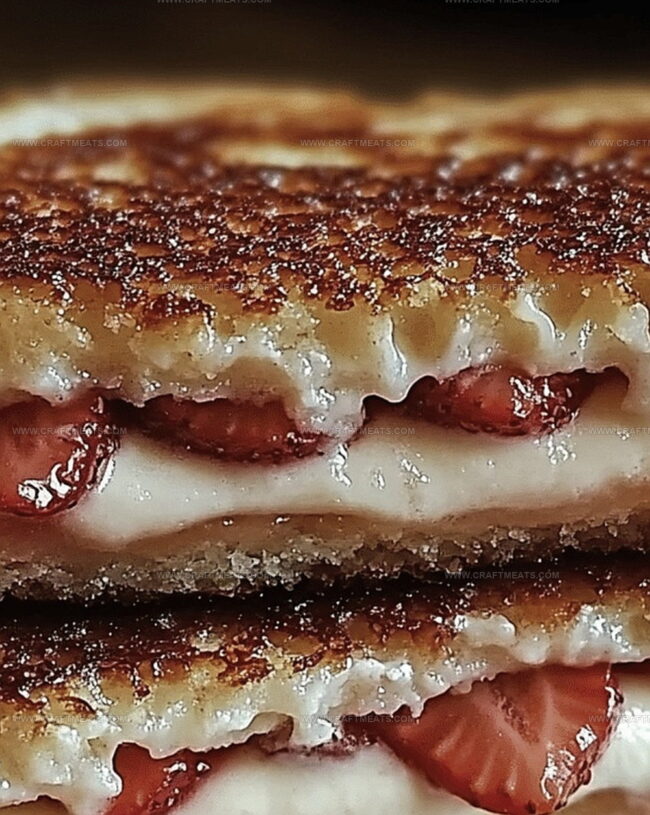
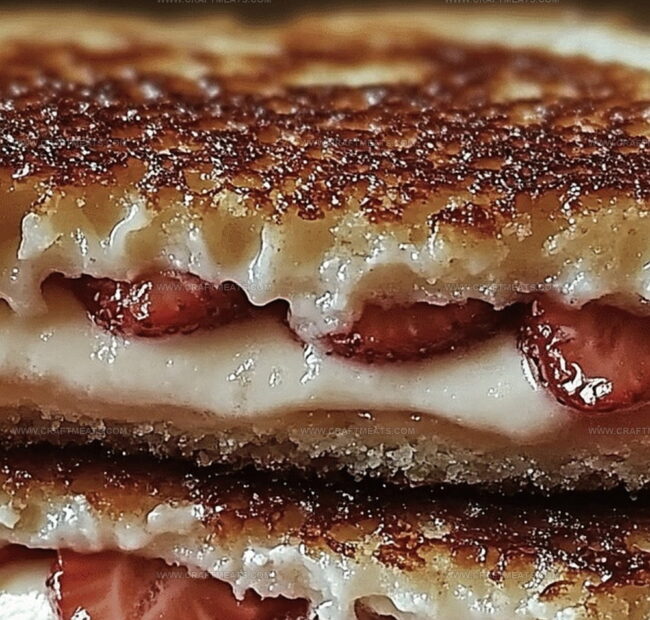
These crispy fried strawberry cheesecake sandwiches offer a delightful twist on classic sweet treats.
Golden-brown and crunchy, the exterior gives way to a creamy, luscious cheesecake filling that melts in your mouth.
Ripe strawberries add a burst of fresh, tangy sweetness to each bite.
The contrast between the warm, crisp coating and the cool, smooth cheesecake creates a sensational flavor experience.
Whipping up this indulgent dessert is easier than you might expect.
Dive into this irresistible recipe that promises to wow everyone at the table.
Quick Recipe Overview
Everything In Fried Strawberry Cheesecake Sandwiches
For Creamy Filling:For Sandwich Base:For Frying and Coating:Gear You’ll Use For Fried Strawberry Cheesecake Sandwiches
How To Cook Fried Strawberry Cheesecake Sandwiches
Whip up a dreamy blend of cream cheese, sweet powdered sugar, and a splash of vanilla until silky smooth and irresistible.
Layer the creamy mixture onto soft bread slices, generously scatter fresh strawberry pieces, and create a delightful sandwich by topping with another slice. Gently press the edges to seal in all the goodness.
Create a luscious egg mixture by whisking eggs with milk and a hint of cinnamon. Nearby, have a bowl of granulated sugar ready for the final touch.
Warm up vegetable oil in a skillet until it’s dancing with heat. Lovingly dunk each sandwich into the egg mixture, then carefully slide into the sizzling oil. Cook until each side turns a gorgeous golden brown, about 2-3 minutes per side.
While the sandwiches are still warm and tempting, roll them in granulated sugar, creating a sparkling sweet coating that’ll make taste buds dance.
Slice the sandwiches diagonally and serve with a flourish. Optional: Add a dollop of whipped cream or a drizzle of strawberry sauce for extra indulgence.
Tasty Tips For Fried Strawberry Cheesecake Sandwiches
Serving Fried Strawberry Cheesecake Sandwiches With Style
How To Store Fried Strawberry Cheesecake Sandwiches
Print
Crispy Strawberry Cheesecake Sandwiches Recipe
- Total Time: 20 minutes
- Yield: 3 1x
Description
Crispy fried strawberry cheesecake sandwiches combine creamy cheesecake with sweet strawberries in a golden, crunchy exterior. Dessert lovers will savor this indulgent treat that brings comfort and excitement to the plate.
Ingredients
- 8 slices white or brioche bread
- 4 oz (113 g) cream cheese, softened
- ½ cup (118 ml) sliced strawberries
- 2 tbsps powdered sugar
- 1 tsp vanilla extract
- 2 large eggs
- ¼ cup (59 ml) milk
- ½ tsp cinnamon (optional)
- ½ cup (100 g) granulated sugar
- Vegetable oil (for frying)
- Whipped cream
- Strawberry sauce or fresh strawberries
- Powdered sugar
Instructions
- Filling Preparation: Whip cream cheese with powdered sugar and vanilla extract until achieving a silky, lump-free consistency that promises a creamy texture.
- Sandwich Assembly: Spread the velvety cream cheese mixture across bread slices, artfully embedding fresh strawberry pieces to guarantee a harmonious flavor distribution.
- Egg Mixture Creation: Combine eggs, milk, and cinnamon in a wide vessel, whisking until a uniform, golden-hued dipping liquid emerges that will elevate the sandwich’s exterior.
- Coating Setup: Spread granulated sugar on a flat surface, creating a sparkling station for transforming the sandwiches into golden delicacies.
- Oil Heating: Warm vegetable oil in a heavy skillet, bringing it to a precise temperature where it shimmers with potential but does not smoke, indicating optimal frying conditions.
- Sandwich Transformation: Immerse each sandwich thoroughly in the egg mixture, ensuring complete coverage without oversaturation, then carefully lower into the sizzling oil.
- Frying Process: Cook sandwiches until each side develops a rich, caramel-brown crust with crispy, inviting edges, rotating once to achieve uniform golden perfection.
- Final Touches: Drain fried sandwiches on paper towels to remove excess oil, then lavishly coat with granulated sugar for a crystalline crunch.
- Presentation: Serve piping hot, optionally embellishing with whipped cream, scattered fresh strawberries, or an elegant strawberry sauce drizzle to enhance visual and gustatory appeal.
Notes
- Control Cream Cheese Consistency: Ensure cream cheese is at room temperature and softened to achieve a lump-free, silky filling that spreads smoothly without tearing bread.
- Seal Sandwich Edges Tightly: Press sandwich edges firmly with fingertips or a fork to create a complete seal, preventing cheese from leaking during frying and maintaining structural integrity.
- Manage Oil Temperature Precisely: Keep oil between 350-375°F to guarantee golden-brown exterior without burning; use a thermometer for accurate monitoring and consistent crispy results.
- Customize for Dietary Needs: Swap regular bread with gluten-free alternatives, use plant-based cream cheese for dairy-free version, and experiment with alternative sweeteners to accommodate various dietary restrictions.
- Prep Time: 10 minutes
- Cook Time: 10 minutes
- Category: Desserts, Snacks
- Method: Frying
- Cuisine: American
Nutrition
- Serving Size: 3
- Calories: 450
- Sugar: 36 g
- Sodium: 300 mg
- Fat: 22 g
- Saturated Fat: 8 g
- Unsaturated Fat: 14 g
- Trans Fat: 0 g
- Carbohydrates: 50 g
- Fiber: 1 g
- Protein: 6 g
- Cholesterol: 80 mg
Liam O’Sullivan
Founder & Culinary Content Creator
Expertise
Recipe Development, Traditional Irish and European Cuisines, Food Styling and Photography, Culinary Education
Education
Dublin Institute of Technology (DIT) – School of Culinary Arts and Food Technology
Ballymaloe Cookery School
Isabella brings a global spark to the Craft Meats table. Born in Florence and trained at the Apicius International School of Hospitality, she blends classic Italian flavor with modern writing that’s easy to follow and hard to forget.
Her additional training at the Italian Chef Academy fueled her love for well-crafted dishes, especially ones that spotlight beautiful cuts of meat.
She’s a food writer with heart, and a deep love for storytelling through single recipes. Her goal? To help you cook with more confidence and a little more joy, no matter where you start.