
Crispy Golden Turkey Stuffing Balls Recipe: Family Favorite Bites
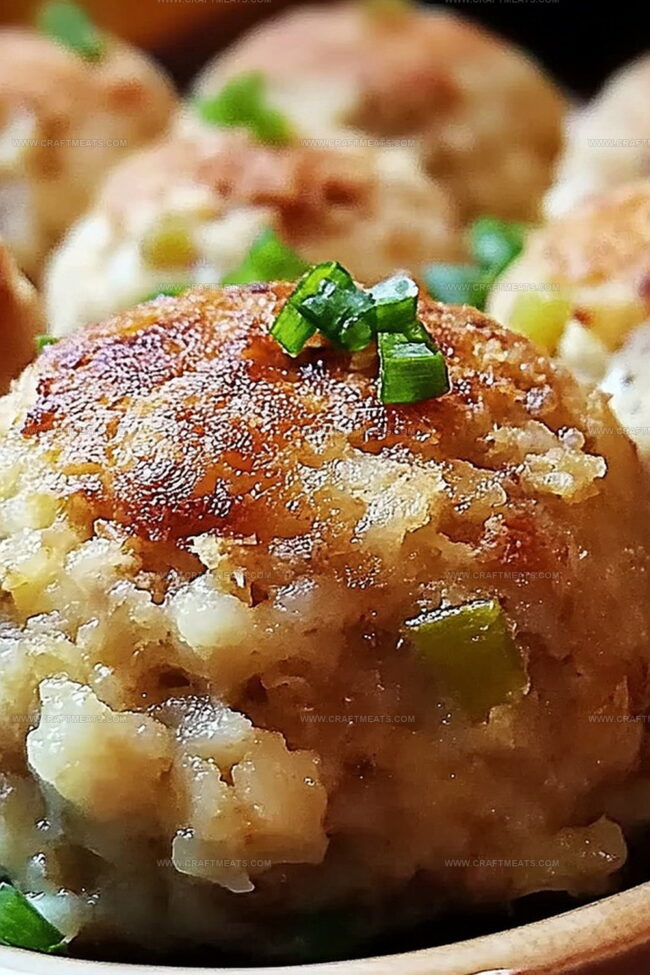
Crispy, golden-brown turkey stuffing balls burst with holiday flavor and comfort.
These delectable morsels elevate your classic stuffing into bite-sized delights that everyone will adore.
Packed with savory herbs and tender breadcrumbs, each ball delivers a perfect blend of crunch and softness.
Generations of home cooks have cherished similar recipes that bring warmth to the dinner table.
The aroma of sage and herbs will draw people closer, creating moments of culinary connection.
Easy to prepare and even easier to devour, these stuffing balls transform a traditional side dish into an irresistible appetizer.
Quick Recipe Overview
Everything You Need For Turkey Stuffing Balls
For Base Ingredients:For Coating Ingredients:For Cooking and Serving Ingredients:Tools To Have Ready For Turkey Stuffing Balls
How To Cook Turkey Stuffing Balls With Ease
Grab a spacious mixing bowl and combine all the delicious ingredients. The goal is creating a blend that sticks together perfectly when formed into balls. Gently fold everything until the texture feels just right – not too dry and not too wet. Your mixture should feel like a cozy, savory hug.
Scoop generous portions of the mixture and roll them between your palms. Create uniform rounds that feel compact and solid. Aim for bite-sized morsels that will tantalize taste buds and look irresistibly golden when cooked.
Prepare a delightful crunchy exterior by rolling each ball through a luxurious coating mixture. Ensure every inch gets covered with the crumbly goodness that will transform into a crisp, golden shell during cooking.
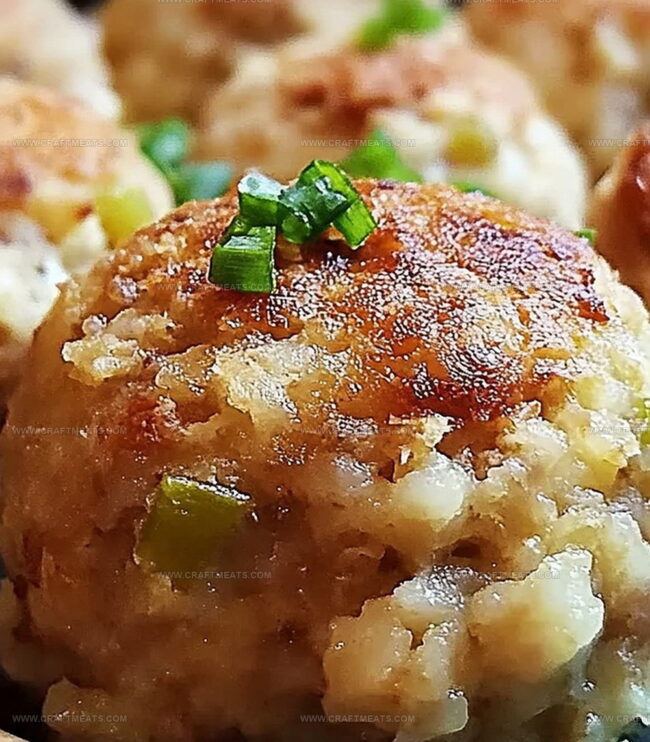
Choose your adventure: sizzling frying or oven-baking. When frying, watch for a gorgeous golden-brown color. If baking, keep an eye on achieving that perfect crispness. The transformation from soft mixture to crunchy delights is pure culinary magic.
Plate these beauties while they’re steaming hot. Pair with a zesty cranberry sauce or rich gravy that complements their savory charm. Watch as friends and family dive into these irresistible morsels with pure delight.
Tasty Tips For Turkey Stuffing Balls Variations
Ways To Serve Turkey Stuffing Balls Neatly
How To Store Turkey Stuffing Balls After Cooking
Print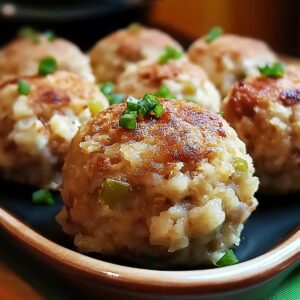
Crispy Turkey Stuffing Balls Recipe
- Total Time: 35 minutes
- Yield: 11 1x
Description
Savory turkey stuffing balls bring classic holiday comfort to your table. Crispy exterior and herbed interior make these bite-sized treats a crowd-pleasing appetizer you’ll want to share with family and friends.
Ingredients
- 1 cup (100 g) breadcrumbs
- ¼ cup (30 g) breadcrumbs
- 1 cup (150 g) cooked turkey, finely chopped
- 3 cups (450 g) cooked stuffing
- ½ cup (60 g) shredded cheddar cheese
- ¼ cup (30 g) grated Parmesan cheese
- 1 large egg, beaten
- 2 tbsps butter, melted
- Salt, to taste
- Pepper, to taste
- Vegetable oil (for frying)
- Cooking spray (for baking)
Instructions
- Mixture Preparation: Combine stuffing with roasted turkey, creating a unified base that melds protein and bread components with cohesive texture.
- Binding Process: Integrate beaten egg and breadcrumbs into the stuffing mixture, developing a sticky consistency ideal for shaping compact balls.
- Flavor Enhancement: Gently fold cheddar cheese throughout the mixture, distributing evenly to introduce rich, creamy undertones and depth of flavor.
- Seasoning Stage: Sprinkle salt and pepper across the blend, calibrating taste profiles to complement the turkey and stuffing essence.
- Shaping Protocol: Utilize clean hands to construct uniform spherical formations, ensuring consistent sizing for balanced cooking and visual appeal.
- Coating Technique: Create a textural exterior by blending breadcrumbs with finely grated Parmesan cheese, preparing a crisp-inducing station.
- Egg Dipping Method: Immerse each formed ball completely in beaten egg, guaranteeing comprehensive coverage for optimal breadcrumb adhesion.
- Breading Process: Roll egg-coated balls through Parmesan-breadcrumb mixture, applying gentle pressure to secure an even, comprehensive exterior.
- Cooking Strategy: Select between frying or baking method – for frying, heat vegetable oil to medium temperature in a deep skillet.
- Frying Execution: Introduce coated balls in small batches, rotating periodically to achieve uniform golden-brown coloration and crispy texture, cooking approximately 3-4 minutes per batch.
- Baking Alternative: Preheat oven to 400°F, arrange balls on parchment-lined baking sheet, ensuring strategic spacing for consistent heat distribution.
- Final Preparation: Bake or fry until exterior turns golden and crisp, rotating midway to ensure comprehensive browning and textural perfection.
- Serving Recommendation: Present immediately alongside complementary condiments like cranberry relish or classic turkey gravy, enhancing the overall culinary experience.
Notes
- Manage Oil Temperature: Keep oil consistently around 350-375°F for perfect golden-brown exterior without burning or undercooking the stuffing balls.
- Control Moisture Balance: Use slightly dry stuffing mix to prevent soggy balls; drain excess liquid to maintain crisp texture and prevent breaking during cooking.
- Uniform Size Matters: Roll balls precisely equal in size (about 1.5-inch diameter) to ensure consistent cooking time and prevent uneven browning or raw centers.
- Adapt Dietary Needs: Swap regular breadcrumbs with gluten-free alternatives, use plant-based cheese, and substitute egg with flax egg for vegetarian or gluten-sensitive versions.
- Prep Time: 15 minutes
- Cook Time: 20 minutes
- Category: Appetizer, Dinner, Snacks
- Method: Frying
- Cuisine: American
Nutrition
- Serving Size: 11
- Calories: 140
- Sugar: 1 g
- Sodium: 320 mg
- Fat: 6 g
- Saturated Fat: 3 g
- Unsaturated Fat: 2 g
- Trans Fat: 0 g
- Carbohydrates: 15 g
- Fiber: 1 g
- Protein: 7 g
- Cholesterol: 45 mg
Liam O’Sullivan
Founder & Culinary Content Creator
Expertise
Recipe Development, Traditional Irish and European Cuisines, Food Styling and Photography, Culinary Education
Education
Dublin Institute of Technology (DIT) – School of Culinary Arts and Food Technology
Ballymaloe Cookery School
Isabella brings a global spark to the Craft Meats table. Born in Florence and trained at the Apicius International School of Hospitality, she blends classic Italian flavor with modern writing that’s easy to follow and hard to forget.
Her additional training at the Italian Chef Academy fueled her love for well-crafted dishes, especially ones that spotlight beautiful cuts of meat.
She’s a food writer with heart, and a deep love for storytelling through single recipes. Her goal? To help you cook with more confidence and a little more joy, no matter where you start.