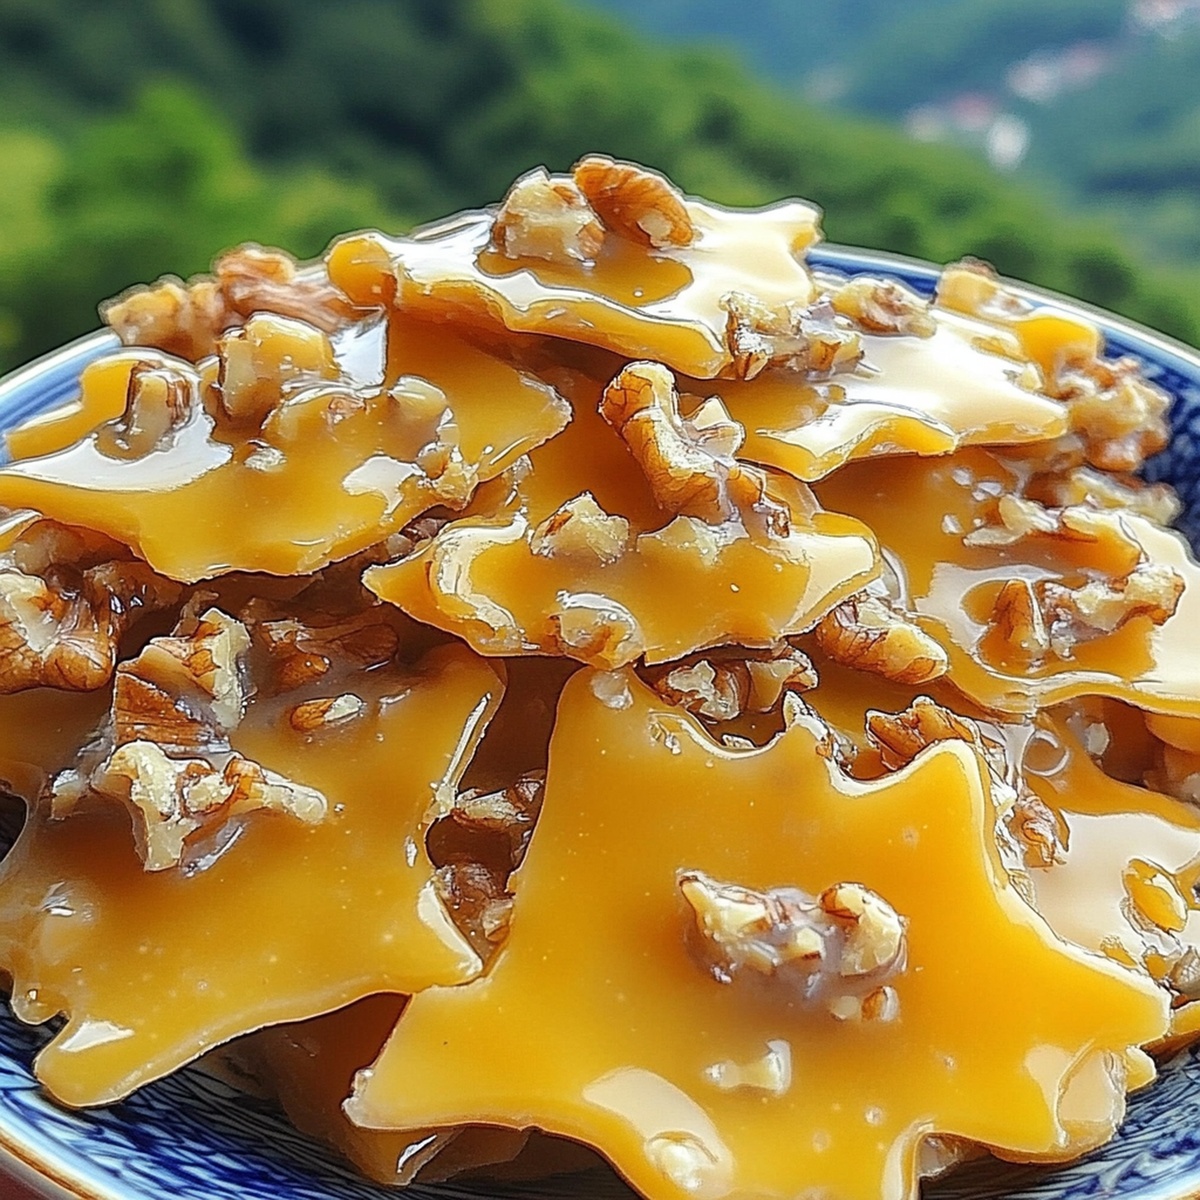
Crackly Banana Walnut Brittle Recipe: Sweet & Nutty!
Craft a sweet symphony of crunchy textures with this banana walnut brittle that brings together the rich, caramelized essence of ripe bananas and toasted walnuts.
Every bite tells a delightful story of golden, crackling sweetness waiting to dance on your palate.
The brittle combines simple ingredients into a magical confection that elevates dessert from ordinary to extraordinary.
Walnuts add a deep, nutty complexity that perfectly complements the natural sweetness of caramelized bananas.
The recipe transforms basic pantry staples into a stunning treat that sparkles with rustic charm.
Minimal effort yields maximum flavor, making this brittle a perfect companion for afternoon tea or a stunning homemade gift.
Unleash your inner confectioner and savor the delectable results.
Quick Recipe Overview
Basic Ingredients For Banana Walnut Brittle
For Base Ingredients:For Flavor Enhancers:For Texture and Crunch:Banana Walnut Brittle Tools To Use At Home
Step-By-Step Banana Walnut Brittle Instructions
Set up your workspace with a lined baking sheet ready for the sweet adventure ahead.
Gently heat walnuts in a skillet until they release their rich, earthy aroma, creating a golden foundation for the brittle.
In a heavy saucepan, combine sugar ingredients and watch the magical dance of caramelization, bringing the mixture to a deep golden stage that signals perfection.
Pull the saucepan from heat and introduce butter and vanilla, creating a bubbling symphony of sweet chemistry.
Fold in crunchy freeze-dried banana pieces and those perfectly toasted walnuts, coating them in liquid gold.
Swiftly spread the molten mixture across the prepared sheet, creating a thin, even landscape of deliciousness.
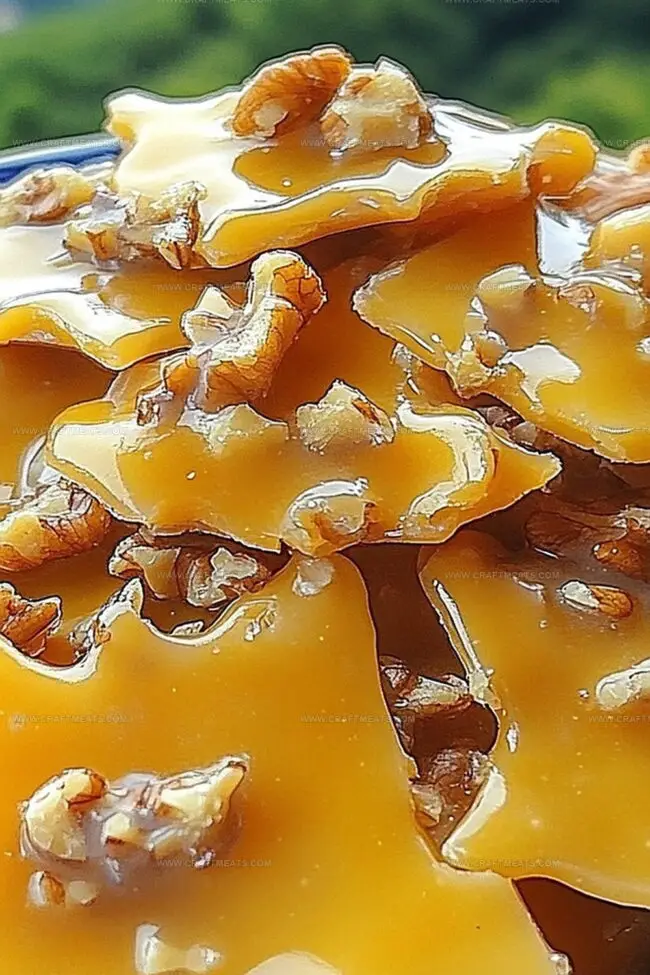
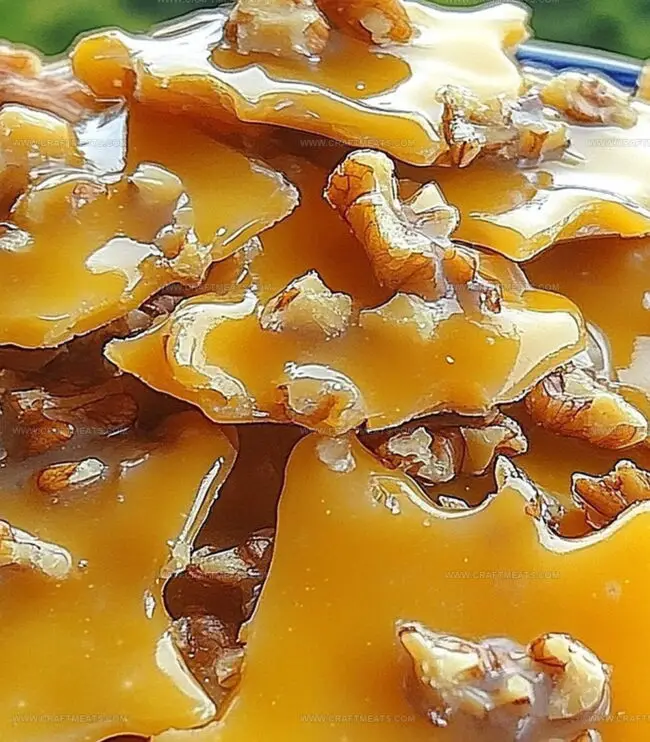
Let the brittle rest and solidify, then break into irregular, rustic pieces that promise a delightful crunch with every bite.
Tuck the brittle into an airtight container, where it will wait patiently to surprise and delight for up to two weeks.
Smart Tricks For Banana Walnut Brittle Upgrades
Ideas To Present Banana Walnut Brittle Beautifully
How To Store Banana Walnut Brittle Properly
Print
Crunchy Banana Walnut Brittle Recipe
- Total Time: 55 minutes
- Yield: 11 1x
Description
Creamy banana walnut brittle delights dessert enthusiasts with its rich caramelized flavors. Sweet and crunchy layers blend perfectly for an indulgent treat that satisfies classic comfort cravings.
Ingredients
- 1 cup (200 g/7.05 oz) granulated sugar
- 1 cup (100 g/3.53 oz) walnuts, chopped and toasted
- ½ cup (120 g/4.23 oz) freeze-dried banana slices, crumbled
- ½ cup (120 ml/4 fl oz) light corn syrup
- ¼ cup (60 ml/2 fl oz) water
- 2 tbsps (30 g/1.06 oz) unsalted butter
- ½ tsp baking soda
- ½ tsp vanilla extract
Instructions
- Preparation: Line a baking sheet with parchment paper or silicone mat, creating a non-stick surface for the brittle.
- Walnut Roasting: Toast walnuts in a dry skillet over medium heat, stirring gently until fragrant and golden, releasing their rich, nutty essence.
- Caramel Formation: Merge sugar, corn syrup, and water in a heavy-bottomed saucepan. Heat gently, dissolving sugar completely, then escalate to a rolling boil without additional stirring.
- Temperature Control: Utilize a candy thermometer to track the sugar mixture, aiming for the hard-crack stage at 300°F, signaling optimal caramelization.
- Flavor Infusion: Remove from heat, rapidly incorporate butter, triggering intense bubbling. Quickly introduce baking soda and vanilla extract to elevate taste and texture.
- Ingredient Integration: Fold freeze-dried banana fragments and pre-toasted walnuts into the molten caramel, ensuring comprehensive coating with the golden syrup.
- Spreading Technique: Pour the blazing mixture onto the prepared baking sheet, using a spatula to distribute evenly and thinly before solidification begins.
- Cooling and Fragmenting: Allow the brittle to cool completely at room temperature for approximately 30 minutes. Once hardened, break into irregular, rustic pieces.
- Storage: Transfer brittle fragments to an airtight container, preserving their crisp texture and complex flavor profile for up to two weeks at room temperature.
Notes
- Prevent Sugar Crystallization: Avoid stirring the caramel once it starts boiling to prevent sugar crystals from forming, which can make the brittle grainy.
- Maintain Precise Temperature: Use a reliable candy thermometer to accurately reach the 300°F hard-crack stage, as even a few degrees can dramatically change the brittle’s texture.
- Work Quickly When Adding Ingredients: Have all ingredients measured and ready before starting, as the caramel mixture sets rapidly and requires immediate incorporation of butter, baking soda, and add-ins.
- Store Carefully to Preserve Crispness: Keep the brittle in a completely dry, airtight container away from humidity to maintain its signature crisp texture and prevent softening.
- Prep Time: 25 minutes
- Cook Time: 30 minutes
- Category: Desserts, Snacks
- Method: Boiling
- Cuisine: American
Nutrition
- Serving Size: 11
- Calories: 180
- Sugar: 24 g
- Sodium: 30 mg
- Fat: 9 g
- Saturated Fat: 2 g
- Unsaturated Fat: 7 g
- Trans Fat: 0 g
- Carbohydrates: 27 g
- Fiber: 1 g
- Protein: 2 g
- Cholesterol: 5 mg
Liam O’Sullivan
Founder & Culinary Content Creator
Expertise
Recipe Development, Traditional Irish and European Cuisines, Food Styling and Photography, Culinary Education
Education
Dublin Institute of Technology (DIT) – School of Culinary Arts and Food Technology
Ballymaloe Cookery School
Isabella brings a global spark to the Craft Meats table. Born in Florence and trained at the Apicius International School of Hospitality, she blends classic Italian flavor with modern writing that’s easy to follow and hard to forget.
Her additional training at the Italian Chef Academy fueled her love for well-crafted dishes, especially ones that spotlight beautiful cuts of meat.
She’s a food writer with heart, and a deep love for storytelling through single recipes. Her goal? To help you cook with more confidence and a little more joy, no matter where you start.