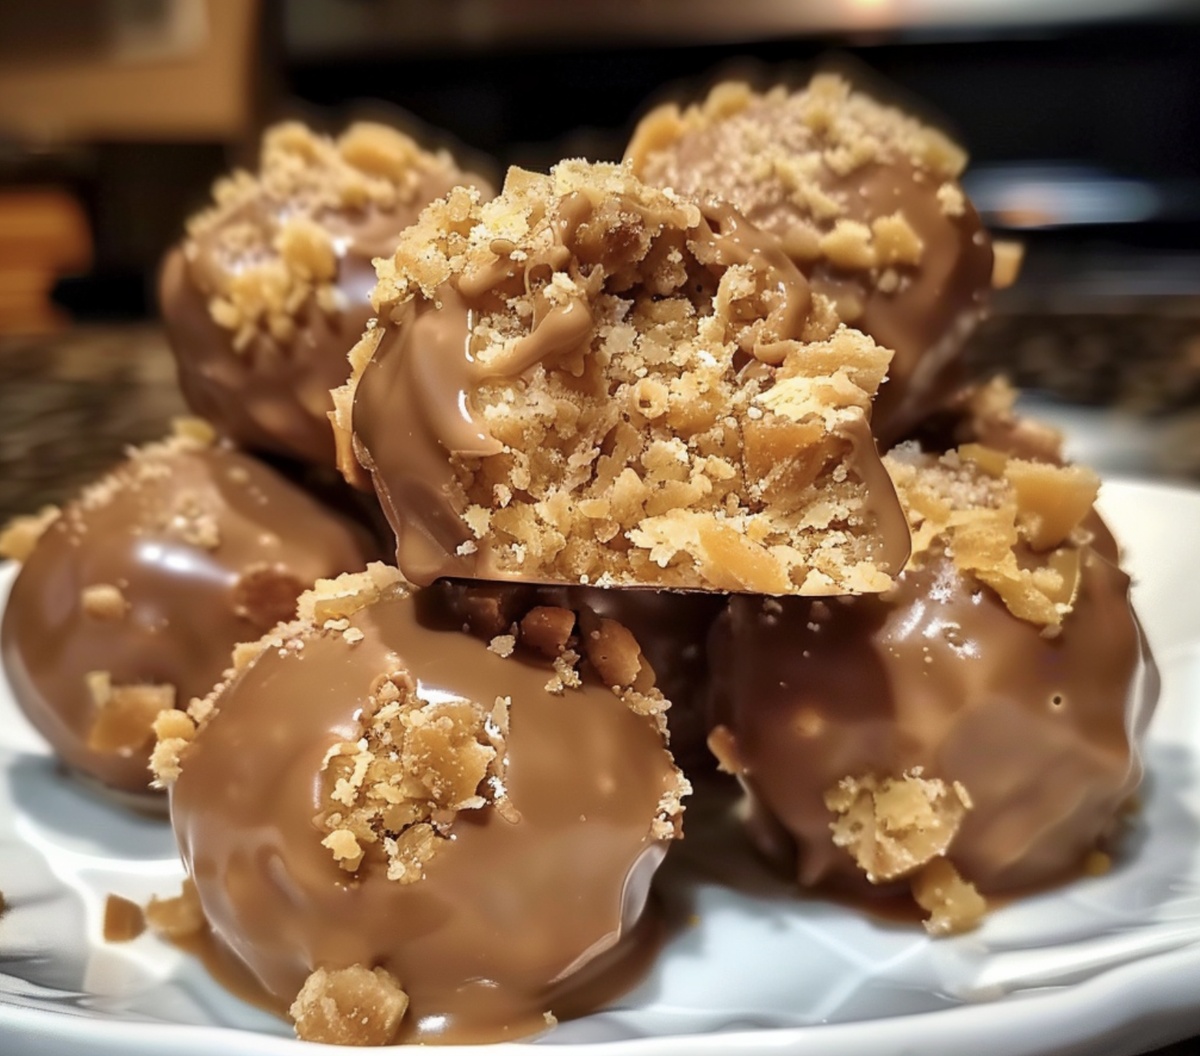
Crunchy Butterfinger Balls Recipe: Sweet Treats in a Snap!
Dive into a world of sweet, nostalgic bliss with these irresistible butterfinger balls that promise to melt hearts faster than chocolate.
The classic butterfinger balls recipe brings together a symphony of creamy peanut butter and crunchy candy bars in one addictive treat.
Each bite delivers a perfect balance of rich, smooth textures that dance on your palate with pure indulgence.
No baking required means you can whip up these delectable morsels in mere minutes.
The combination of crushed butterfingers and cream cheese creates a decadent base that transforms simple ingredients into an extraordinary dessert.
These no-bake delights are perfect for satisfying sudden sugar cravings or impressing guests at any gathering.
Prepare to fall in love with the ultimate crowd-pleasing confection that will have everyone asking for seconds.
Quick Recipe Overview
All The Ingredients For Butterfinger Balls
For Peanut Butter Base:For Crunch and Flavor:For Chocolate Coating:Gear You’ll Need For Butterfinger Balls
How To Make Butterfinger Balls Easily
Blend creamy peanut butter with softened butter until silky smooth. Gently fold in powdered sugar and crumbled Butterfinger pieces, creating a rich and decadent mixture.
Shape the mixture into small, uniform spheres using gentle rolling motions. Transfer these delicate orbs onto a parchment-lined tray and place in the freezer to firm up.
Carefully melt chocolate chips in a microwave-safe bowl, stirring periodically to ensure a glossy, smooth consistency. Optional coconut oil can enhance the chocolate’s sheen.
Carefully submerge each chilled ball into the molten chocolate, ensuring complete coverage. Use a fork to lift and drain excess chocolate, creating a perfect shell.
Allow the chocolate-covered treats to solidify at room temperature or in the refrigerator. Once firm, these delightful bites are ready to be savored and shared.
Tips And Ideas For Butterfinger Balls
Serving Butterfinger Balls The Fun Way
How To Keep Butterfinger Balls Fresh
Print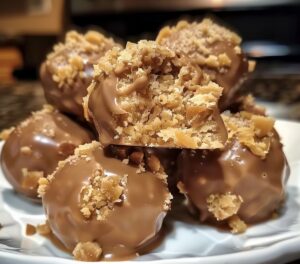
Crunchy Butterfinger Balls Recipe
- Total Time: 45 minutes
- Yield: 11 1x
Description
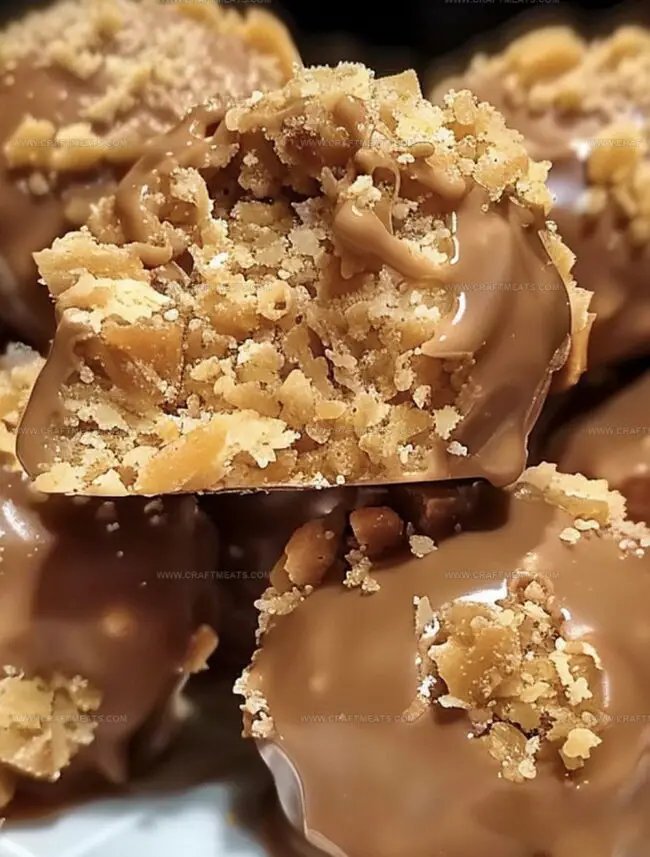
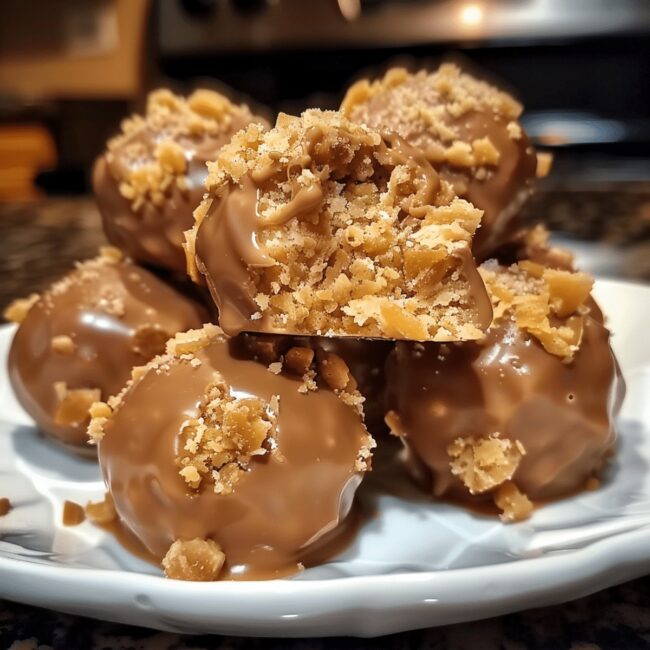
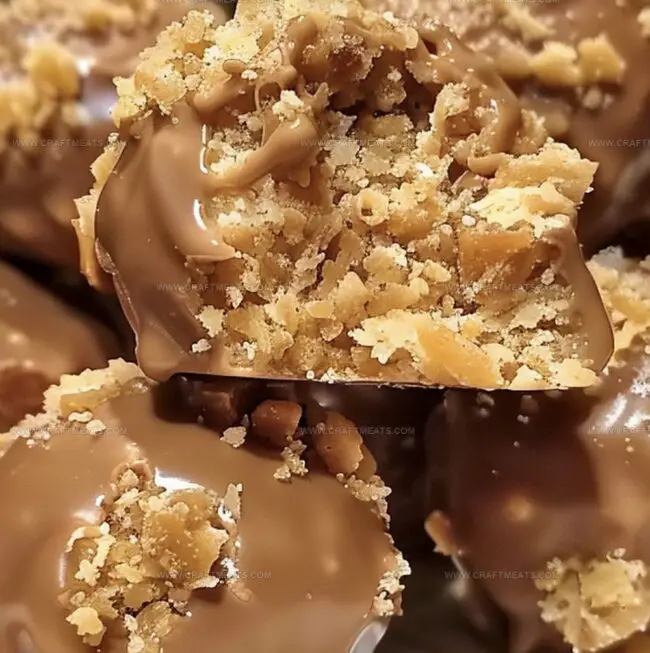
Homemade Butterfinger balls combine chocolate, peanut butter, and crispy candy for an irresistible treat. Creamy centers coated in smooth chocolate create a perfect balance of sweet and crunchy textures you’ll adore.
Ingredients
- 1.5 cups (about 283g / 10 oz) crushed Butterfinger candy bars
- 1 cup (240g) creamy peanut butter
- ½ cup (115g) unsalted butter, softened
- 3 cups (360g) powdered sugar
- 12 oz (340g) chocolate chips (milk, semi-sweet, or dark)
- 1 tbsp coconut oil or vegetable shortening (optional, for smooth coating)
Instructions
- Combine Base: Whisk peanut butter and softened butter in a large mixing bowl until creamy and homogeneous, creating a smooth foundation for the confection.
- Integrate Sugar: Gradually blend powdered sugar into the mixture, stirring consistently to develop a uniform, lump-free consistency that forms the core of the treat.
- Incorporate Crunch: Pulverize Butterfinger candy bars into fine crumbs, gently folding them into the peanut butter mixture to distribute the sweet, crispy texture throughout.
- Form and Chill: Roll the mixture into precise one-inch spheres, placing them on a parchment-lined tray. Freeze for 25 minutes to solidify the balls and prepare them for coating.
- Prepare Chocolate Coating: Melt chocolate chips with coconut oil in a microwave-safe bowl, stirring intermittently to achieve a smooth, glossy chocolate that will enrobe the balls perfectly.
- Dip and Set: Carefully submerge each chilled ball into the molten chocolate using a fork, ensuring complete coverage. Place the chocolate-coated spheres back on the parchment tray, allowing them to set at room temperature or in the refrigerator until the coating becomes firm and lustrous.
Notes
- Prevent Sticky Texture: Ensure peanut butter and butter are at room temperature for smoother blending and easier handling of the mixture.
- Crush Butterfinger Carefully: Use a food processor or sealed plastic bag with rolling pin to create fine, even crumbs for consistent texture and distribution.
- Chocolate Coating Technique: Keep chocolate melted at medium-low heat, stirring frequently to prevent burning and achieve a smooth, glossy finish.
- Chill for Perfect Shape: Freeze balls before coating to maintain structural integrity and prevent crumbling during chocolate dipping process.
- Prep Time: 15 minutes
- Cook Time: 30 minutes
- Category: Desserts, Snacks
- Method: Mixing
- Cuisine: American
Nutrition
- Serving Size: 11
- Calories: 300
- Sugar: 30g
- Sodium: 120mg
- Fat: 18g
- Saturated Fat: 9g
- Unsaturated Fat: 7g
- Trans Fat: 0g
- Carbohydrates: 36g
- Fiber: 1g
- Protein: 4g
- Cholesterol: 15mg
Liam O’Sullivan
Founder & Culinary Content Creator
Expertise
Recipe Development, Traditional Irish and European Cuisines, Food Styling and Photography, Culinary Education
Education
Dublin Institute of Technology (DIT) – School of Culinary Arts and Food Technology
Ballymaloe Cookery School
Isabella brings a global spark to the Craft Meats table. Born in Florence and trained at the Apicius International School of Hospitality, she blends classic Italian flavor with modern writing that’s easy to follow and hard to forget.
Her additional training at the Italian Chef Academy fueled her love for well-crafted dishes, especially ones that spotlight beautiful cuts of meat.
She’s a food writer with heart, and a deep love for storytelling through single recipes. Her goal? To help you cook with more confidence and a little more joy, no matter where you start.