Crunchy Old Fashioned Peanut Brittle Recipe Like Grandma’s
Sweet memories of childhood crackle through this classic old fashioned peanut brittle recipe that connects generations with its simple, irresistible charm.
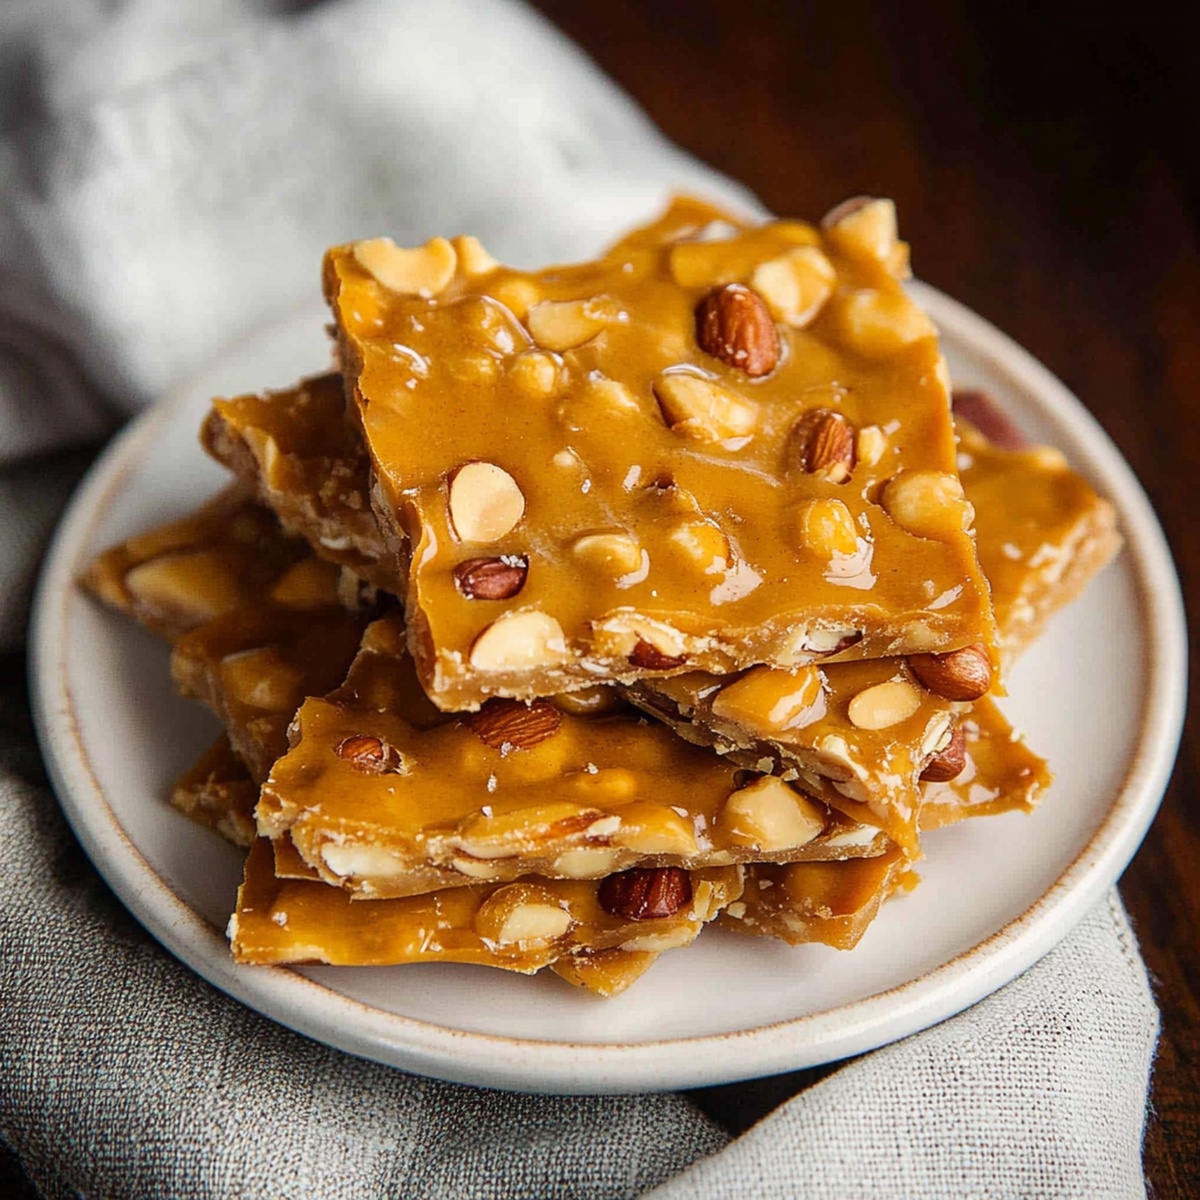
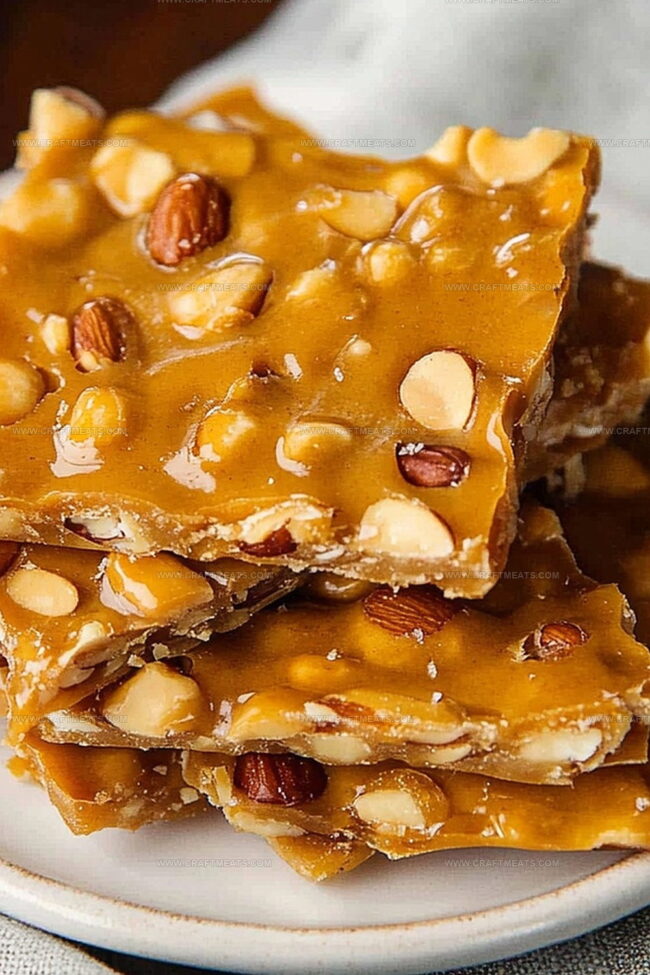
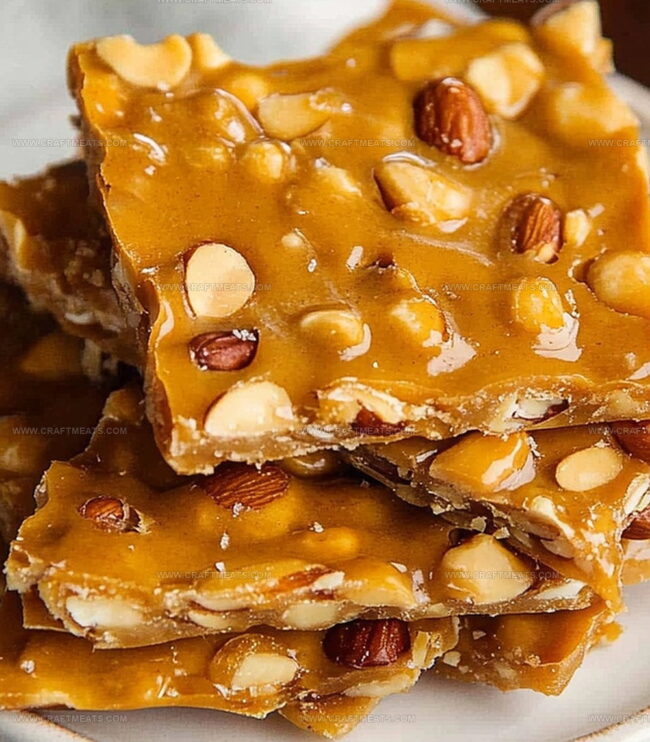
Crisp golden shards of caramelized sugar and perfectly roasted peanuts create a nostalgic treat that dances between sweet and nutty flavors.
Crafted with just a few pantry staples, this confection requires nothing more than patience and precise timing.
Generations of home cooks have passed down this delightful recipe, turning a handful of ingredients into a beloved holiday tradition.
The process transforms ordinary sugar and peanuts into a delicate, amber-hued delicacy that shatters with a satisfying crunch.
Each bite carries the warmth of homemade comfort and the rich, toasted essence of perfectly caramelized nuts.
Dive into this timeless recipe and savor a piece of culinary heritage that never goes out of style.
Quick Recipe Overview
What’s In Old Fashioned Peanut Brittle
For Base and Preparation:For Sugar Mixture:For Flavor and Crunch:For Finishing:Tools To Help Make Old Fashioned Peanut Brittle
How To Cook Old Fashioned Peanut Brittle Right
Create a smooth landing zone for your sweet treat by laying out a parchment-lined baking sheet. A quick spritz of cooking spray or gentle butter coating will help your brittle release effortlessly later.
Pour granulated sugar into a heavy-bottomed pan, letting it melt and transform into a golden liquid landscape. Watch carefully as the sugar begins to bubble and shift from white to amber, signaling the magical moment of caramelization.
When the sugar reaches a rich copper tone, sprinkle in your favorite roasted nuts. Peanuts work wonderfully, but feel free to experiment with almonds or cashews for a personal twist.
Continue cooking until the mixture turns a deep amber color and reaches that perfect candy stage. A candy thermometer helps, but experienced cooks can also rely on visual and aroma cues.
Swiftly pour the molten mixture onto your prepared baking sheet. Use a spatula to spread it thin, creating a delicate, crispy canvas of sweet, nutty goodness.
Allow the brittle to cool completely at room temperature. As it sets, it will develop a satisfying crackle and snap that makes this treat irresistible.
Once fully cooled, break the brittle into irregular pieces. Store in an airtight container and enjoy your homemade confection within a week.
Tips For A Better Old Fashioned Peanut Brittle
Old Fashioned Peanut Brittle Serving Tips
Best Storage Ideas For Old Fashioned Peanut Brittle
Print
Crunchy Peanut Brittle Recipe
- Total Time: 30 minutes
- Yield: 11 1x
Description
Delightful homemade old fashioned peanut brittle recipe delivers classic Southern sweet crunch with simple pantry ingredients. Crisp golden confection combines sugar, corn syrup, and roasted peanuts for nostalgic candy perfection you’ll crave.
Ingredients
- 1 ½ cups (200 g/7 oz) dry roasted peanuts (unsalted)
- 1 cup (200 g/7 oz) granulated sugar
- ½ cup (120 ml/4 fl oz) light corn syrup
- ¼ cup (60 ml/2 fl oz) water
- 2 tbsps (30 g/1 oz) unsalted butter
- 1 tsp vanilla extract
- ¼ tsp salt
- 1 tsp baking soda
Instructions
- Workspace Preparation: Line a large baking sheet with parchment paper or silicone mat, lightly coating the surface with butter to facilitate easy candy release.
- Sugar Transformation: In a heavy-bottomed saucepan, combine sugar and corn syrup, heating gradually while stirring to create a smooth, golden caramel base, carefully monitoring temperature with a candy thermometer until reaching the hard-crack stage.
- Peanut Integration: Once the caramel achieves a rich amber color, swiftly fold roasted peanuts into the molten mixture, ensuring rapid and even distribution to prevent potential burning.
- Candy Casting: Quickly pour the blazing hot caramel onto the prepared baking sheet, using a spatula to spread into a gossamer-thin, uniform layer that promises a delicate, crisp texture.
- Cooling and Setting: Allow the brittle to rest undisturbed at room temperature, permitting complete solidification without manipulation, which could compromise its structural integrity.
- Fracturing and Storing: Once fully hardened, gently fragment the brittle into rustic, irregular pieces using the back of a heavy utensil, then transfer to an airtight container to maintain its characteristic crispness and protect against moisture infiltration.
Notes
- Prepare Tools Safely: Use heavy-bottomed saucepan and long-handled wooden spoon to protect hands from hot sugar splatter.
- Control Sugar Temperature: Watch candy thermometer closely; slight temperature variation can turn brittle into burnt sugar or chewy mess.
- Roast Peanuts Perfectly: Toast peanuts beforehand for enhanced nutty flavor and crispier texture, ensuring even caramelization.
- Handle Hot Caramel Carefully: Work quickly when pouring molten sugar to prevent crystallization and maintain smooth, glossy finish.
- Prep Time: 10 minutes
- Cook Time: 20 minutes
- Category: Snacks, Desserts
- Method: Baking
- Cuisine: American
Nutrition
- Serving Size: 11
- Calories: 150
- Sugar: 12 g
- Sodium: 50 mg
- Fat: 7 g
- Saturated Fat: 1 g
- Unsaturated Fat: 6 g
- Trans Fat: 0 g
- Carbohydrates: 20 g
- Fiber: 1 g
- Protein: 3 g
- Cholesterol: 5 mg
Liam O’Sullivan
Founder & Culinary Content Creator
Expertise
Recipe Development, Traditional Irish and European Cuisines, Food Styling and Photography, Culinary Education
Education
Dublin Institute of Technology (DIT) – School of Culinary Arts and Food Technology
Ballymaloe Cookery School
Isabella brings a global spark to the Craft Meats table. Born in Florence and trained at the Apicius International School of Hospitality, she blends classic Italian flavor with modern writing that’s easy to follow and hard to forget.
Her additional training at the Italian Chef Academy fueled her love for well-crafted dishes, especially ones that spotlight beautiful cuts of meat.
She’s a food writer with heart, and a deep love for storytelling through single recipes. Her goal? To help you cook with more confidence and a little more joy, no matter where you start.