
Try Our Buttery Danish Cookie Delight Recipe Today
Danish butter cookies shimmer with delicate elegance and nostalgic charm.
These classic treats carry rich culinary traditions from scandinavian kitchens.
Crisp, buttery textures melt effortlessly on your tongue, creating an irresistible sensory experience.
Delicate and golden, the cookies promise a gentle sweetness that whispers of comfort and home.
Light-as-air ingredients combine to produce a melt-in-your-mouth sensation that feels both luxurious and familiar.
Precise mixing techniques and quality butter unlock the magic behind these beloved confections.
Imagine crafting these exquisite cookies that transport you to cozy european afternoons with just one delectable bite.
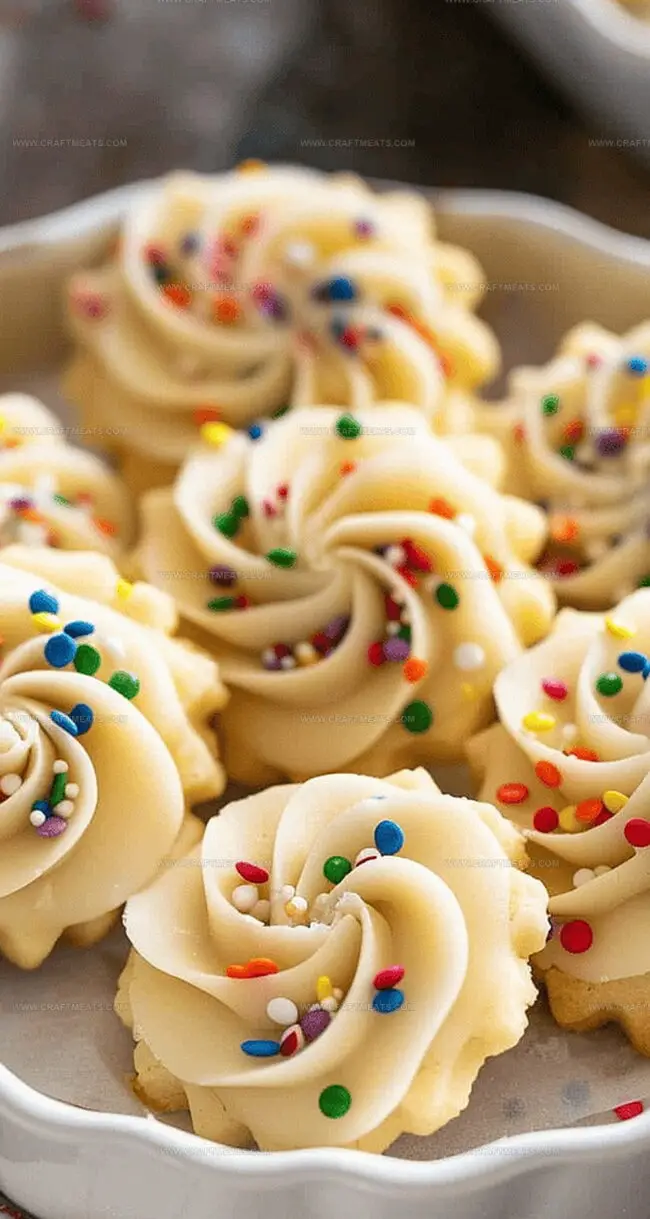
Danish Cookies That Melt in Your Mouth
What Makes These Cookies So Buttery
Dairy Base:Binding Ingredients:Dry Ingredients:Decoration Options:How to Bake Perfect Danish Butter Cookies
Step 1: Prepare the Baking Station
Grab your baking sheets and line them with parchment paper. Preheat the oven to a cozy 350°F (177°C), creating the perfect warm environment for your cookie adventure.
Step 2: Create the Creamy Base
Grab your stand mixer and get ready for magic! In the mixing bowl, combine:Whip these ingredients until they transform into a fluffy, cloud-like mixture that promises delicious cookies ahead.
Step 3: Add Liquid Goodness
Time to bring more flavor to the party! Pour in:Mix these into the buttery base, using a rubber spatula to scrape down the sides and ensure every bit gets incorporated.
Step 4: Introduce the Flour
Gently fold in the all-purpose flour. The secret is to mix just until the flour disappears – no overmixing allowed! This keeps your cookies tender and melt-in-your-mouth delightful.
Step 5: Shape Your Cookies
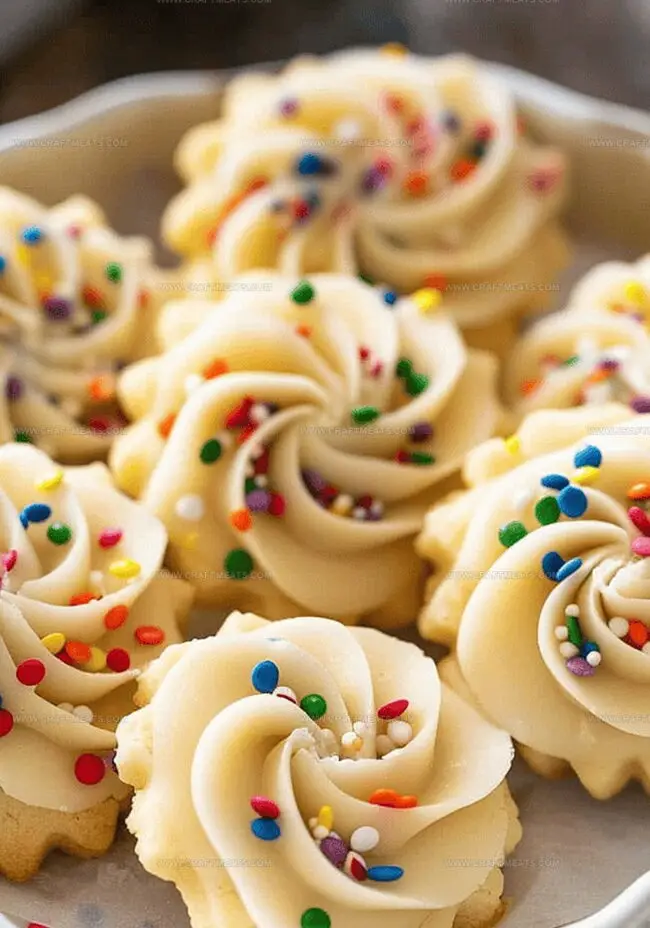
Grab a piping bag with a large star tip (Wilton 1M or Ateco 844 work perfectly). Pipe beautiful swirls onto your prepared baking sheets, leaving some breathing room between each cookie.
Step 6: Bake to Golden Perfection
Slide the trays into the preheated oven. Watch closely for 12-15 minutes until the edges turn a gorgeous golden brown. Your kitchen will smell absolutely amazing!
Step 7: Cool and Decorate
Remove the cookies from the oven and let them rest on a wire rack. While still warm, feel free to get creative:Let them cool completely before diving in or storing in an airtight container.
Cookie Baking Tips You’ll Want to Save
Keep Cookies Crisp and Fresh
What to Serve With Butter Cookies
Variations for Classic Danish Flavor
Danish Butter Cookie Questions You May Have
Yes, you can use a hand mixer or even mix by hand with a wooden spoon. The key is to cream the butter and sugar until light and fluffy.
Stored in an airtight container at room temperature, these cookies will remain fresh for up to 7-10 days. For best taste and texture, keep them in a cool, dry place.
Absolutely! You can prepare the dough, pipe it onto parchment paper, freeze until solid, then transfer to a freezer bag. Freeze for up to 3 months and bake directly from frozen, adding 1-2 extra minutes to baking time.
You can use a zip-top bag with a corner snipped off or simply roll the dough into small balls and flatten them slightly with a fork for a classic cookie shape.
Print
Danish Butter Cookie Delight Recipe
- Total Time: 35 minutes
- Yield: 24 1x
Description
Indulgent Danish Butter Cookie Delight brings Nordic sweetness to your kitchen with buttery, melt-in-mouth perfection. Crisp edges and delicate crumble promise a delectable journey through classic Danish baking traditions you’ll savor with pure joy.
Ingredients
Dairy and Fat:
- 1 cup (226 grams) European style butter, room temperature
Sugars and Sweeteners:
- ½ cup (100 grams) sugar
Binding and Flavoring Ingredients:
- 1 egg, room temperature
- 1 tablespoon (15 milliliters) vanilla extract
Dry Ingredients:
- 2 cups (240 grams) flour
- 1/8 teaspoon (0.6 grams) salt
Optional Garnishes:
- white chocolate
- M&M’s
- sprinkles
Instructions
- Preheat the oven to 350°F and prepare baking sheets with parchment paper, creating a non-stick surface for delicate cookie production.
- In a stand mixer, blend butter, sugar, and salt until the mixture transforms into a light, airy consistency that will provide the signature tender crumb.
- Introduce vanilla extract and egg into the butter mixture, blending thoroughly and ensuring all ingredients are uniformly distributed by scraping mixer sides.
- Gently fold flour into the wet ingredients, using delicate movements to maintain the cookie’s characteristic tender texture. Stop mixing immediately once flour integrates completely.
- Load the dough into a piping bag equipped with a decorative star tip, selecting a design that will showcase the classic Danish cookie profile.
- Carefully pipe uniform swirls onto prepared baking sheets, maintaining consistent spacing to allow gentle spreading during baking.
- Place in preheated oven and monitor closely, baking for 12-15 minutes until edges develop a subtle golden hue, indicating perfect doneness.
- Remove cookies from oven and let them rest momentarily on baking sheets to stabilize their structure.
- Optional embellishment includes drizzling with melted white chocolate, sprinkling decorative elements, or adding colorful candies while cookies remain warm.
- Transfer to wire cooling rack, allowing complete cooling before storing in an airtight container to preserve their delicate texture and flavor.
Notes
- Prepare your workspace by preheating the oven and lining baking sheets with parchment paper for hassle-free baking and cleanup.
- Cream butter, sugar, and salt until light and fluffy to create the perfect tender cookie texture that melts in your mouth.
- Carefully mix vanilla and egg into the butter mixture, ensuring thorough incorporation for consistent flavor throughout each cookie.
- Fold in flour gently to maintain a delicate crumb, stopping mixing the moment ingredients are combined to prevent tough cookies.
- Use a star-tipped piping bag or cookie press to create beautiful, professional-looking swirled cookies with elegant ridges and peaks.
- Watch cookies closely while baking, pulling them from the oven when edges turn a delicate golden brown for that classic Danish butter cookie crispness.
- Prep Time: 20 minutes
- Cook Time: 15 minutes (per batch)
- Category: Desserts, Snacks
- Method: Baking
- Cuisine: Danish
Nutrition
- Serving Size: 24
- Calories: 130
- Sugar: 3.5 g
- Sodium: 0.1 g
- Fat: 7 g
- Saturated Fat: 4.5 g
- Unsaturated Fat: 2.5 g
- Trans Fat: 0 g
- Carbohydrates: 17 g
- Fiber: 0.5 g
- Protein: 1.5 g
- Cholesterol: 25 mg
Isabella Rossi
Founder & Culinary Content Creator
Expertise
Recipe Development, Traditional Irish and European Cuisines, Food Styling and Photography, Culinary Education
Education
Dublin Institute of Technology (DIT) – School of Culinary Arts and Food Technology
Ballymaloe Cookery School
Liam is the voice behind many of Craft Meats’ most flavorful features. With roots in Dublin’s smoky barbecue scene and a culinary degree from the Dublin Institute of Technology, he brings time-tested cooking techniques to life.
His training at Ballymaloe Cookery School sharpened his farm-to-table approach, giving him a deep respect for every ingredient he writes about.
He’s not about overcomplicating the process, just helping you cook meat that’s worth talking about. When he’s not writing or grilling, he’s out foraging or nerding out on regional spice blends to add to his next recipe.