Chocolate Orange Sticks Recipe That Candy Lovers Crave
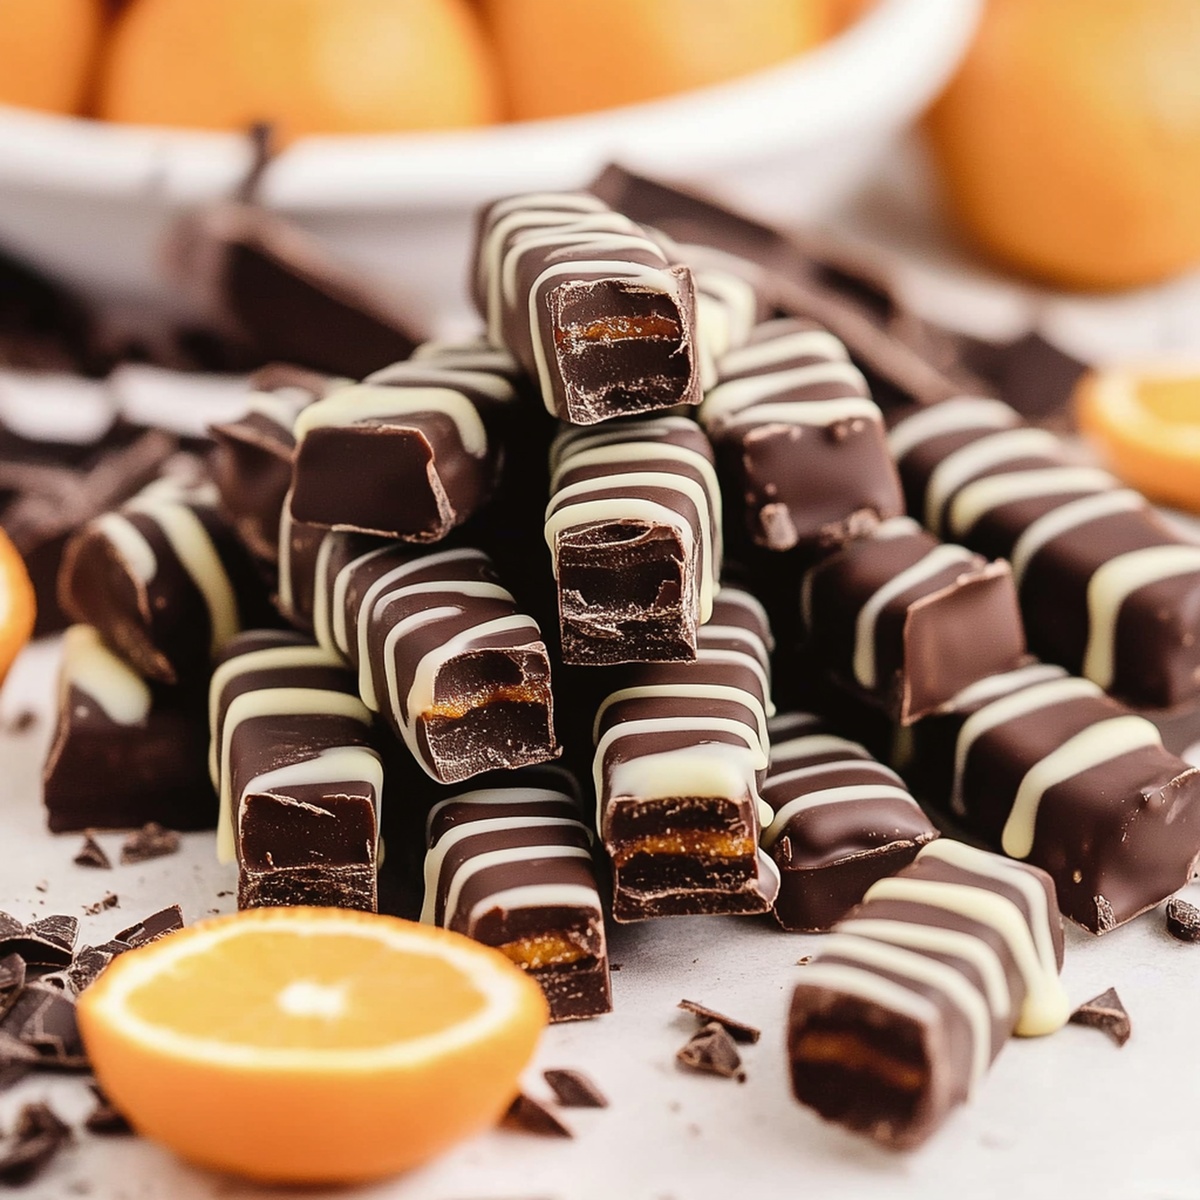
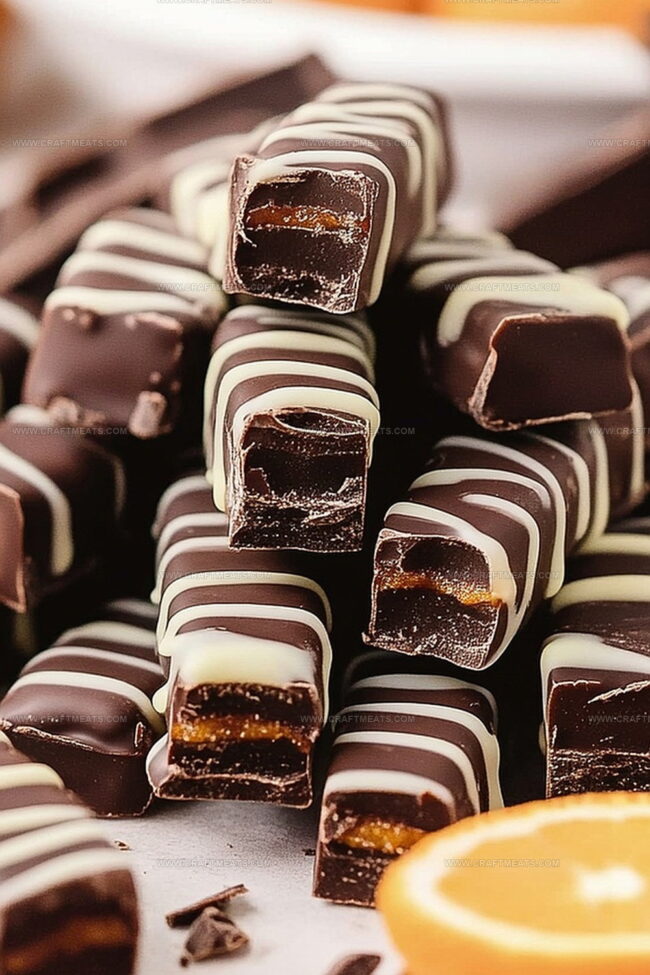
Sweet citrus meets rich chocolate in these delectable homemade chocolate orange sticks that promise a burst of flavor in every bite.
Each orange-infused stick carries a delightful zesty essence that dances on the tongue.
The combination of tangy orange and smooth chocolate creates a luxurious treat that feels both nostalgic and elegant.
Crafting these confections at home allows you to control the intensity of orange and chocolate flavors.
The recipe transforms simple ingredients into an extraordinary dessert that impresses with minimal effort.
Indulge in this simple yet sophisticated confection that will become your new favorite sweet escape.
Quick Recipe Overview
Homemade Chocolate Orange Sticks Ingredient Breakdown
For The Citrus Base:For The Sweetening Elements:For The Chocolate Coating:Supplies To Make Homemade Chocolate Orange Sticks Easy
Steps To Craft Homemade Chocolate Orange Sticks At Home
Select ripe, fresh oranges and carefully remove outer skin into delicate strips. Remove excess white membrane to ensure smooth texture.
Boil orange strips multiple times in water to eliminate bitter taste. This technique transforms harsh peels into tender, sweet morsels perfect for candying.
Create sugar syrup and gently simmer orange strips until they become translucent and glossy. The slow cooking allows peels to absorb sweet flavors deeply.
Spread softened orange strips on wire rack, letting them air dry naturally. Patience during this stage ensures perfect candied texture.
Melt rich dark chocolate with smooth coconut oil, creating luxurious coating. Carefully dip each orange strip, allowing chocolate to elegantly drape halfway.
Allow chocolate-covered treats to set at room temperature. Store in cool, dry container to maintain crisp texture and intense flavor. These homemade delights offer sophisticated taste combining citrus brightness with deep chocolate richness.
Flavor Tips For Homemade Chocolate Orange Sticks
Serving Homemade Chocolate Orange Sticks For Holidays
How To Store Homemade Chocolate Orange Sticks Neatly
Print
Decadent Chocolate Orange Sticks Recipe
- Total Time: 5 hours 30 minutes
- Yield: 7 1x
Description
Chocolate orange sticks blend rich dark chocolate with zesty citrus for a luxurious homemade treat. Crisp candied orange peel dipped in smooth chocolate creates an irresistible confection you’ll want to share with friends and family.
Ingredients
- 1 tbsp (15 mL / 0.5 fl oz) coconut oil or shortening (optional coating helper)
- 1 cup (170 g / 6 oz) semi-sweet or dark chocolate chips
- 1 ½ cups (360 mL / 12 fl oz) water
- 1 ½ cups (360 g / 12.7 oz) granulated sugar
- 3 large oranges
Instructions
- Peel Preparation: Extract orange peels with precision, meticulously removing white membrane to ensure a clean, pure citrus base.
- Blanching Process: Submerge orange strips in rapidly boiling water multiple times to neutralize bitterness and prepare for candying, draining thoroughly between each immersion.
- Syrup Transformation: Construct a luminous sugar syrup in a saucepan, gently simmering orange strips until they become translucent and absorb sweet essence, creating candied delicacies.
- Drying Stage: Arrange orange strips on a wire rack, allowing natural air circulation to dehydrate the candied peels completely, which typically requires several hours of patient resting.
- Chocolate Coating: Melt high-quality chocolate chips with a touch of coconut oil in a microwave, stirring intermittently to achieve a smooth, glossy consistency perfect for dipping.
- Dipping Technique: Immerse each candied orange strip halfway into the molten chocolate, ensuring an elegant coating that showcases the vibrant citrus interior and creates a visually appealing confection.
- Setting and Storage: Place chocolate-coated strips on parchment paper, allowing them to set at room temperature or in the refrigerator, then transfer to an airtight container to preserve their delicate texture and intense flavor profile.
Notes
- Peel Precision: Remove all white pith thoroughly to prevent bitter undertones and ensure a clean, pure citrus flavor in your chocolate orange sticks.
- Blanching Technique: Repeat boiling water process 3 times to dramatically reduce orange peel bitterness and create a softer, more refined candied texture.
- Chocolate Tempering Hack: Add a small amount of coconut oil to chocolate for smoother melting, glossier finish, and prevent chocolate from becoming grainy or chalky.
- Storage Strategy: Keep chocolate orange sticks in cool, dry environment to maintain crisp texture and prevent chocolate from melting or developing condensation.
- Prep Time: 30 minutes
- Cook Time: 1 hour
- Category: Desserts, Snacks
- Method: Simmering
- Cuisine: American
Nutrition
- Serving Size: 7
- Calories: 180
- Sugar: 24 g
- Sodium: 0 mg
- Fat: 8 g
- Saturated Fat: 5 g
- Unsaturated Fat: 3 g
- Trans Fat: 0 g
- Carbohydrates: 27 g
- Fiber: 2 g
- Protein: 1 g
- Cholesterol: 0 mg


Liam O’Sullivan
Founder & Culinary Content Creator
Expertise
Recipe Development, Traditional Irish and European Cuisines, Food Styling and Photography, Culinary Education
Education
Dublin Institute of Technology (DIT) – School of Culinary Arts and Food Technology
Ballymaloe Cookery School
Isabella brings a global spark to the Craft Meats table. Born in Florence and trained at the Apicius International School of Hospitality, she blends classic Italian flavor with modern writing that’s easy to follow and hard to forget.
Her additional training at the Italian Chef Academy fueled her love for well-crafted dishes, especially ones that spotlight beautiful cuts of meat.
She’s a food writer with heart, and a deep love for storytelling through single recipes. Her goal? To help you cook with more confidence and a little more joy, no matter where you start.