Perfect Red Velvet Thumbprint Cookies with Cream Cheese Recipe
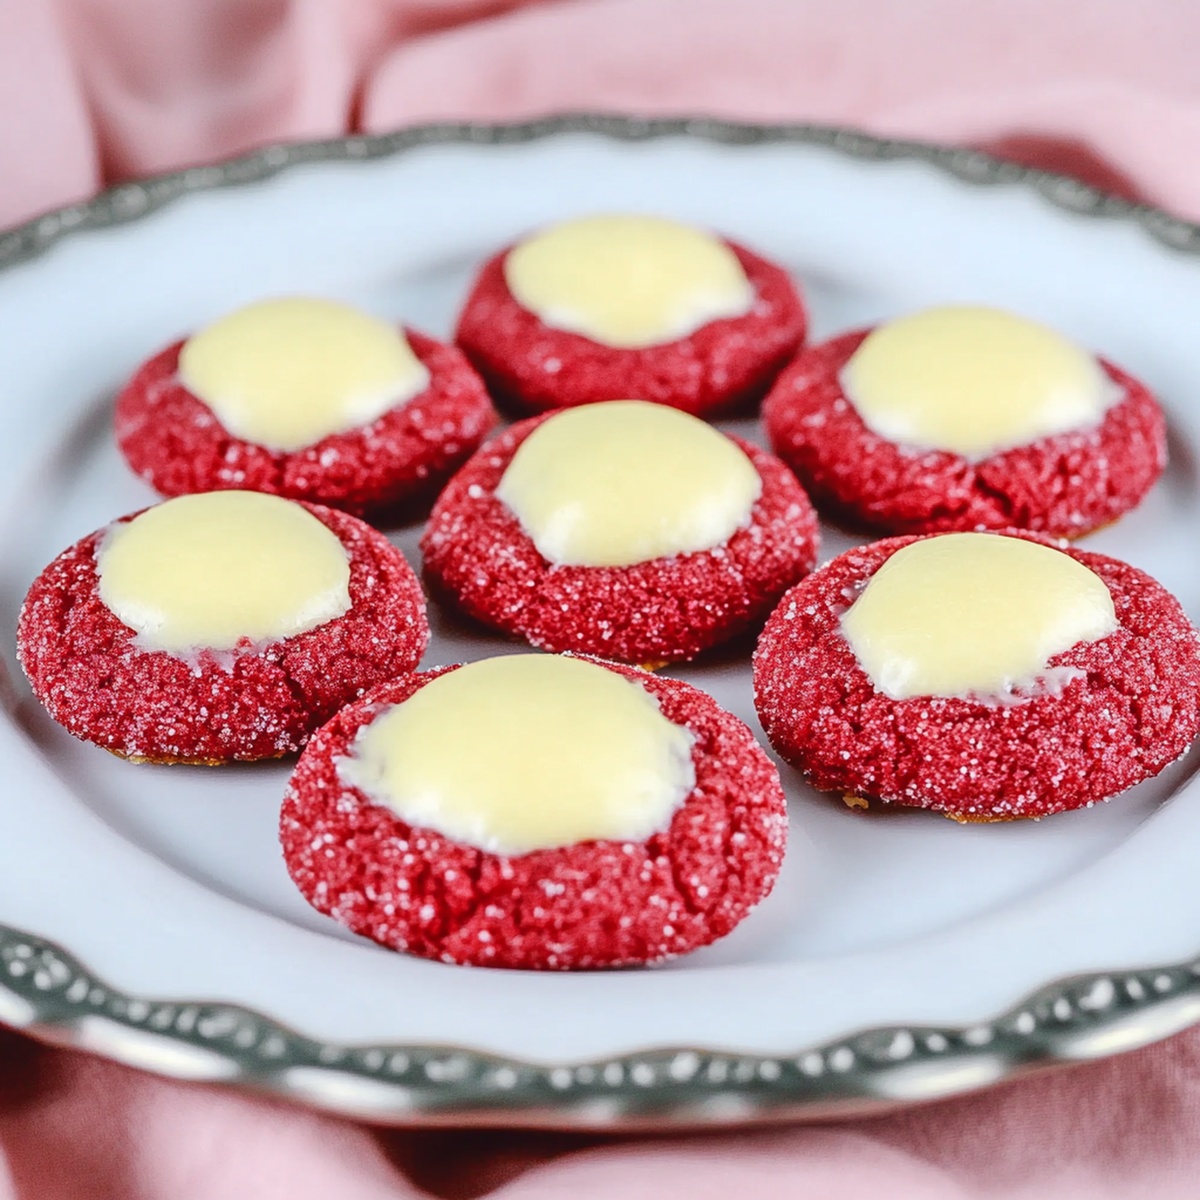
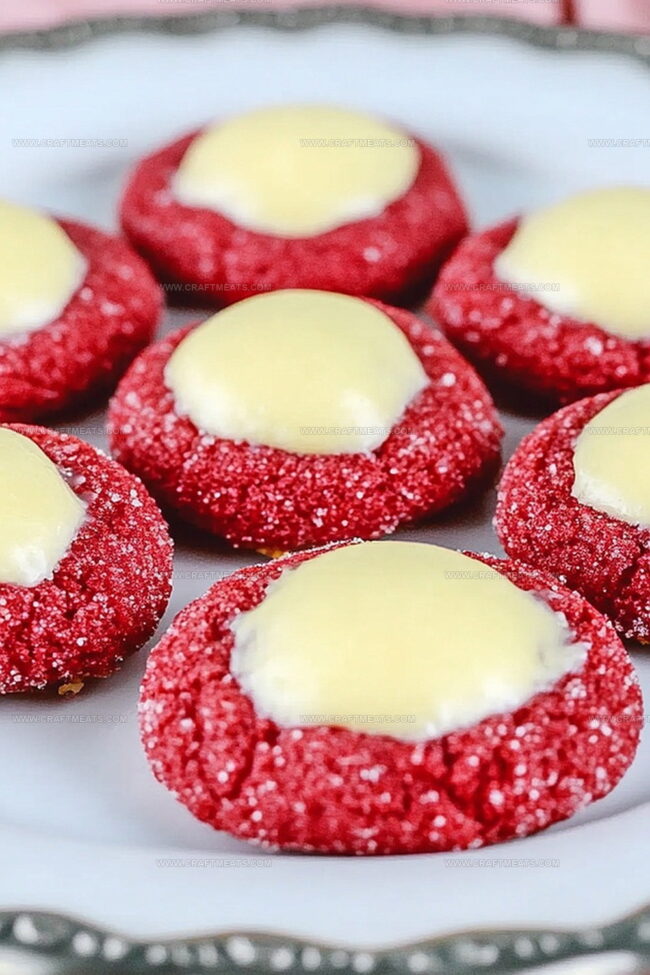
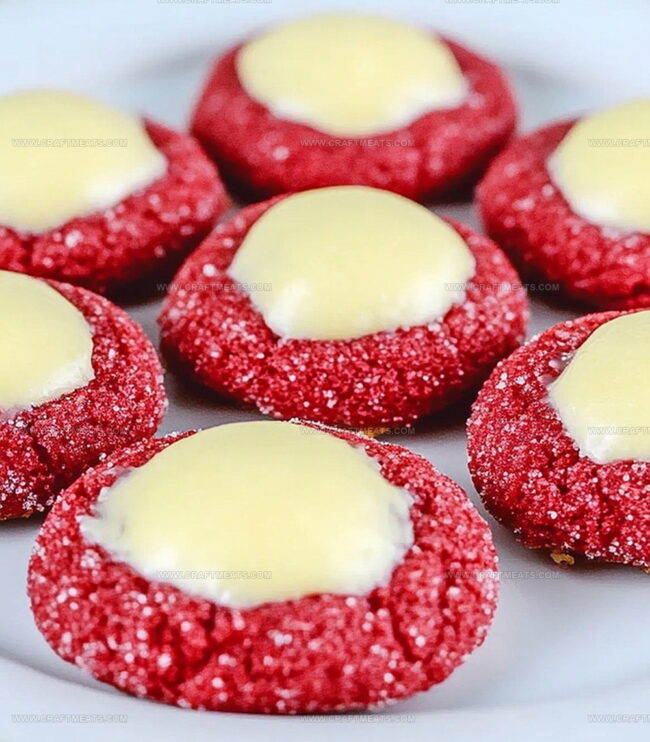
Sweet, buttery cookies with a vibrant red velvet thumbprint cookie recipe draw cookie lovers into a world of decadent delights.
Rich crimson dough swirls with classic Southern charm, promising a treat that melts in your mouth.
Soft, crumbly edges give way to a luscious cream cheese center that adds creamy sophistication.
These elegant cookies bring a touch of glamour to any dessert spread with their stunning deep red hue.
Delicate and indulgent, they transform an ordinary afternoon into a celebration of flavor.
Each bite delivers a perfect balance of tender cookie and silky filling that will have everyone asking for seconds.
Prepare to fall in love with this irresistible dessert that turns simple ingredients into pure magic.
Quick Recipe Overview
Red Velvet Thumbprint Cookies With Cream Cheese Ingredients
For Filling:For Piping and Storage:For Preparation Tips:Tools To Make Red Velvet Thumbprint Cookies With Cream Cheese
How To Fill Red Velvet Thumbprint Cookies With Cream Cheese
Mix flour, cocoa powder, and a dash of salt in a mixing bowl. These dry ingredients create the foundation for rich, velvety cookies that will melt in your mouth.
Cream together softened butter and sugar until the mixture becomes light and fluffy. This step ensures a soft, tender cookie texture that’s irresistible.
Add red food coloring to transform the dough into a vibrant crimson shade. Gently fold until the color spreads evenly, creating that classic red velvet charm.
Chill the dough for about 30 minutes. Cold dough helps cookies maintain their shape and prevents spreading during baking.
Roll dough into small balls and press a gentle indent in the center of each cookie. This pocket will cradle the creamy filling perfectly.
Whip cream cheese with powdered sugar and vanilla until silky smooth. The filling should be light and delicate.
Pipe the cream cheese mixture into the center of each cookie. Bake until edges are slightly crisp and centers are soft.
Let cookies cool completely on a wire rack. The filling will set and create a delightful contrast with the rich red velvet cookie base.
Additions For Red Velvet Thumbprint Cookies With Cream Cheese
Serving Red Velvet Thumbprint Cookies With Cream Cheese For Holidays
How To Store Red Velvet Thumbprint Cookies With Cream Cheese
Print
Decadent Red Velvet Thumbprint Cookies With Cream Cheese
- Total Time: 1 hour 2 minutes
- Yield: 23 1x
Description
Delightful red velvet thumbprint cookies with cream cheese offer a perfect blend of rich cocoa and tangy filling. Classic Southern charm meets sweet indulgence, beckoning you to savor each delectable bite.
Ingredients
- 1 ½ cups (190 g) all-purpose flour
- ½ cup (115 g) unsalted butter, softened
- ⅔ cup (135 g) granulated sugar
- 1 large egg
- 4 oz (115 g) cream cheese, softened
- 2 tbsps (15 g) cocoa powder
- 1 tbsp red gel food coloring
- 1 tsp vanilla extract
- ½ tsp baking powder
- ¼ tsp salt
- ½ cup (50 g) powdered sugar (for rolling, optional)
- ¼ cup (30 g) powdered sugar
- ½ tsp vanilla extract
Instructions
- Filling Preparation: Whip cream cheese, powdered sugar, and vanilla extract until achieving a velvety, lump-free mixture that’s smooth and consistent.
- Filling Storage: Transfer the creamy blend into a piping bag or sturdy resealable plastic bag, creating a small corner cut for precise filling distribution, then refrigerate to stabilize the texture and maintain structural integrity.
- Cookie Dough Mixing: Combine flour, cocoa powder, salt, and baking powder in a separate bowl, then cream butter and sugar until light and fluffy, gradually incorporating eggs and red food coloring to create a vibrant, rich dough.
- Shaping Cookies: Roll chilled dough into uniform balls, arrange on parchment-lined baking sheets, and gently create thumb indentations in each cookie’s center using the back of a teaspoon or your thumb.
- Baking Process: Slide cookies into a preheated 350°F oven, baking for 10-12 minutes until edges appear set and centers remain slightly soft, allowing cookies to cool completely on the baking sheet.
- Final Assembly: Once cookies have reached room temperature, pipe the chilled cream cheese filling into the center indentations, creating elegant, swirled peaks that complement the rich red velvet base.
- Serving Suggestion: Dust with optional powdered sugar or refrigerate to help filling set, ensuring a delightful texture and presentation for these decadent thumbprint cookies.
Notes
- Chill Cream Cheese Filling: Refrigerate for 15-20 minutes to achieve optimal piping consistency and prevent runny texture.
- Control Color Intensity: Adjust red food coloring amount carefully to maintain vibrant red velvet appearance without artificial taste.
- Prevent Spreading Cookies: Chill cookie dough for 30 minutes before baking to maintain shape and prevent excessive spreading during baking.
- Create Perfect Thumbprints: Use the back of a small measuring spoon or your thumb to create uniform and consistent indentations in cookie centers.
- Prep Time: 20 minutes
- Cook Time: 30 minutes
- Category: Desserts, Snacks
- Method: Mixing
- Cuisine: American
Nutrition
- Serving Size: 23
- Calories: 150
- Sugar: 10 g
- Sodium: 90 mg
- Fat: 7 g
- Saturated Fat: 4 g
- Unsaturated Fat: 3 g
- Trans Fat: 0 g
- Carbohydrates: 22 g
- Fiber: 0 g
- Protein: 2 g
- Cholesterol: 25 mg
Liam O’Sullivan
Founder & Culinary Content Creator
Expertise
Recipe Development, Traditional Irish and European Cuisines, Food Styling and Photography, Culinary Education
Education
Dublin Institute of Technology (DIT) – School of Culinary Arts and Food Technology
Ballymaloe Cookery School
Isabella brings a global spark to the Craft Meats table. Born in Florence and trained at the Apicius International School of Hospitality, she blends classic Italian flavor with modern writing that’s easy to follow and hard to forget.
Her additional training at the Italian Chef Academy fueled her love for well-crafted dishes, especially ones that spotlight beautiful cuts of meat.
She’s a food writer with heart, and a deep love for storytelling through single recipes. Her goal? To help you cook with more confidence and a little more joy, no matter where you start.