
Sweet Chocolate Truffles Recipe: Foolproof Joy in Every Bite
Decadent chocolate balls dance on the edge of culinary perfection, promising a sweet escape from ordinary desserts.
Every chocolate lover craves these delightful bite-sized treats that melt effortlessly in your mouth.
Rich, creamy, and surprisingly simple to make, these little spheres of joy require minimal ingredients and maximum flavor.
The recipe brings together classic chocolate goodness with a touch of playful creativity.
Small hands and experienced bakers alike can craft these delectable morsels in just minutes.
No fancy kitchen skills needed – just pure chocolatey bliss awaits.
Prepare to indulge in a dessert that will have everyone asking for seconds.
Quick Recipe Overview
What Goes In Easy Chocolate Balls
For Base Ingredients:For Binding Ingredients:For Coating Ingredients:Quick Tools For Easy Chocolate Balls
Easy Steps To Roll Out Chocolate Balls
Create a delightful mixture by blending graham crackers, powdered sugar, and cocoa powder in a large bowl. Pour in melted butter, milk, and vanilla extract, stirring until a soft, cohesive dough forms.
Grab small portions of the mixture and gently roll between your palms to create round, bite-sized spheres. Work carefully to maintain a consistent size for each treat.
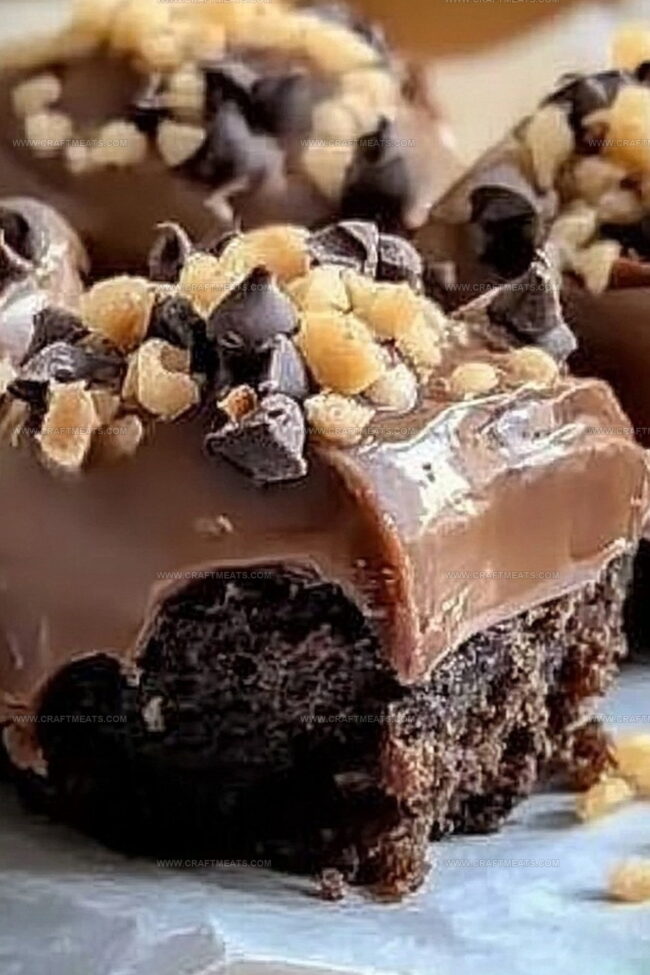
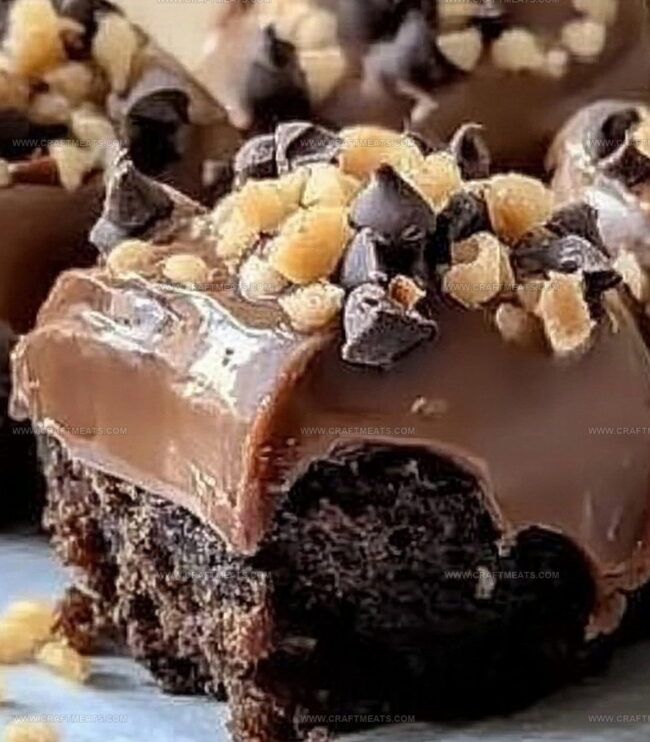
Transform your treats by rolling each ball through your chosen topping – whether it’s shredded coconut, finely crushed nuts, colorful sprinkles, or a dusting of rich cocoa powder.
Transfer the coated goodies onto a parchment-lined tray and slide into the refrigerator. Let them rest and firm up for about an hour, allowing the flavors to meld and texture to set perfectly.
Once chilled, these irresistible chocolate treats are ready to be devoured. Store any leftovers in a sealed container in the refrigerator, ensuring maximum freshness and enjoyment.
Tips For Smooth And Sweet Chocolate Balls
Serve Easy Chocolate Balls With A Smile
Stash Easy Chocolate Balls In The Fridge Right
Print
Delightful Chocolate Balls Recipe
- Total Time: 1 hour 15 minutes
- Yield: 23 1x
Description
Chocolate lovers adore these delightful chocolate balls from Brazil, rolling with rich cocoa and condensed milk. Creamy chocolate centers invite sweet indulgence, promising pure delight you can savor with friends and family.
Ingredients
- ½ cup (120 milliliters or ½ cup) unsalted butter, melted
- ¼ cup (60 milliliters or ¼ cup) milk
- 1 tsp (5 milliliters or 1 tsp) vanilla extract
- 1 ½ cups (375 milliliters or 1 ½ cups) crushed graham crackers or digestive biscuits
- ½ cup (120 milliliters or ½ cup) powdered sugar
- ⅓ cup (80 milliliters or ⅓ cup) cocoa powder
- ½ cup (120 milliliters or ½ cup) shredded coconut
- ½ cup (120 milliliters or ½ cup) crushed nuts
- Sprinkles or cocoa powder for rolling
Instructions
- Mixing Dry Foundation: Combine graham cracker crumbs, powdered sugar, and cocoa powder in a large mixing bowl, blending thoroughly to create a uniform dry base.
- Moisture Integration: Pour melted butter, milk, and vanilla extract into the dry mixture. Knead and fold until a smooth, malleable dough forms with consistent texture and no dry pockets.
- Shaping and Coating Preparation: Craft uniform spherical portions using gentle hand rolling. Simultaneously, arrange coating options like shredded coconut, ground nuts, sprinkles, or additional cocoa powder in separate shallow dishes.
- Finishing and Chilling: Carefully roll each chocolate sphere through chosen coatings, ensuring complete and even coverage. Arrange coated balls on a parchment-lined tray with minimal contact between pieces, then refrigerate for one hour to solidify and enhance flavor complexity.
- Storage and Service: Once chilled and firm, serve immediately or store in an airtight container within the refrigerator. These chocolate delights will maintain optimal taste and texture for approximately one week.
Notes
- Prevent Crumbly Texture: Ensure butter is fully melted and at room temperature for a smooth, cohesive dough that holds shape perfectly.
- Customize Coating Options: Experiment with different toppings like crushed Oreos, matcha powder, or melted chocolate for diverse flavor profiles and visual appeal.
- Achieve Uniform Size: Use a small cookie scoop or tablespoon to create consistent chocolate ball sizes, ensuring even chilling and professional presentation.
- Storage Hack: Layer chocolate balls between parchment paper in an airtight container to prevent sticking and maintain freshness for up to one week in the refrigerator.
- Prep Time: 15 minutes
- Cook Time: 1 hour
- Category: Desserts, Snacks
- Method: Mixing
- Cuisine: American
Nutrition
- Serving Size: 23
- Calories: 150
- Sugar: 8 g
- Sodium: 30 mg
- Fat: 9 g
- Saturated Fat: 5 g
- Unsaturated Fat: 4 g
- Trans Fat: 0 g
- Carbohydrates: 17 g
- Fiber: 1 g
- Protein: 2 g
- Cholesterol: 15 mg
Liam O’Sullivan
Founder & Culinary Content Creator
Expertise
Recipe Development, Traditional Irish and European Cuisines, Food Styling and Photography, Culinary Education
Education
Dublin Institute of Technology (DIT) – School of Culinary Arts and Food Technology
Ballymaloe Cookery School
Isabella brings a global spark to the Craft Meats table. Born in Florence and trained at the Apicius International School of Hospitality, she blends classic Italian flavor with modern writing that’s easy to follow and hard to forget.
Her additional training at the Italian Chef Academy fueled her love for well-crafted dishes, especially ones that spotlight beautiful cuts of meat.
She’s a food writer with heart, and a deep love for storytelling through single recipes. Her goal? To help you cook with more confidence and a little more joy, no matter where you start.