
Creamy Banana Pudding Cheesecake Bars Recipe to Crave
These decadent banana pudding cheesecake bars blend Southern comfort with creamy indulgence.
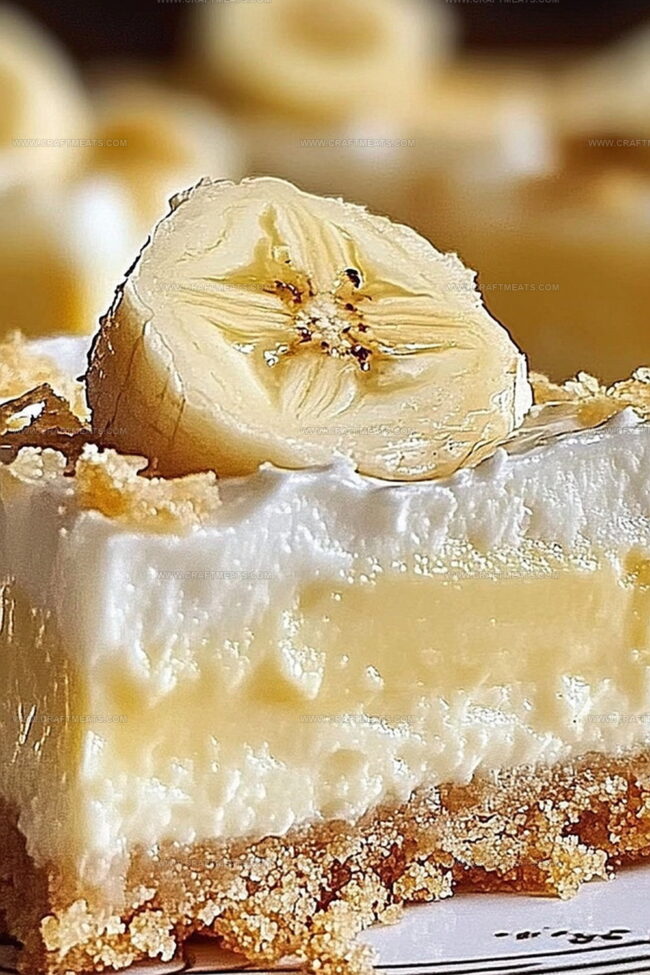
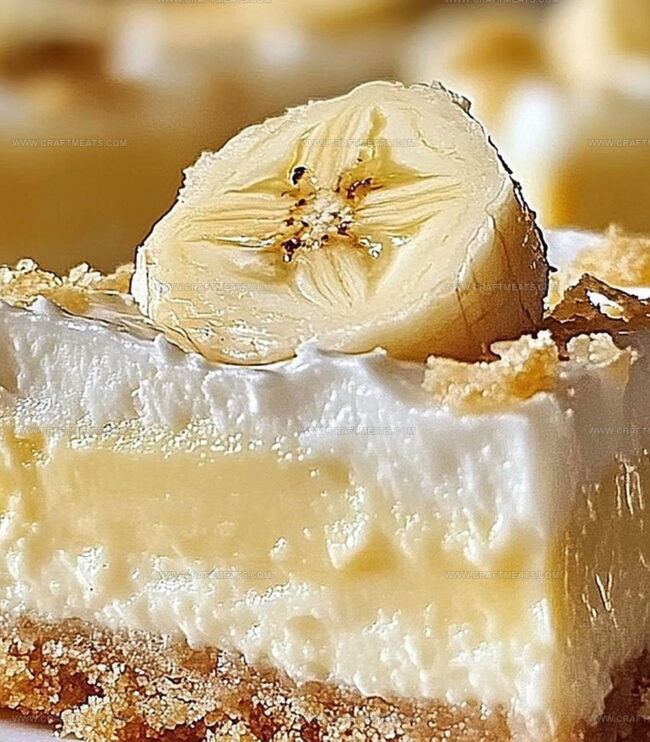
Rich cream cheese layers mingle with smooth banana pudding for an irresistible dessert.
Soft vanilla wafers create a perfect crisp base that adds delightful texture to each bite.
Ripe bananas infuse natural sweetness throughout the entire treat.
Crumbly and smooth, these bars offer a nostalgic twist on classic desserts.
Every slice promises a delectable journey of flavor and tradition.
Dive into this crowd-pleasing recipe that’s sure to become a new favorite at gatherings.
Quick Recipe Overview
Everything In Creamy Banana Pudding Cheesecake Bars
For Crust Base:For Creamy Cheesecake Layer:For Banana Pudding Topping:Tools You’ll Use For Creamy Banana Pudding Cheesecake Bars
Steps To Make Creamy Banana Pudding Cheesecake Bars
Craft a buttery base using vanilla wafer crumbs pressed into a lined baking dish. Bake until golden and allow to cool completely, creating a sturdy platform for the layers of deliciousness to come.
Blend cream cheese with ripe bananas into a silky smooth mixture. Pour gently over the cooled crust, letting the ingredients dance together in the oven until perfectly set with a slight wobble in the center.
Whip up a dreamy banana pudding layer that transforms the bars into a cloud-like dessert. Fold in soft whipped topping to create an airy, creamy texture that melts in your mouth.
Chill the bars until they become wonderfully firm and cohesive. Garnish with playful sprinkles of crushed vanilla wafers and delicate banana slices, turning a simple dessert into a showstopping treat that’ll have everyone asking for seconds.
Helpful Hints For Creamy Banana Pudding Cheesecake Bars
How To Serve Creamy Banana Pudding Cheesecake Bars
Tips To Store Creamy Banana Pudding Cheesecake Bars
Print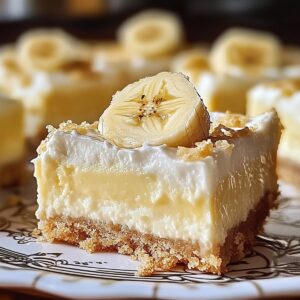
Dreamy Banana Pudding Cheesecake Bars Recipe
- Total Time: 4 hours 50 minutes
- Yield: 11 1x
Description
Indulgent banana pudding cheesecake bars combine classic Southern dessert flavors in one irresistible treat. Smooth cream cheese, ripe bananas, and vanilla wafer crust create a nostalgic dessert sure to delight.
Ingredients
- 2 cups vanilla wafer crumbs (about 50 wafers)
- ½ cup unsalted butter, melted
- 16 oz (453 g) cream cheese, softened
- ½ cup mashed ripe bananas (about 1 medium banana)
- 2 large eggs
- ½ cup granulated sugar
- 1 package (3.4 oz/96 g) instant banana pudding mix
- 1 ¾ cups cold milk
- 1 cup whipped topping (like Cool Whip)
- 1 tsp vanilla extract
- Sliced bananas
- Crushed vanilla wafers
Instructions
- Crust Preparation: Pulverize vanilla wafers and blend with melted butter, pressing the mixture firmly into a parchment-lined baking dish. Bake at 350°F for 10 minutes until golden, then cool completely to create a crisp, sturdy foundation.
- Cheesecake Batter: Blend cream cheese and sugar until silky smooth, gradually introducing eggs while mixing. Incorporate mashed bananas and vanilla extract, ensuring a uniform, luxurious consistency that promises rich, creamy texture.
- Initial Baking: Transfer cheesecake batter over the cooled crust, distributing evenly with a spatula. Bake at 325°F for 35-40 minutes, watching for a slight center wobble that indicates perfect doneness. Allow to cool completely.
- Pudding Layer: Whisk pudding mix with cold milk until thickened, then gently fold in whipped topping to create a cloud-like, velvety banana-infused cream. Spread meticulously across the cooled cheesecake base, ensuring complete coverage.
- Final Chilling: Refrigerate the dessert for minimum 4 hours, allowing layers to set and flavors to harmonize. Before serving, garnish with whipped cream, fresh banana slices, and crushed vanilla wafers for a visually stunning and decadent finish.
Notes
- Prevent Banana Browning: Toss freshly sliced bananas with a splash of lemon juice to maintain their bright color and prevent quick oxidation during garnishing.
- Achieve Smooth Cheesecake Texture: Ensure cream cheese is at room temperature and beat thoroughly to eliminate lumps, creating a silky-smooth batter without overmixing.
- Control Moisture Balance: Pat mashed bananas gently with paper towels to remove excess moisture, preventing a soggy crust and maintaining the perfect cheesecake consistency.
- Customize Dietary Needs: Swap traditional ingredients for gluten-free vanilla wafers and use low-fat cream cheese to adapt the recipe for specific dietary requirements without compromising flavor.
- Prep Time: 20 minutes
- Cook Time: 30 minutes
- Category: Desserts, Snacks
- Method: Baking
- Cuisine: American
Nutrition
- Serving Size: 11
- Calories: 300
- Sugar: 18 g
- Sodium: 150 mg
- Fat: 15 g
- Saturated Fat: 9 g
- Unsaturated Fat: 5 g
- Trans Fat: 0 g
- Carbohydrates: 38 g
- Fiber: 1 g
- Protein: 3 g
- Cholesterol: 50 mg
Liam O’Sullivan
Founder & Culinary Content Creator
Expertise
Recipe Development, Traditional Irish and European Cuisines, Food Styling and Photography, Culinary Education
Education
Dublin Institute of Technology (DIT) – School of Culinary Arts and Food Technology
Ballymaloe Cookery School
Isabella brings a global spark to the Craft Meats table. Born in Florence and trained at the Apicius International School of Hospitality, she blends classic Italian flavor with modern writing that’s easy to follow and hard to forget.
Her additional training at the Italian Chef Academy fueled her love for well-crafted dishes, especially ones that spotlight beautiful cuts of meat.
She’s a food writer with heart, and a deep love for storytelling through single recipes. Her goal? To help you cook with more confidence and a little more joy, no matter where you start.