No-Bake Coconut Cream Balls Recipe for Sweet Fans
Delectable no-bake coconut cream balls dance between sweet indulgence and effortless preparation.
These delightful treats bring coconut cream balls to life with minimal kitchen effort.
Creamy, rich, and wonderfully satisfying, they require just a handful of simple ingredients.
No heating, no complicated steps—just pure, delicious magic.
Each bite promises a luxurious blend of tropical flavors that melt smoothly on your tongue.
Rolled and chilled to perfection, these little spheres of joy make dessert time a breeze.
Whip up this recipe and treat yourself to a moment of pure culinary bliss.
Quick Recipe Overview
What’s Inside No Bake Coconut Cream Balls
For Base Ingredients:For Sweetening Ingredients:For Coating Ingredients:Tools You’ll Need For No Bake Coconut Cream Balls
Quick Directions For No Bake Coconut Cream Balls
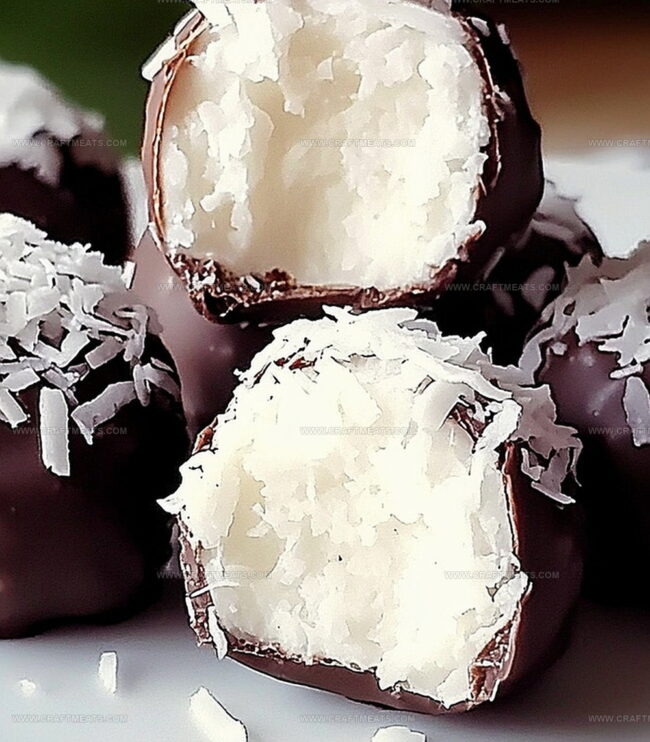
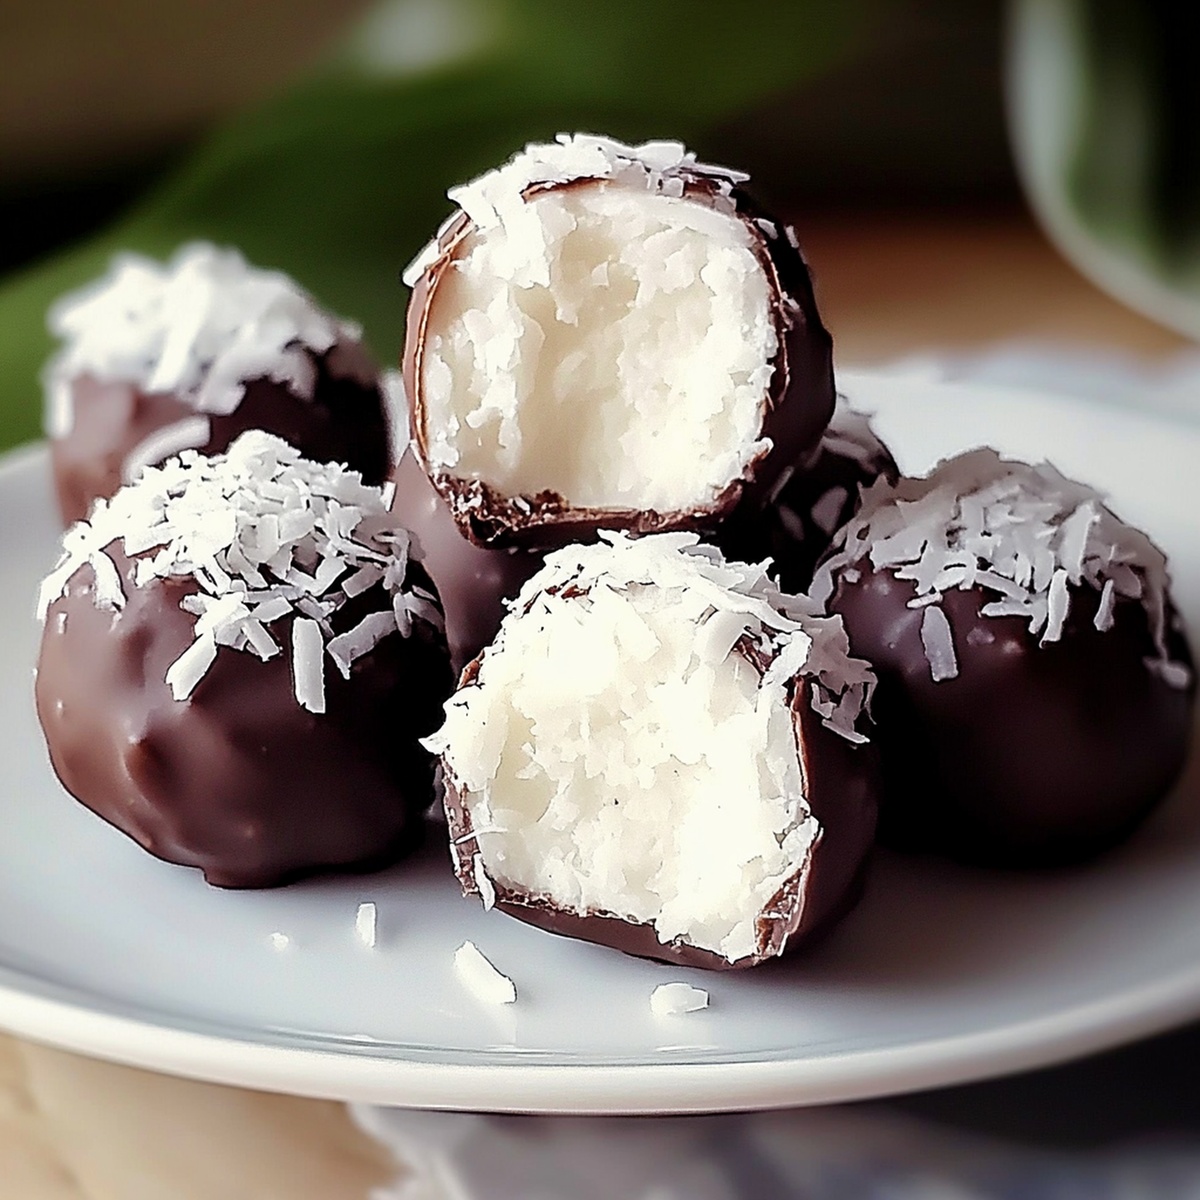
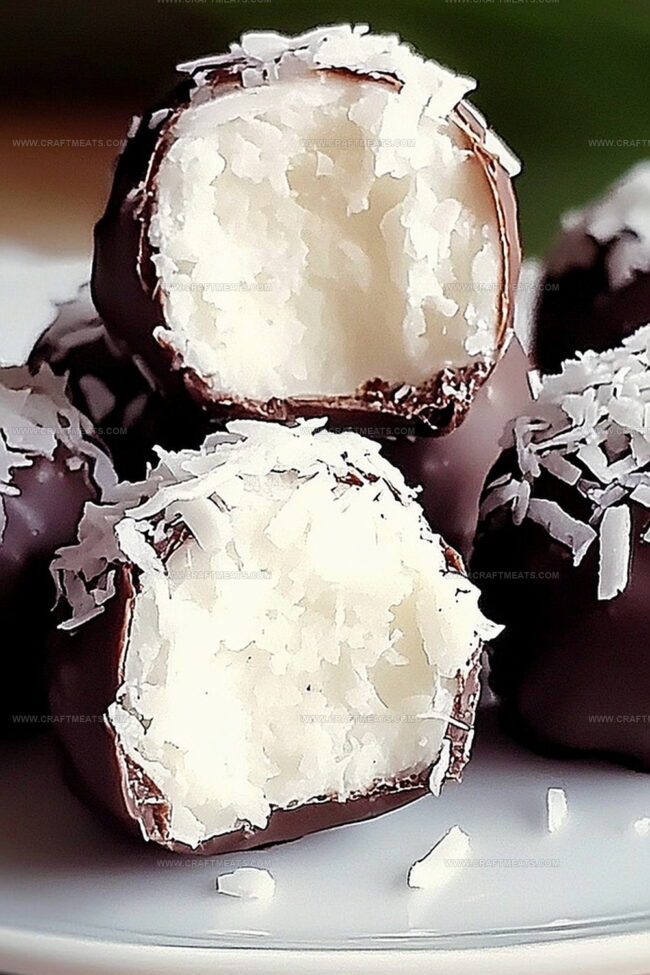
Grab your mixing bowl and whip up a dreamy blend of cream cheese and butter until silky smooth. Fold in powdered sugar, creating a luscious mixture that’s thick and irresistible. Sprinkle in shredded coconut for that tropical punch of flavor.
Pop the bowl in the refrigerator for about an hour. This helps the mixture become firm and easy to handle, giving you perfect ball-shaping potential.
Dust your hands with a light coating of powdered sugar. Scoop out small portions and roll them into delightful little spheres. Place each ball on a parchment-lined tray and send them to the freezer for a quick chill.
Melt your chocolate chips in short bursts, stirring until glossy and smooth. This will be the luxurious coating for your coconut treats.
Carefully dunk each coconut ball into the melted chocolate, ensuring a complete and even coating. Let excess chocolate drip away, then return to the parchment-lined tray. For an extra touch, sprinkle some coconut or sea salt while the chocolate is still wet.
Place the tray in the refrigerator for a quick 10-15 minutes to set the chocolate coating perfectly.
Enjoy these tropical treats chilled or at room temperature. Store any leftovers in a sealed container in the refrigerator for continued snacking pleasure.
Ideas To Switch Up No Bake Coconut Cream Balls
How To Present No Bake Coconut Cream Balls
Keep No Bake Coconut Cream Balls Fresh And Tasty
Print
Dreamy Coconut Cream Balls Recipe
- Total Time: 1 hour 30 minutes
- Yield: 23 1x
Description
Luscious no bake coconut cream balls highlight sweet tropical flavors with minimal kitchen effort. Creamy coconut and condensed milk blend seamlessly into delightful treats you can enjoy chilled or at room temperature.
Ingredients
- 12 oz (340 g) melting chocolate chips (milk, dark, or white chocolate)
- 4 cups powdered sugar
- 8 oz (226 g) cream cheese, softened
- 1 cup shredded coconut (unsweetened or sweetened, as desired)
- 1 tbsp butter, softened
Instructions
- Creamy Base Preparation: Utilize a hand mixer to whip cream cheese and butter into a silky, uniform consistency. Gradually integrate powdered sugar, developing a thick, luxurious mixture that maintains its structure.
- Coconut Integration: Thoroughly fold shredded coconut into the creamy base, ensuring comprehensive flavor distribution and even incorporation of ingredients.
- Initial Chilling Phase: Refrigerate the coconut blend for approximately one hour, allowing the mixture to solidify and become more manageable for shaping.
- Ball Formation: Dust hands with powdered sugar to prevent adhesion. Craft uniform spherical portions using a tablespoon as a precise measuring tool, placing the delicate orbs on a parchment-lined tray.
- Freezer Stabilization: Position the coconut spheres in the freezer for one hour, which helps maintain their structural integrity and prepares them for chocolate coating.
- Chocolate Melting: Carefully melt chocolate chips in a microwave-safe container, using short intervals and intermittent stirring to achieve a smooth, glossy texture without burning.
- Chocolate Enrobing: Delicately immerse each coconut sphere into the molten chocolate using a fork, ensuring complete and elegant coverage while allowing excess chocolate to drip back into the bowl.
- Decorative Finishing: Optionally sprinkle additional coconut or a hint of sea salt atop the liquid chocolate, introducing textural complexity and visual intrigue.
- Final Chilling and Storage: Refrigerate the chocolate-coated treats for 10-15 minutes until the coating solidifies completely. Store in a sealed container within the refrigerator to preserve optimal freshness and texture.
Notes
- Smooth Mixing Technique: Use room temperature cream cheese and butter for easier blending, preventing lumps and ensuring a silky-smooth base mixture.
- Coconut Distribution Hack: Gently fold shredded coconut using a spatula, rotating the bowl to create an even, consistent texture without overmixing.
- Freezing Precision: Freeze coconut balls exactly one hour to achieve the perfect firmness for chocolate coating, preventing crumbling or misshapen spheres.
- Chocolate Coating Pro Tip: Maintain chocolate at a consistent warm temperature while dipping, using a deep bowl to fully submerge each ball and create a clean, even chocolate shell.
- Prep Time: 30 minutes
- Cook Time: 1 hour
- Category: Snacks, Desserts
- Method: Mixing
- Cuisine: American
Nutrition
- Serving Size: 23
- Calories: 172
- Sugar: 24 g
- Sodium: 50 mg
- Fat: 7 g
- Saturated Fat: 4 g
- Unsaturated Fat: 2 g
- Trans Fat: 0 g
- Carbohydrates: 25 g
- Fiber: 1 g
- Protein: 1 g
- Cholesterol: 10 mg
Liam O’Sullivan
Founder & Culinary Content Creator
Expertise
Recipe Development, Traditional Irish and European Cuisines, Food Styling and Photography, Culinary Education
Education
Dublin Institute of Technology (DIT) – School of Culinary Arts and Food Technology
Ballymaloe Cookery School
Isabella brings a global spark to the Craft Meats table. Born in Florence and trained at the Apicius International School of Hospitality, she blends classic Italian flavor with modern writing that’s easy to follow and hard to forget.
Her additional training at the Italian Chef Academy fueled her love for well-crafted dishes, especially ones that spotlight beautiful cuts of meat.
She’s a food writer with heart, and a deep love for storytelling through single recipes. Her goal? To help you cook with more confidence and a little more joy, no matter where you start.