Dreamy Edible Cookie Dough Cups Recipe

Gooey Edible Cookie Dough Cups Recipe: Sweet Snack Joy!

Dive into a sweet escape with these irresistible edible cookie dough cups that promise pure indulgence.

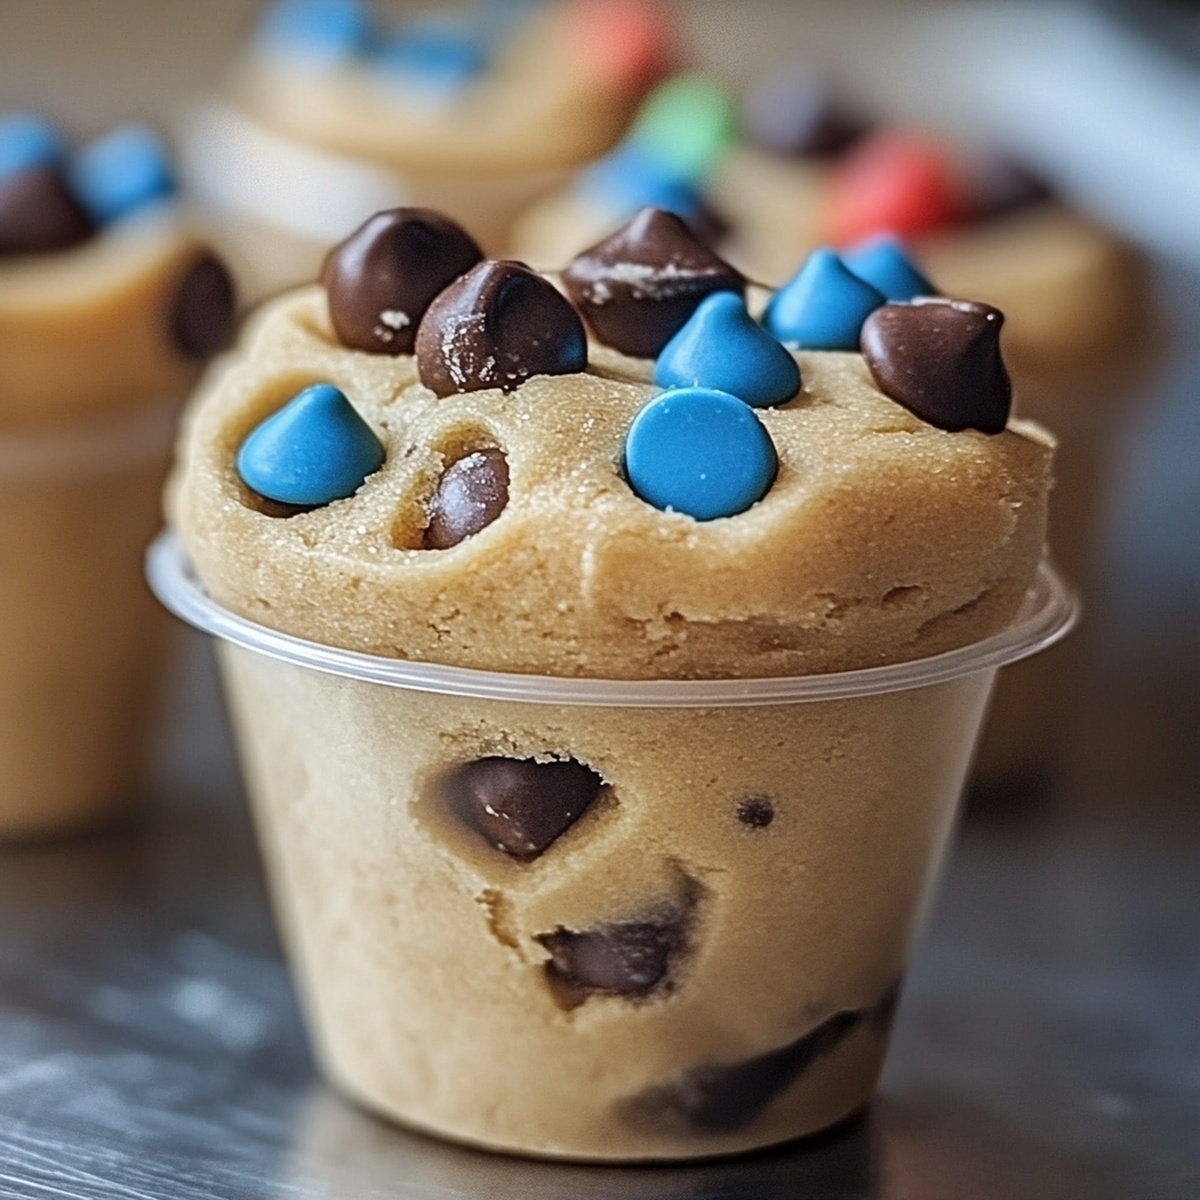
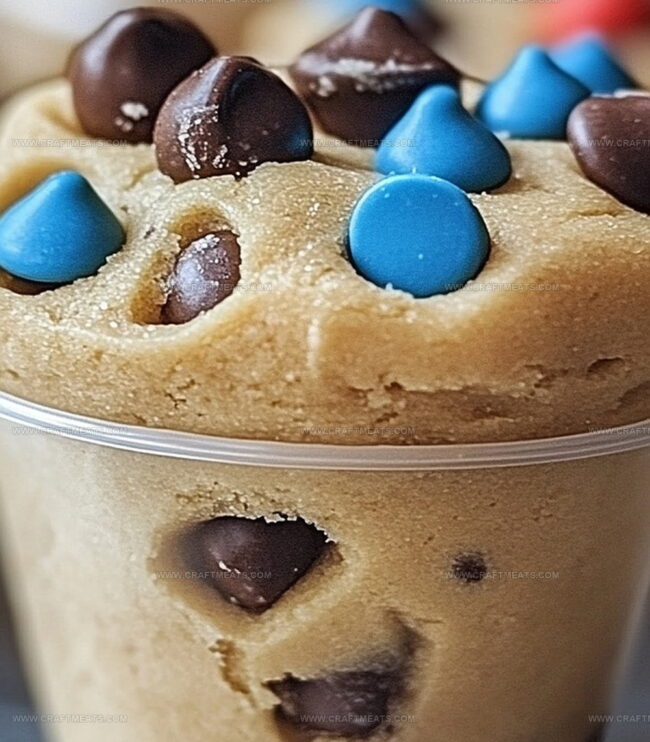
Creamy, safe-to-eat cookie dough nestled in rich chocolate creates a dessert that melts hearts instantly.

Forget raw egg worries and embrace a treat packed with nostalgic flavor and smooth textures.

Each bite delivers a luxurious blend of classic cookie dough essence without any baking required.

This no-fuss recipe brings together simple ingredients that anyone can whip up in minutes.

Chocolate lovers and cookie dough enthusiasts will find themselves head over heels for these decadent little cups.

Prepare to transform your dessert game with a recipe that’s sure to become a new favorite.

  • Chocolate Magic

Grab your favorite mixing bowl and prepare for a delightful adventure. We’ll create a smooth, creamy cookie dough that’s safe to eat and totally irresistible. Blend softened butter with sugars until they transform into a fluffy cloud of sweetness.

  • Chocolate Shell Creation

Melt chocolate gently, turning it into a silky liquid that will become our edible cups. Carefully paint the chocolate inside mini muffin liners, creating delicate chocolate shells that will cradle our cookie dough treasure.

  • Dough Transformation

Roll tiny cookie dough balls that will perfectly nestle inside our chocolate shells. Lovingly place each dough ball into its chocolate home, then seal with a smooth chocolate topping that glimmers like a sweet promise.

  • Chill and Delight

Pop these gorgeous treats into the freezer, letting them set into perfect little bites of happiness. When ready, peel away the paper and indulge in a moment of pure cookie dough bliss that will make taste buds dance with joy.

  • Cookie Dough Perfection: Pro Tips & Delicious Twists
  • Flour Safety Hack: Heat-treat your flour in the oven at 350°F for 5-7 minutes to eliminate any potential bacteria, ensuring a safe and delicious raw cookie dough experience.
  • Texture Magic: For extra creamy dough, use room temperature butter and cream the sugars thoroughly until light and fluffy, creating a smoother, more luxurious texture.
  • Chocolate Coating Trick: Use high-quality chocolate and temper it carefully to achieve a glossy, crisp shell that creates a satisfying crack when you bite into the cup.
  • Dietary Flexibility: Swap ingredients to accommodate different dietary needs – use gluten-free flour for a celiac-friendly version, or try vegan butter and dairy-free chocolate for a plant-based treat.
  • Flavor Adventure: Experiment with mix-ins like crushed peanuts, dried fruit, or different extract flavors to create unique variations that match your taste preferences.
  • Party Plate Perfection: Arrange these delightful edible cookie dough cups on a festive platter with colorful sprinkles scattered around for a playful presentation.
  • Dessert Pairing Magic: Serve alongside a cold glass of milk, creamy vanilla ice cream, or a rich espresso to complement the sweet chocolate and cookie dough flavors.
  • Gifting Delight: Package these treats in cute clear gift boxes with a ribbon, making them an adorable homemade present for birthdays, holiday gatherings, or just because.
  • Topping Extravaganza: Drizzle extra melted chocolate, sprinkle sea salt, add crushed nuts, or dust with powdered sugar to create personalized flavor variations that wow guests.
  • Fridge-Friendly Storage: Keep these delightful treats in an airtight container inside the refrigerator for up to 5 days. Stack them carefully between parchment paper layers to prevent sticking and maintain their perfect shape.
  • Make-Ahead Magic: Prepare the cookie dough and chocolate cups in advance, storing them separately in sealed containers. When ready to serve, assemble the cups for fresh, quick desserts that impress everyone without last-minute stress.
  • Freezer Fantastic: Wrap individual cups in plastic wrap, then place in a freezer-safe bag. These treats can stay frozen for 2-3 months, offering a sweet emergency dessert option whenever cravings strike. Thaw in the refrigerator for 2-3 hours before enjoying.
  • Portion Control Tip: Use mini muffin tins consistently to create uniform sizes, making it easier to track servings and store uniformly. This approach helps manage treats and ensures each bite is consistently delicious and perfectly portioned.

Quick Recipe Overview
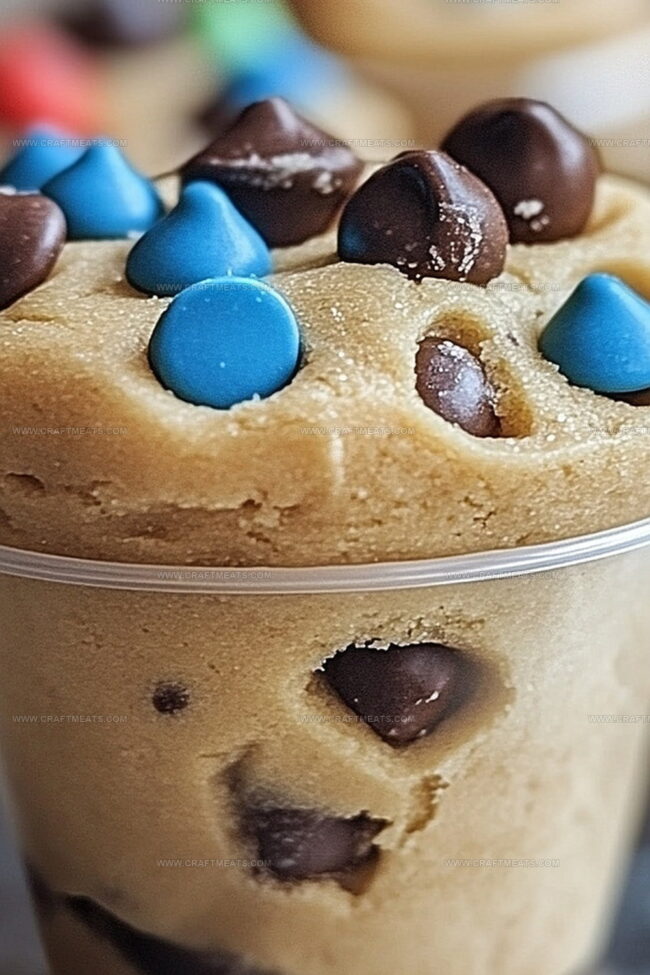
Prep Time: 20 minutes

Cook Time: 30 minutes

Total Time: 50 minutes

Calories: 250 kcal

Servings: 11

For Cookie Dough Base:
  • Softened Butter: Provides rich, creamy texture and helps bind ingredients together, select high-quality unsalted butter for best flavor.
  • Granulated Sugar, Brown Sugar: Sweetens the dough and creates delightful caramel-like undertones, choose pure cane sugars for optimal taste.
  • Vanilla Extract: Adds warm, aromatic essence that elevates the entire dessert, opt for pure vanilla for robust flavor.
  • Milk: Helps achieve smooth consistency and balances dough's texture, use whole milk for creamier results.
  • Heat-Treated Flour: Ensures food safety by eliminating potential bacteria, select all-purpose flour and toast it carefully before use.
  • Salt: Enhances overall sweetness and balances flavor profile, use fine sea salt for even distribution.
  • Mini Chocolate Chips: Provides delightful bursts of chocolate throughout the dough, select high-quality chocolate chips for best taste.
For Chocolate Shell:
  • Chocolate: Creates delectable outer coating that encases cookie dough, choose premium chocolate with high cocoa content for deeper flavor.
  • Paper Liners: Helps shape and present individual dessert cups, select sturdy, grease-resistant liners.
For Serving:
  • No additional ingredients needed, recipe ready to enjoy chilled or at room temperature.
  • Mixing Bowl: Essential for combining butter, sugars, and other ingredients smoothly.
  • Electric Mixer or Whisk: Perfect for beating butter and sugars to creamy consistency.
  • Microwave-Safe Bowl: Needed for melting chocolate evenly and safely.
  • Mini Muffin Tin: Creates the perfect small cup shape for the chocolate shells.
  • Paper Liners: Helps shape and remove chocolate cups easily.
  • Pastry Brush or Spoon: Useful for coating chocolate evenly inside the liners.
  • Measuring Cups and Spoons: Crucial for accurate ingredient measurements.
  • Spatula: Helps fold chocolate chips and scrape batter from sides of bowl.
  • Spoon or Small Cookie Scoop: Great for rolling cookie dough into neat balls.
Print
clock clock iconcutlery cutlery iconflag flag iconfolder folder iconinstagram instagram iconpinterest pinterest iconfacebook facebook iconprint print iconsquares squares iconheart heart iconheart solid heart solid icon
Dreamy Edible Cookie Dough Cups Recipe

Dreamy Edible Cookie Dough Cups Recipe


5 Stars 4 Stars 3 Stars 2 Stars 1 Star

4.8 from 20 reviews

  • Total Time: 50 minutes
  • Yield: 11 1x

Description

Indulgent cookie dough cups bring classic comfort to dessert lovers seeking safe, no-bake treats. Rich chocolate and creamy dough create a delightful experience you can savor without worry about raw ingredients.


Ingredients

Scale
  • 12 oz (340 g) semi-sweet chocolate chips or melting chocolate
  • ½ cup unsalted butter, softened
  • 1 cup heat-treated all-purpose flour
  • ½ cup mini chocolate chips
  • ⅓ cup granulated sugar
  • ⅓ cup brown sugar, packed
  • 2 tbsps milk (or more as needed)
  • 1 tsp vanilla extract
  • ¼ tsp salt

Instructions

  1. Prepare Dough: Cream butter with granulated and brown sugars until fluffy. Mix in vanilla and milk, then fold heat-treated flour and salt into the batter. Incorporate mini chocolate chips evenly and refrigerate to solidify the dough.
  2. Create Chocolate Shells: Melt chocolate in short microwave intervals, stirring to maintain smoothness. Line mini muffin tin with paper liners and brush interior thoroughly with melted chocolate, ensuring complete coverage. Freeze chocolate shells until completely hardened.
  3. Assemble Dough Cups: Form compact cookie dough balls sized to fit inside chocolate shells. Gently place each dough sphere into its chocolate vessel and coat completely with additional melted chocolate, creating a sealed top. Freeze cups until fully set.
  4. Serve and Present: Remove paper liners carefully to unveil chocolate-encased cookie dough cups. Plate directly from refrigerator or allow brief room temperature rest before indulging.

Notes

  • Flour Safety First: Heat-treat flour in the oven at 350°F for 5-7 minutes to eliminate potential bacteria, ensuring a safe, edible raw dough experience.
  • Chocolate Coating Technique: Temper chocolate slowly and stir consistently to prevent burning, creating a glossy, smooth shell that adds professional-quality texture and shine.
  • Chill for Perfect Texture: Refrigerate dough and completed cups to maintain firm consistency and enhance flavor melding, allowing ingredients to settle and develop rich taste profiles.
  • Customization Possibilities: Swap chocolate chips for nuts, dried fruits, or alternative mix-ins to personalize the recipe and accommodate different dietary preferences or allergies.
  • Prep Time: 20 minutes
  • Cook Time: 30 minutes
  • Category: Desserts, Snacks
  • Method: Mixing
  • Cuisine: American

Nutrition

  • Serving Size: 11
  • Calories: 250
  • Sugar: 16 g
  • Sodium: 50 mg
  • Fat: 15 g
  • Saturated Fat: 9 g
  • Unsaturated Fat: 6 g
  • Trans Fat: 0 g
  • Carbohydrates: 30 g
  • Fiber: 1 g
  • Protein: 3 g
  • Cholesterol: 30 mg
Liam O’Sullivan

Liam O’Sullivan

Founder & Culinary Content Creator

Expertise

Recipe Development​, Traditional Irish and European Cuisines, Food Styling and Photography, Culinary Education​

Education

Dublin Institute of Technology (DIT) – School of Culinary Arts and Food Technology

  • Degree: Bachelor of Arts in Culinary Arts
  • Focus: Comprehensive training in classical and modern cooking techniques, kitchen management, and menu development.​

Ballymaloe Cookery School

  • Program: 12-Week Certificate Course
  • Focus: Intensive, hands-on experience emphasizing farm-to-table cooking and sustainable practices.​

Isabella brings a global spark to the Craft Meats table. Born in Florence and trained at the Apicius International School of Hospitality, she blends classic Italian flavor with modern writing that’s easy to follow and hard to forget. 

Her additional training at the Italian Chef Academy fueled her love for well-crafted dishes, especially ones that spotlight beautiful cuts of meat.

She’s a food writer with heart, and a deep love for storytelling through single recipes. Her goal? To help you cook with more confidence and a little more joy, no matter where you start.

Leave a Reply

Your email address will not be published. Required fields are marked *

Recipe rating 5 Stars 4 Stars 3 Stars 2 Stars 1 Star