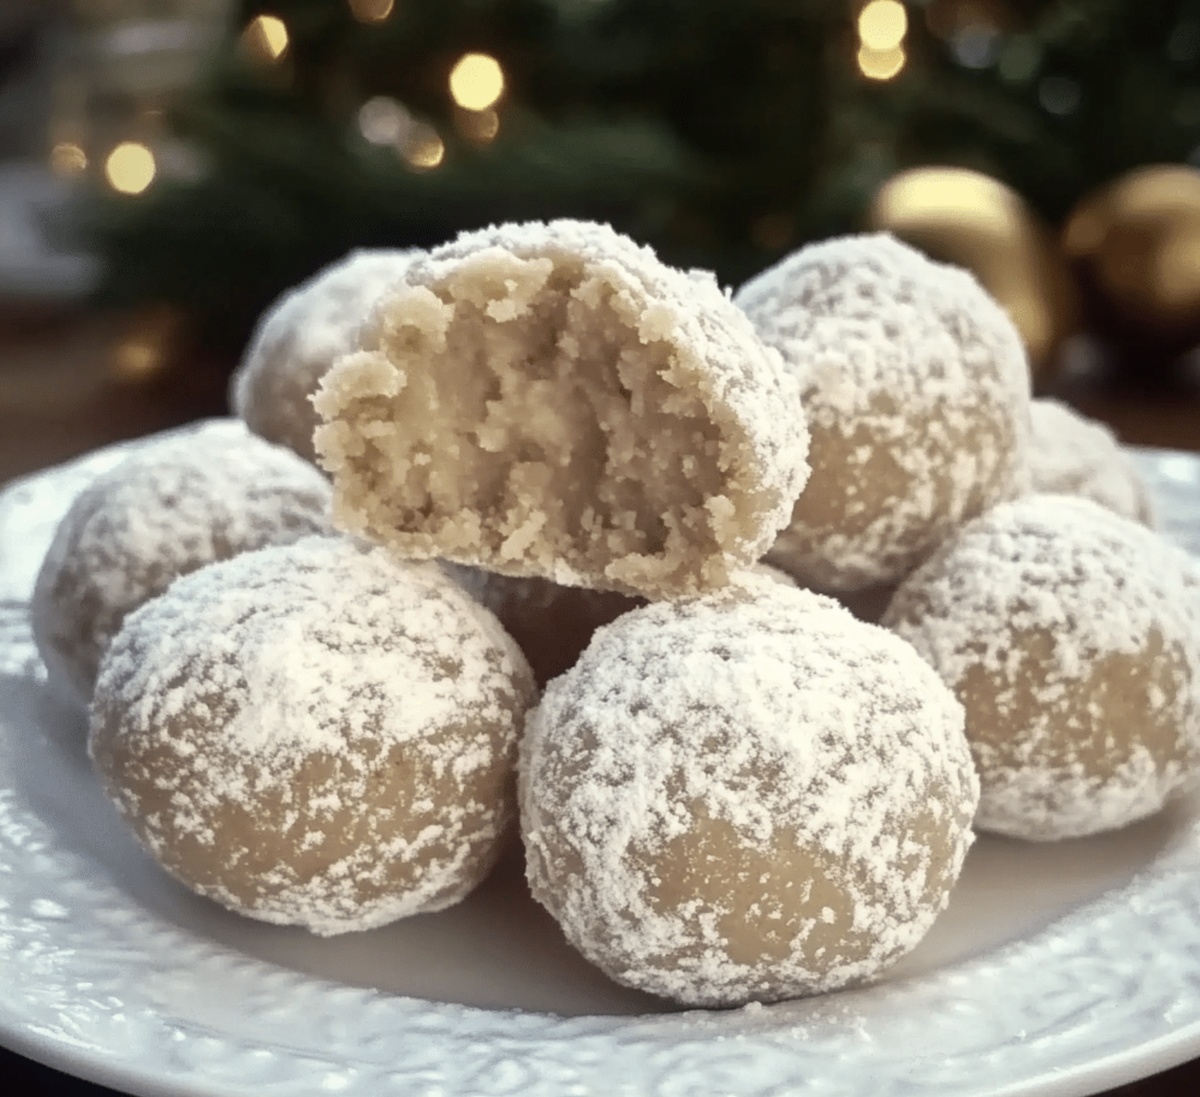
Homemade Peanut Butter Snowballs Recipe: Bite-Size Winter Joy
Creamy peanut butter snowballs dance with sweet magic in this irresistible no-bake treat.
Dessert lovers will fall head over heels for these delightful bite-sized confections.
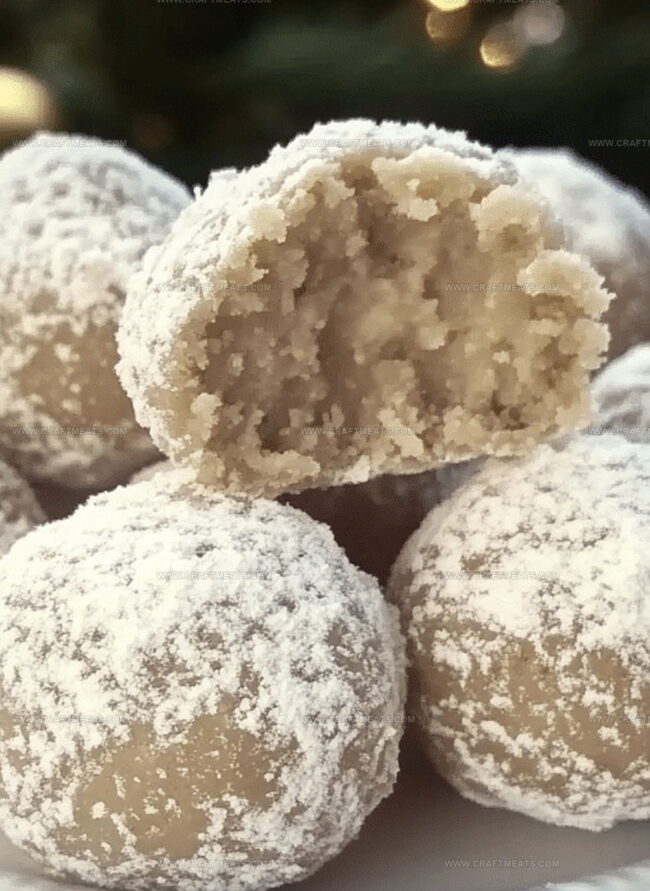
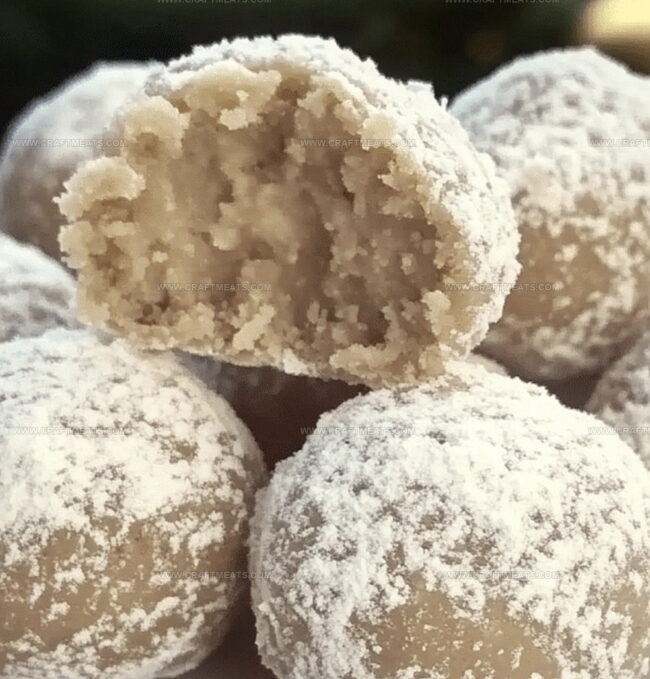
Each snowball packs a rich, smooth center that melts in your mouth.
Rolling these delectable morsels in powdered sugar creates a stunning winter-white coating that sparkles like fresh snow.
The simple recipe requires minimal ingredients and zero baking skills.
Chocolate drizzles or sprinkles can transform these snowballs into a personalized dessert that wows everyone at the party.
Dive into this easy recipe and watch these little gems become the star of your next gathering.
Quick Recipe Overview
What Goes In Peanut Butter Snowballs
For Base Mixture:For Coating:For Decorative Topping:Kitchen Items For Peanut Butter Snowballs
How To Roll Peanut Butter Snowballs
Mix peanut butter with softened butter in a large bowl until smooth. Blend in powdered sugar, crushed graham crackers, and a splash of vanilla. Work the ingredients together until they form a cohesive dough that holds its shape.
Roll the mixture into small round shapes, about the size of a golf ball. Place these delightful spheres on a parchment-lined tray and pop them into the freezer for a quick chill session.
Gently melt white chocolate in a microwave-safe bowl, stirring between short bursts to create a silky smooth coating. Be patient and careful to avoid burning the chocolate.
Carefully dunk each frozen peanut butter ball into the melted white chocolate. Use a fork to help drain excess chocolate and create a smooth, even layer. Return the coated treats to the parchment paper.
While the chocolate is still wet, sprinkle on some fun toppings like colorful sprinkles or finely chopped nuts. Let the snowballs set until the chocolate hardens completely.
Tips For Better Peanut Butter Snowballs
Ways To Serve Peanut Butter Snowballs Sweetly
How To Store Peanut Butter Snowballs Properly
Print
Dreamy Peanut Butter Snowballs Recipe
- Total Time: 35 minutes
- Yield: 23 1x
Description
Delightful peanut butter snowballs dance with creamy richness and sweet charm. Chocolate-dipped spheres of pure bliss will satisfy perfect dessert cravings and spark joy in all who taste them.
Ingredients
- 1 ½ cups (375 ml) graham crackers (crushed, about 12 sheets)
- 1 cup (240 ml) creamy peanut butter
- ½ cup (120 ml) unsalted butter (softened)
- 2 cups (480 ml) powdered sugar
- 1 tsp vanilla extract
- 8 oz (226 g) white chocolate (for dipping)
- Optional garnishes: sprinkles, shredded coconut, or crushed peanuts
Instructions
- Mixture Preparation: Combine peanut butter, softened butter, powdered sugar, graham crackers, and vanilla extract in a large mixing bowl, blending until the mixture achieves a uniform, pliable consistency that holds together effortlessly.
- Shaping and Chilling: Mold the mixture into compact, one-inch spheres, arranging them on a parchment-lined tray, then transfer to the freezer for 15-20 minutes to firm up and facilitate seamless chocolate coating.
- Chocolate Transformation: Gently melt white chocolate in a microwave-safe bowl, stirring periodically to ensure a smooth, glossy liquid without any scorching or uneven heating.
- Coating Process: Extract the chilled peanut butter balls, then methodically dip each sphere into the molten white chocolate, using a fork to ensure complete coverage and allow excess chocolate to cascade off elegantly.
- Decorative Finishing: While the chocolate coating remains wet, artfully sprinkle with coconut shreds, crushed peanuts, or festive decorations to add texture and visual intrigue.
- Setting and Serving: Allow the snowballs to set at room temperature or expedite the process by refrigerating, then serve chilled or at ambient temperature for a delectable winter-inspired treat that promises to delight.
Notes
- Maintain Consistent Texture: Blend ingredients thoroughly to prevent crumbly or dry mixture, ensuring smooth, cohesive consistency that holds shape perfectly.
- Freeze for Stability: Chill balls before coating to create firm structure, preventing chocolate from melting and helping maintain clean, neat chocolate coverage.
- Chocolate Coating Technique: Melt white chocolate slowly and stir frequently to avoid burning, using fork or toothpick for smooth, even chocolate dipping without clumps.
- Dietary Adaptations: Substitute ingredients for gluten-free graham crackers, use dairy-free butter alternatives, and select vegan white chocolate for inclusive treat options that accommodate various dietary needs.
- Prep Time: 10 minutes
- Cook Time: 20 minutes
- Category: Snacks, Desserts
- Method: Mixing
- Cuisine: American
Nutrition
- Serving Size: 23
- Calories: 155
- Sugar: 14 g
- Sodium: 60 mg
- Fat: 9 g
- Saturated Fat: 4 g
- Unsaturated Fat: 5 g
- Trans Fat: 0 g
- Carbohydrates: 18 g
- Fiber: 0.5 g
- Protein: 3 g
- Cholesterol: 15 mg
Liam O’Sullivan
Founder & Culinary Content Creator
Expertise
Recipe Development, Traditional Irish and European Cuisines, Food Styling and Photography, Culinary Education
Education
Dublin Institute of Technology (DIT) – School of Culinary Arts and Food Technology
Ballymaloe Cookery School
Isabella brings a global spark to the Craft Meats table. Born in Florence and trained at the Apicius International School of Hospitality, she blends classic Italian flavor with modern writing that’s easy to follow and hard to forget.
Her additional training at the Italian Chef Academy fueled her love for well-crafted dishes, especially ones that spotlight beautiful cuts of meat.
She’s a food writer with heart, and a deep love for storytelling through single recipes. Her goal? To help you cook with more confidence and a little more joy, no matter where you start.