
Luscious Red Velvet Cheesecake Bites Recipe for Sweet Moments
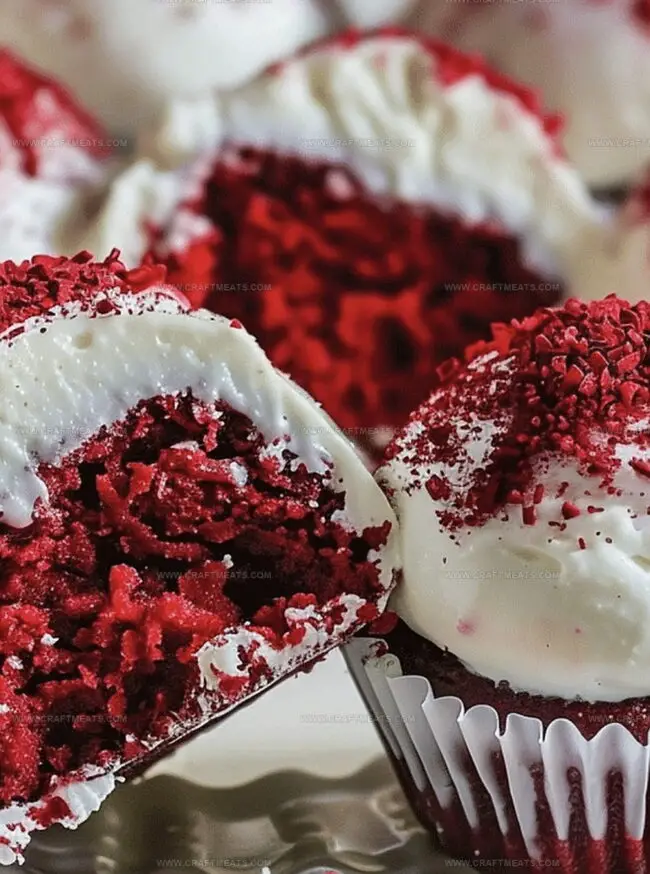
Decadent red velvet cheesecake bites dance on the edge of pure indulgence, blending rich cream cheese with velvety cocoa notes.
The crimson-hued dessert promises a luxurious experience that melts effortlessly on your tongue.
Soft and creamy textures combine with a subtle chocolate undertone that makes these tiny treats irresistible.
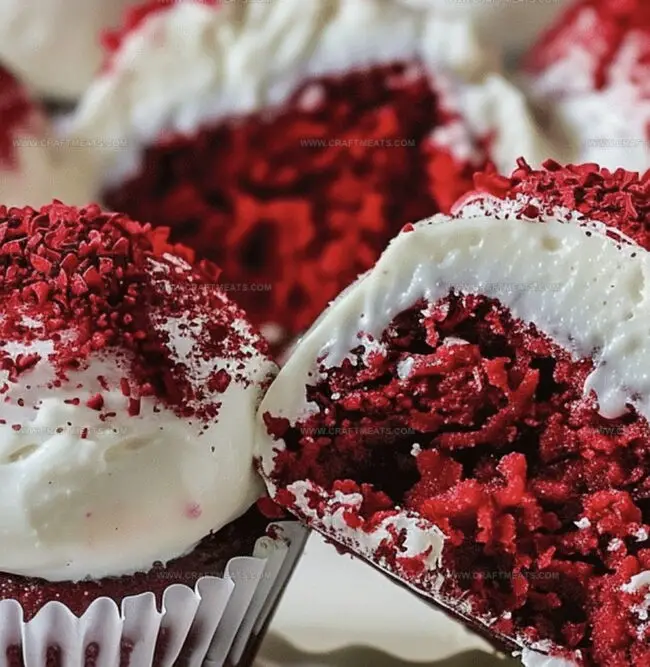
Each bite delivers a perfect balance of tangy and sweet flavors that complement each other beautifully.
The recipe transforms simple ingredients into an elegant dessert that looks sophisticated yet remains wonderfully simple to prepare.
Chocolate lovers and dessert enthusiasts will fall head over heels for these miniature delights that bring restaurant-quality elegance right to your kitchen.
Prepare to create a show-stopping treat that will spark joy and delight at any gathering.
Quick Recipe Overview
What You’ll Need For Red Velvet Cheesecake Bites
For Crust:For Cheesecake Filling:For Garnish:Tools For Making Red Velvet Cheesecake Bites
How To Prepare Red Velvet Cheesecake Bites
Crush red velvet cake into fine crumbs and blend with melted butter. Press the mixture firmly into muffin liners, creating a smooth base for the cheesecake bites.
Whip cream cheese until silky smooth. Blend in sugar, vanilla, and sour cream. Gently fold in eggs one at a time. Swirl in cocoa and food coloring to achieve that classic red velvet hue.
Pour the luscious filling over each crust, filling almost to the top. Slide the pan into a preheated oven and bake until edges are set but centers remain slightly wobbly. Allow cheesecakes to cool, then chill in the refrigerator for a few hours.
Before serving, crown each tiny cheesecake with a cloud of whipped cream and a sprinkle of reserved cake crumbs. Enjoy these decadent little bites of pure indulgence.
Tips To Perfect Red Velvet Cheesecake Bites
Ways To Serve Red Velvet Cheesecake Bites
Store Red Velvet Cheesecake Bites With Ease
Print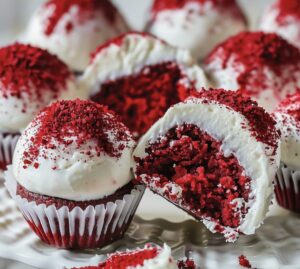
Dreamy Red Velvet Cheesecake Bites Recipe
- Total Time: 2 hours 45 minutes
- Yield: 11 1x
Description
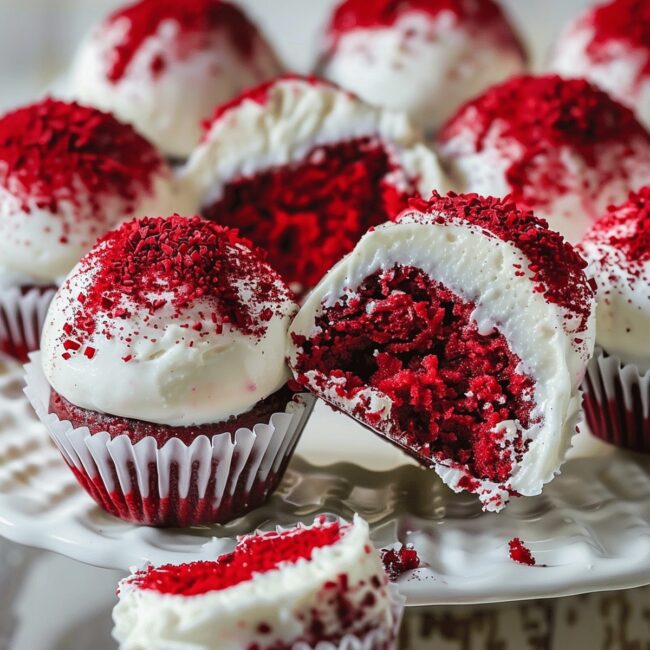
Red velvet cheesecake bites deliver a luxurious dessert experience that combines rich cream cheese with classic Southern charm. Chocolate cake crumbs and smooth cream cheese create delightful mini treats perfect for elegant gatherings or personal indulgence.
Ingredients
- 8 oz (226 g) cream cheese, softened
- 2 large eggs
- ½ cup (100 g) granulated sugar
- ½ cup (120 ml/4 oz) sour cream
- 1 ½ cups (360 ml/12.5 oz) red velvet cake crumbs
- ¼ cup (60 ml/2 oz) unsalted butter, melted
- ¼ cup (30 g) cocoa powder
- ¼ cup (60 ml/2 oz) milk
- 1 tsp vanilla extract
- Red food coloring (as needed)
- Whipped cream
- Extra red velvet cake crumbs
Instructions
- Preparation: Preheat oven to 325F (160C) and line a muffin tin with paper cups. Pulverize red velvet cake into fine crumbs and blend thoroughly with melted butter, creating a cohesive base mixture.
- Cheesecake Filling: Whip cream cheese until silky smooth, gradually incorporating sugar and vanilla. Fold in sour cream, ensuring a luxurious, lump-free consistency. Gently introduce eggs one at a time, minimizing mixing to preserve delicate texture.
- Color and Flavor: Whisk cocoa powder with milk until seamlessly integrated, then fold into the cream cheese mixture. Add red food coloring to achieve the iconic vibrant red velvet hue, stirring carefully to distribute color evenly.
- Assembly: Press crumb mixture firmly into muffin liners, creating a compact foundation. Delicately spoon cheesecake filling over each crust, filling nearly to the top.
- Baking and Cooling: Bake for 20-25 minutes, monitoring for slightly set edges with a subtle center jiggle. Allow cheesecakes to rest in the pan for 10 minutes, then transfer to a wire rack. Refrigerate for at least 2 hours to set and enhance flavors.
- Finishing Touch: Before serving, adorn each cheesecake bite with a graceful whipped cream swirl and a sprinkle of reserved red velvet crumbs for an elegant presentation.
Notes
- Manage Moisture Carefully: Prevent cheesecake from cracking by avoiding overmixing and using room temperature ingredients to ensure smooth, creamy texture.
- Crumb Consistency Matters: Crush cake crumbs finely and press firmly to create a stable, compact base that holds together without falling apart when biting.
- Color Control Technique: Add food coloring gradually and mix thoroughly to achieve vibrant red color without creating uneven color patches or streaks.
- Temperature Precision: Allow cheesecake bites to cool gradually at room temperature before refrigerating to prevent sudden temperature shock that can cause surface cracks or textural issues.
- Prep Time: 25 minutes
- Cook Time: 20 minutes
- Category: Desserts, Snacks
- Method: Baking
- Cuisine: American
Nutrition
- Serving Size: 11
- Calories: 220
- Sugar: 12 g
- Sodium: 150 mg
- Fat: 12 g
- Saturated Fat: 7 g
- Unsaturated Fat: 4 g
- Trans Fat: 0 g
- Carbohydrates: 24 g
- Fiber: 1 g
- Protein: 3 g
- Cholesterol: 60 mg
Liam O’Sullivan
Founder & Culinary Content Creator
Expertise
Recipe Development, Traditional Irish and European Cuisines, Food Styling and Photography, Culinary Education
Education
Dublin Institute of Technology (DIT) – School of Culinary Arts and Food Technology
Ballymaloe Cookery School
Isabella brings a global spark to the Craft Meats table. Born in Florence and trained at the Apicius International School of Hospitality, she blends classic Italian flavor with modern writing that’s easy to follow and hard to forget.
Her additional training at the Italian Chef Academy fueled her love for well-crafted dishes, especially ones that spotlight beautiful cuts of meat.
She’s a food writer with heart, and a deep love for storytelling through single recipes. Her goal? To help you cook with more confidence and a little more joy, no matter where you start.