Gluten-Free Naan Bread Recipe Without Yeast and Dairy
Gluten free naan bread enhances ordinary meal experiences into delightful culinary adventures.
Crafting this versatile flatbread requires minimal ingredients and simple techniques.
Soft, pillowy textures emerge from clever ingredient combinations that surprise even seasoned home cooks.
Wheat-free alternatives can produce incredible results when prepared with care and precision.
Traditional methods blend seamlessly with modern dietary needs, creating a welcoming option for diverse eating preferences.
Nutritious and satisfying, these flatbreads complement multiple cuisines and meal styles effortlessly.
Passionate bakers understand that dietary restrictions never mean compromising on flavor or texture.
Why Easy Gluten Free Naan Bread (No Yeast, No Yogurt, Dairy-Free) Works So Well
Ingredients for Easy Gluten Free Naan Bread
Flour Base:Leavening and Seasoning:Liquid and Binding Ingredients:Optional Flavor Enhancers:How to Make Soft and Flexible Gluten Free Naan Without Yeast
Step 1: Mix Dry Ingredients
In a spacious mixing bowl, combine the dry ingredients:Whisk these ingredients together until they’re perfectly blended.
Step 2: Prepare Wet Ingredients
In a separate bowl, create a smooth liquid mixture:Whisk vigorously until the ingredients become a harmonious blend.
Step 3: Create Naan Dough
Slowly pour the wet ingredients into the dry mixture. Stir continuously to form a soft, flexible dough. If the mixture seems too dry, add a splash of warm water. If it’s too wet, sprinkle in extra tapioca starch.
Step 4: Shape The Dough
Dust your hands with gluten-free flour. Gently shape the dough into a round disc. This sets the stage for perfect naan bread.
Step 5: Divide And Flatten
Cut the dough disc into 8 equal portions. Using your fingers or a rolling pin, flatten each piece on a floured surface until they’re about 1/8-inch thick.
Step 6: Add Optional Flavor
If desired, mix minced garlic and chopped parsley in a small bowl. Press about a teaspoon of this mixture onto both sides of each dough piece for extra flavor.
Step 7: Prepare The Skillet
Heat a cast iron skillet over high heat. Brush the surface with olive oil to prevent sticking and add a delightful golden color.
Step 8: Cook The Naan
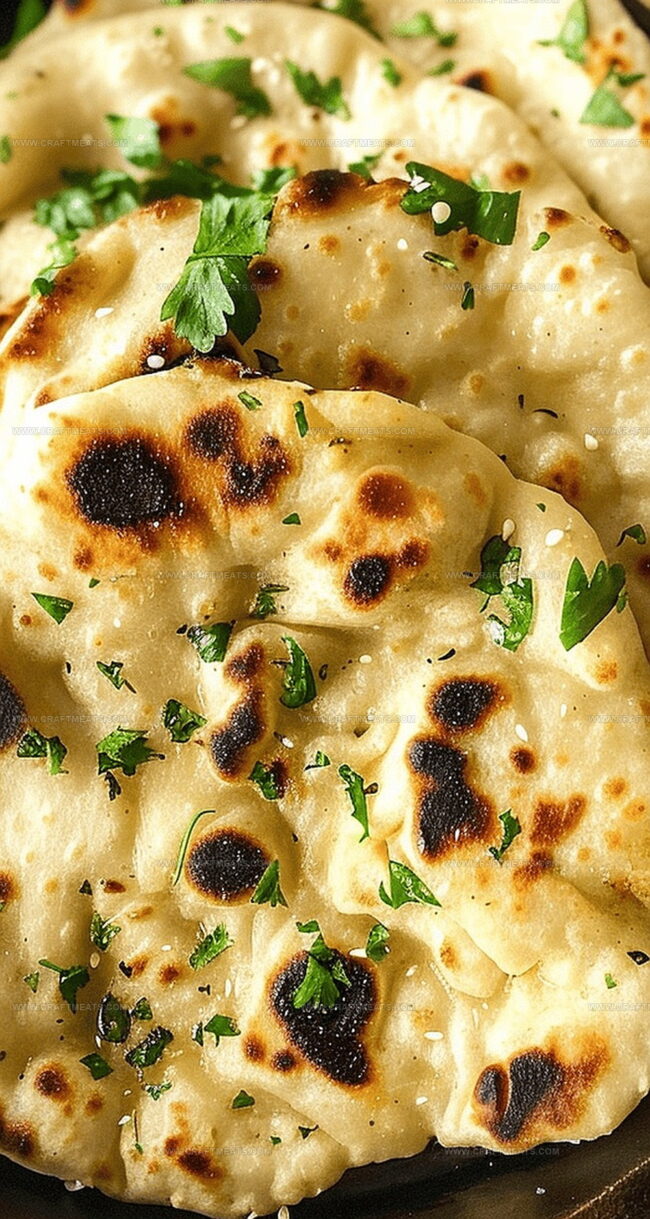
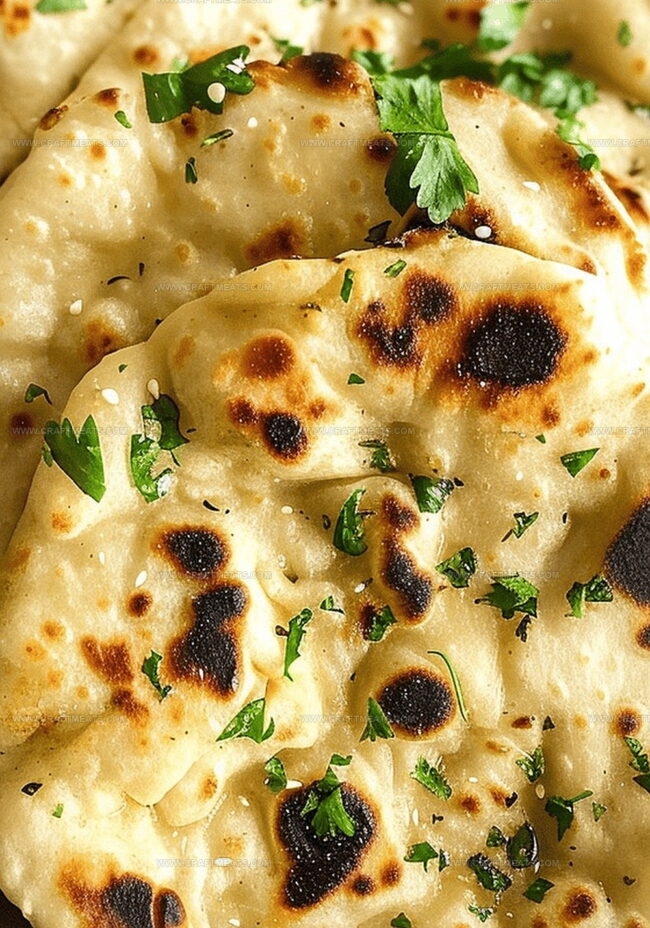
Place a flattened dough piece in the hot skillet. Cook for about 40 seconds until air bubbles form and the bottom starts to char. Brush the top with olive oil, flip, and cook for another 40 seconds.
Step 9: Serve And Enjoy
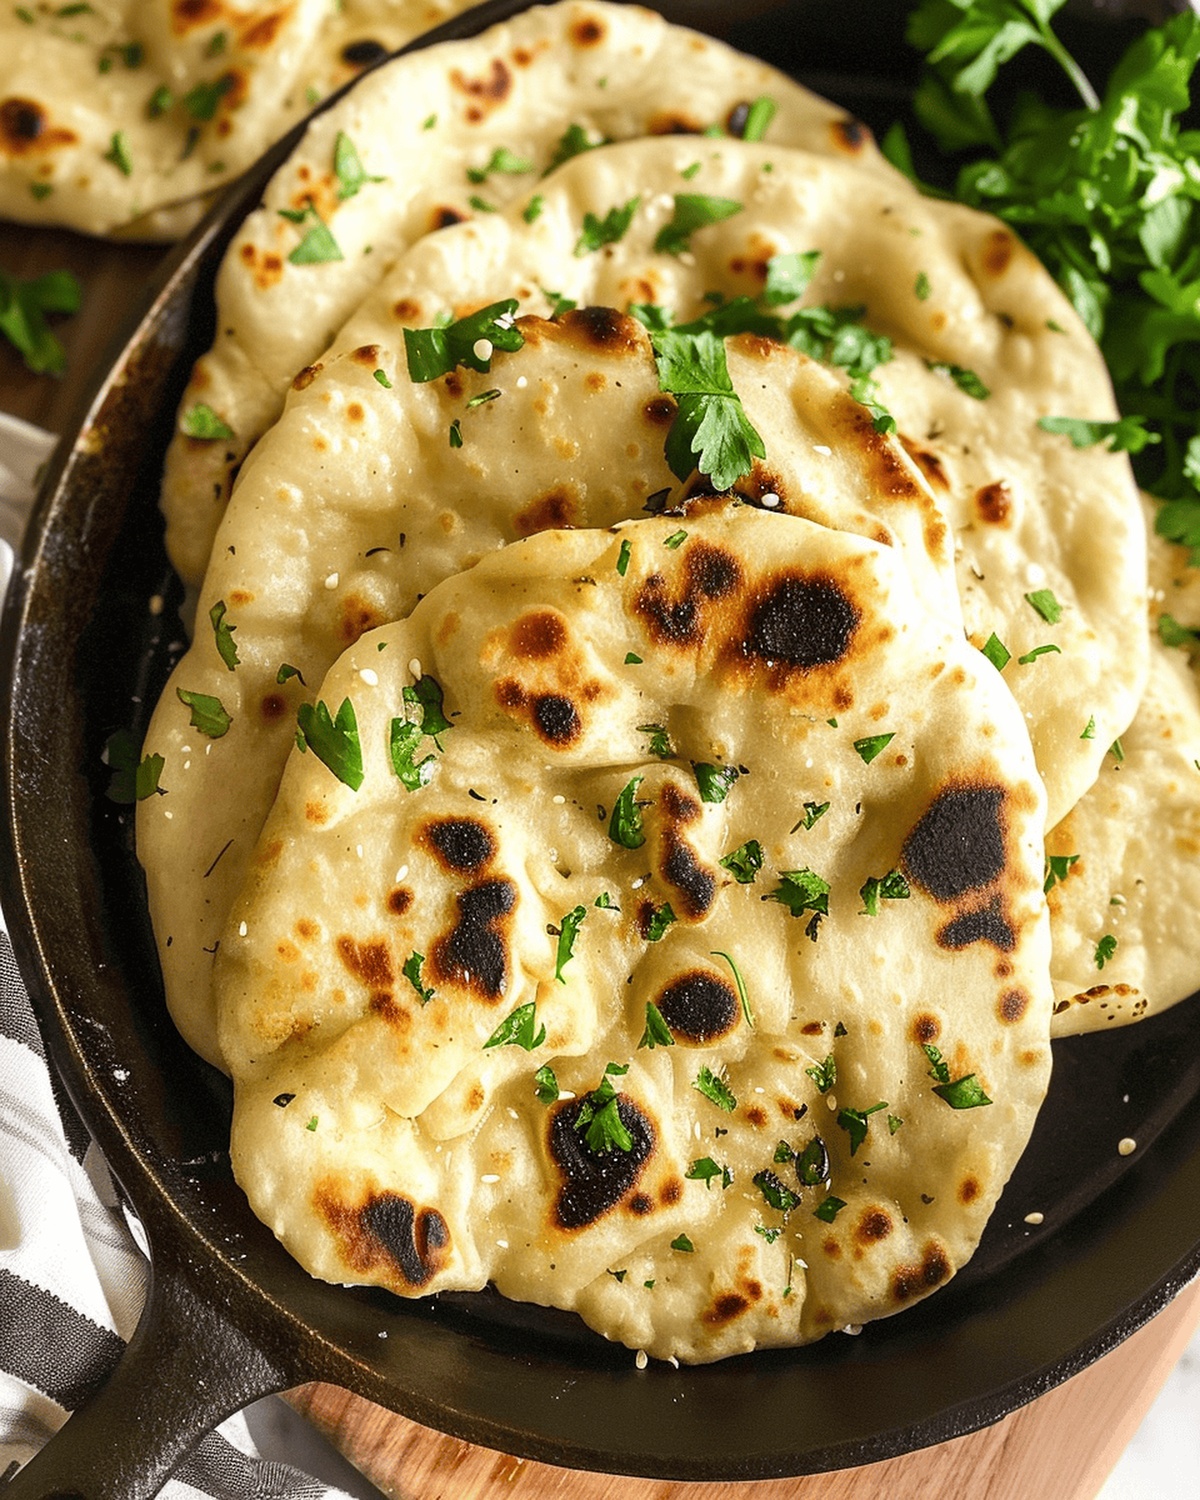
Remove each naan from the skillet and cover with a kitchen towel to keep warm. Repeat the cooking process for all pieces. Serve immediately and savor your homemade gluten-free naan bread!
Tips for Pan Cooking Gluten Free Naan Bread Just Right
How to Store and Reheat Gluten Free Naan Bread
Dishes to Pair with Gluten Free Naan
Variations on Gluten Free Naan Bread You’ll Want to Try
Print
Easy Gluten Free Naan Bread (No-Yeast, No-Yogurt, Dairy-Free) Recipe
- Total Time: 18 minutes
- Yield: 4 1x
Description
Quick Indian-style naan bread comes together without yeast or yogurt, offering a simple gluten-free alternative for home cooks. Crispy yet tender flatbread delivers authentic flavors you’ll savor with minimal ingredients and effortless preparation.
Ingredients
Main Ingredients:
- 1 cup gluten-free all-purpose flour
- ½ cup tapioca starch
- 1 egg
- ¼ cup warm water
Leavening and Seasoning Ingredients:
- 2 teaspoons baking powder
- ½ teaspoon xanthan gum
- 1 teaspoon salt
Optional Flavor Ingredients:
- 1 tablespoon extra virgin olive oil
- ¼ cup fresh minced garlic
- ¼ cup fresh chopped parsley
Instructions
- Gather all dry components in a spacious mixing vessel, blending gluten-free flour, xanthan gum, tapioca starch, baking powder, and salt into a uniform mixture.
- Whisk egg, warm liquid, and olive oil in a separate container until thoroughly integrated.
- Gradually incorporate liquid elements into dry ingredients, stirring consistently to create a cohesive, malleable dough. Adjust consistency by adding warm water or additional tapioca starch as needed.
- Dust hands with gluten-free flour and form dough into a smooth circular shape.
- Segment the dough disc into eight equal wedges, then gently flatten each portion using fingertips or rolling implement until achieving a delicate, translucent thickness.
- For enhanced flavor, combine minced garlic and chopped parsley. Delicately press this aromatic blend onto both surfaces of each dough section.
- Position cast iron skillet over intense heat, lightly coating with olive oil to prevent sticking.
- Carefully transfer dough piece into sizzling skillet, allowing approximately 40 seconds for bubble formation and charred underside development. Brush exposed surface with olive oil, then swiftly flip to cook alternate side for equivalent duration.
- Transfer completed naan to covered surface to retain warmth and moisture. Repeat cooking process for remaining dough segments.
- Serve immediately while maintaining optimal temperature and texture.
Notes
- Dancing in the kitchen starts with mixing dry ingredients like a pro, blending gluten-free flour, xanthan gum, tapioca starch, baking powder, and salt for a perfect base.
- Whisking eggs, warm water, and olive oil creates a silky liquid magic that transforms your dry ingredients into a dreamy, soft dough.
- Prep Time: 10 minutes
- Cook Time: 8 minutes
- Category: Snacks, Dinner
- Method: Frying
- Cuisine: Indian
Nutrition
- Serving Size: 4
- Calories: 210
- Sugar: 0g
- Sodium: 300mg
- Fat: 7g
- Saturated Fat: 1g
- Unsaturated Fat: 6g
- Trans Fat: 0g
- Carbohydrates: 32g
- Fiber: 2g
- Protein: 5g
- Cholesterol: 70mg
Isabella Rossi
Founder & Culinary Content Creator
Expertise
Recipe Development, Traditional Irish and European Cuisines, Food Styling and Photography, Culinary Education
Education
Dublin Institute of Technology (DIT) – School of Culinary Arts and Food Technology
Ballymaloe Cookery School
Liam is the voice behind many of Craft Meats’ most flavorful features. With roots in Dublin’s smoky barbecue scene and a culinary degree from the Dublin Institute of Technology, he brings time-tested cooking techniques to life.
His training at Ballymaloe Cookery School sharpened his farm-to-table approach, giving him a deep respect for every ingredient he writes about.
He’s not about overcomplicating the process, just helping you cook meat that’s worth talking about. When he’s not writing or grilling, he’s out foraging or nerding out on regional spice blends to add to his next recipe.