Soft No-Oven Stovetop Bread Recipe for Quick Baking
Bread-making doesn’t always require complicated equipment or an oven to create delicious no-oven stovetop bread.
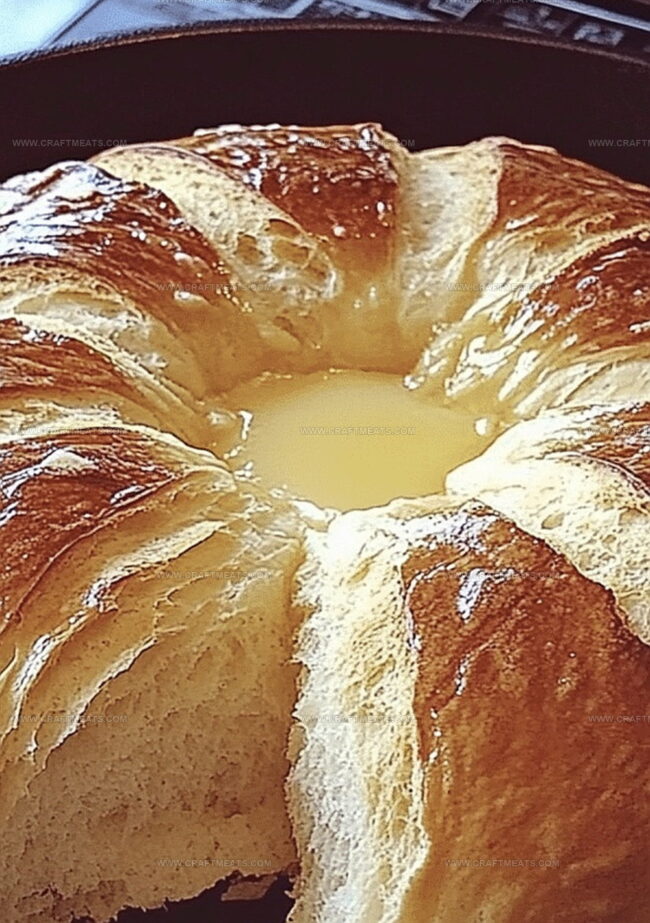
Crafting warm, pillowy bread right on your stovetop is easier than most people realize.
This simple technique lets you enjoy freshly baked bread with minimal fuss and maximum flavor.
Skillful home cooks can master this technique in just a few minutes using basic ingredients found in most kitchens.
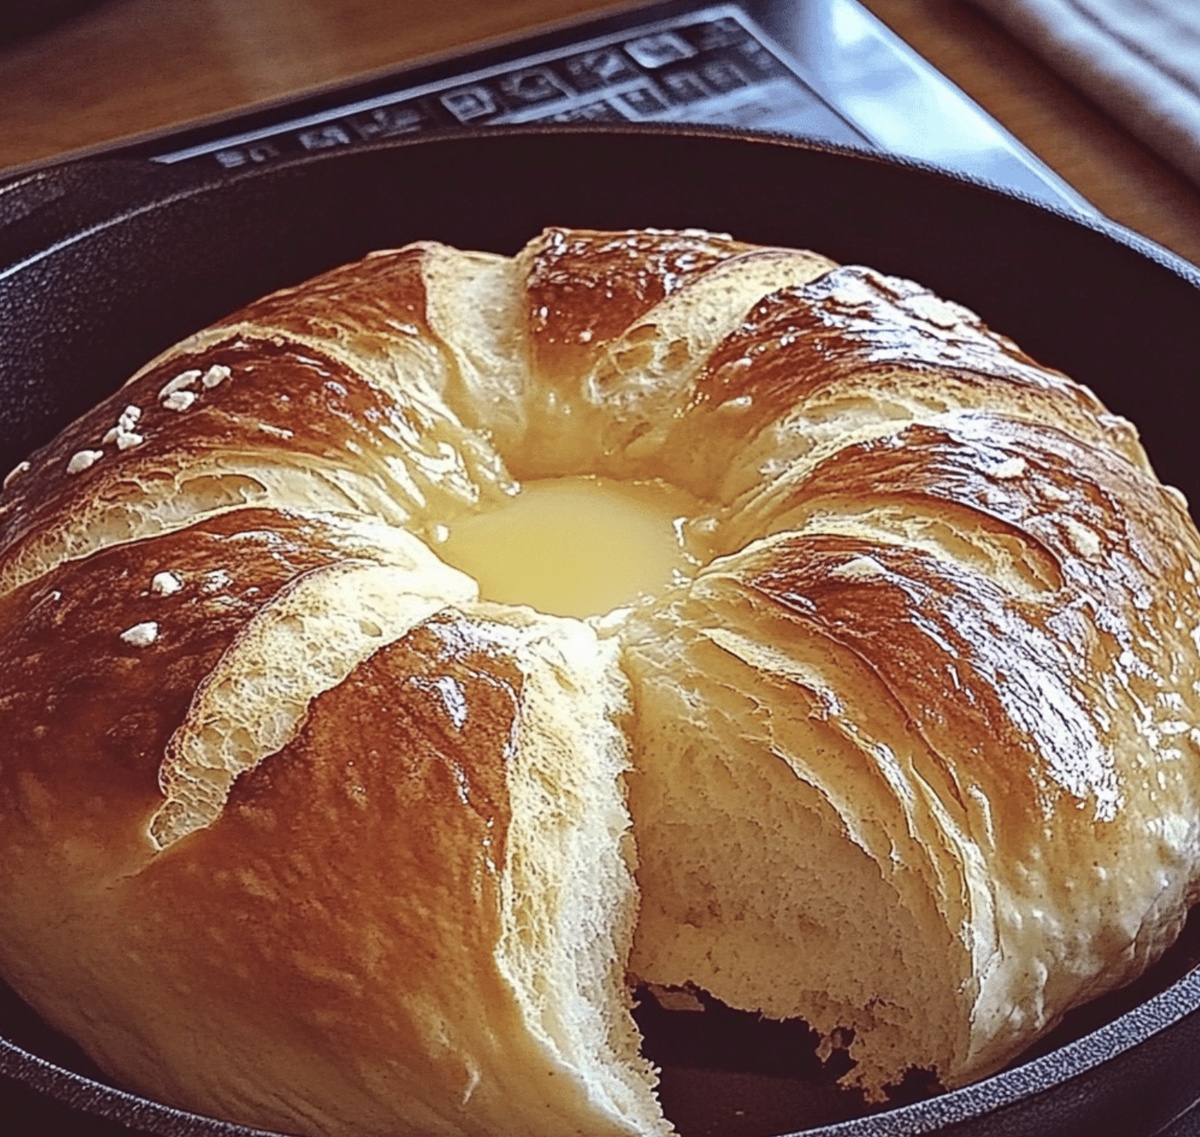
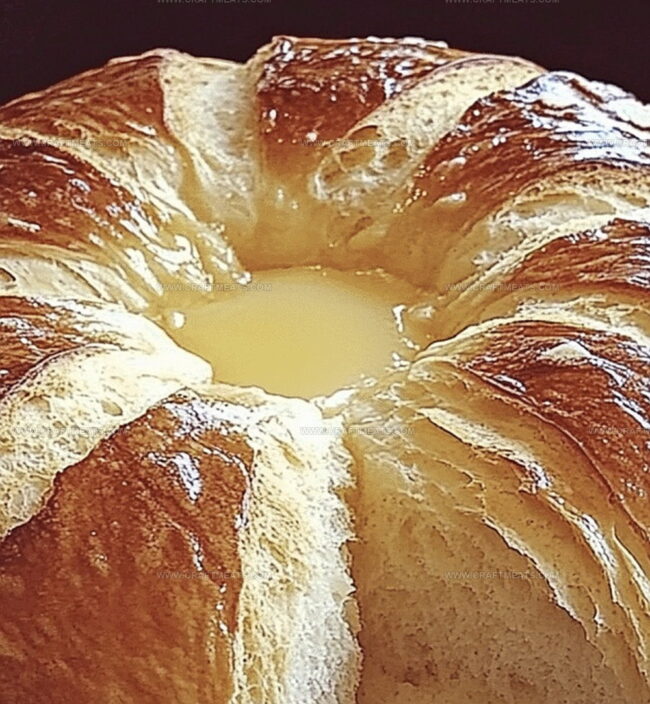
The stovetop method produces beautifully golden, soft bread that rivals traditional oven-baked versions.
Crispy on the outside and tender on the inside, this bread pairs perfectly with soups, stews, or enjoyed on its own.
Dive into this straightforward recipe and transform your cooking skills with a surprisingly simple bread-making approach.
Quick Recipe Overview
No-Oven Stovetop Bread Ingredients You’ll Need
For Yeast Activation:For Dough Base:For Cooking Surface:What You’ll Use For No-Oven Stovetop Bread
Making No-Oven Stovetop Bread Step By Step
Find a spacious surface with a gas or electric stovetop and gather basic tools like a large skillet, mixing bowl, and clean kitchen towel.
Combine flour and salt in a mixing bowl. Create a soft, smooth mixture by adding liquid ingredients and gently kneading until the texture feels springy and elastic.
Transfer dough to a cozy spot in your kitchen. Cover with a damp cloth and allow the mixture to expand and become puffy, developing rich flavors and soft texture.
Select a heavy-bottomed skillet with a tight-fitting lid. Lightly coat the surface with a thin layer of cooking oil to prevent sticking and enhance browning.
Place the shaped dough into the prepared skillet. Cover and cook on low heat, allowing gentle warmth to bake the bread slowly. Carefully flip once during cooking to ensure even golden color and complete inner cooking.
Transfer the warm bread onto a cooling rack. Let it rest briefly before slicing to preserve its tender interior and capture the fresh, homemade aroma.
Tips And Tricks For No-Oven Stovetop Bread
100-110°F (37-43°C) for perfect yeast activation without killing the delicate microorganisms.
Simple Ways To Serve No-Oven Stovetop Bread
How To Store No-Oven Stovetop Bread
Print
Effortless No-Oven Stovetop Bread Recipe
- Total Time: 1 hour 40 minutes
- Yield: 3 1x
Description
Homemade no-oven stovetop bread brings rustic comfort to kitchens without traditional baking equipment. Quick preparation and simple ingredients make this method accessible for home cooks seeking fresh, warm bread.
Ingredients
- 2 ½ cups/590 ml all-purpose flour
- ¾ cup/180 ml warm water
- 2 tsps/10 ml instant yeast
- 2 tsps/10 ml sugar
- 1 tsp/5 ml salt
- 2 tbsps/30 ml vegetable oil or melted butter
Instructions
- Yeast Activation: Whisk yeast with warm liquid and sweetener until frothy, signaling active fermentation.
- Dough Formation: Blend flour and salt in a large bowl, then integrate yeast mixture, oil, and water, kneading into a smooth, elastic consistency.
- Dough Conditioning: Manipulate dough on a floured surface, working it until achieving a silky texture with developed gluten structure.
- First Proofing: Place dough in a lightly oiled container, cover with a damp cloth, and let rise in a warm spot until volume doubles.
- Shaping: Gently deflate proofed dough and shape into a circular or oval form sized for your cooking vessel.
- Skillet Preparation: Lightly grease a nonstick skillet or heavy pot with a lid, carefully positioning the shaped dough inside.
- Stovetop Baking: Cook on low heat with lid closed, allowing first side to develop a golden crust for 12-15 minutes.
- Final Cooking: Flip bread, continue cooking the opposite side for 10-12 minutes until achieving a rich, bronze exterior.
- Finishing: Transfer to a cooling rack, letting bread rest and settle before slicing into serving portions.
Notes
- Activate Yeast Precisely: Ensure water temperature sits between 100-110°F to wake up yeast without killing microorganisms, creating perfect frothy bloom.
- Knead with Confidence: Develop gluten structure by applying consistent, firm pressure during 8-10 minute kneading process, creating elastic, smooth dough texture that supports bread’s structure.
- Manage Moisture Carefully: Control humidity inside cooking vessel by using lid slightly ajar or keeping moisture-wicking cloth nearby, preventing excessive condensation that might make bread soggy.
- Customize Heat Management: Use cast-iron skillet or heavy-bottomed pan for even heat distribution, rotating bread midway through cooking to achieve uniform golden-brown crust without burning.
- Prep Time: 15 minutes
- Cook Time: 25 minutes
- Category: Breakfast, Snacks
- Method: Frying
- Cuisine: American
Nutrition
- Serving Size: 3
- Calories: 180
- Sugar: 1.5 g
- Sodium: 300 mg
- Fat: 6 g
- Saturated Fat: 1 g
- Unsaturated Fat: 5 g
- Trans Fat: 0 g
- Carbohydrates: 28 g
- Fiber: 1 g
- Protein: 4 g
- Cholesterol: 0 mg
Liam O’Sullivan
Founder & Culinary Content Creator
Expertise
Recipe Development, Traditional Irish and European Cuisines, Food Styling and Photography, Culinary Education
Education
Dublin Institute of Technology (DIT) – School of Culinary Arts and Food Technology
Ballymaloe Cookery School
Isabella brings a global spark to the Craft Meats table. Born in Florence and trained at the Apicius International School of Hospitality, she blends classic Italian flavor with modern writing that’s easy to follow and hard to forget.
Her additional training at the Italian Chef Academy fueled her love for well-crafted dishes, especially ones that spotlight beautiful cuts of meat.
She’s a food writer with heart, and a deep love for storytelling through single recipes. Her goal? To help you cook with more confidence and a little more joy, no matter where you start.