Strawberry Cheesecake Dump Cake Recipe: Sweet Berry Perfection
Sweet summer nights call for decadent strawberry cheesecake dump cake that promises pure dessert bliss.
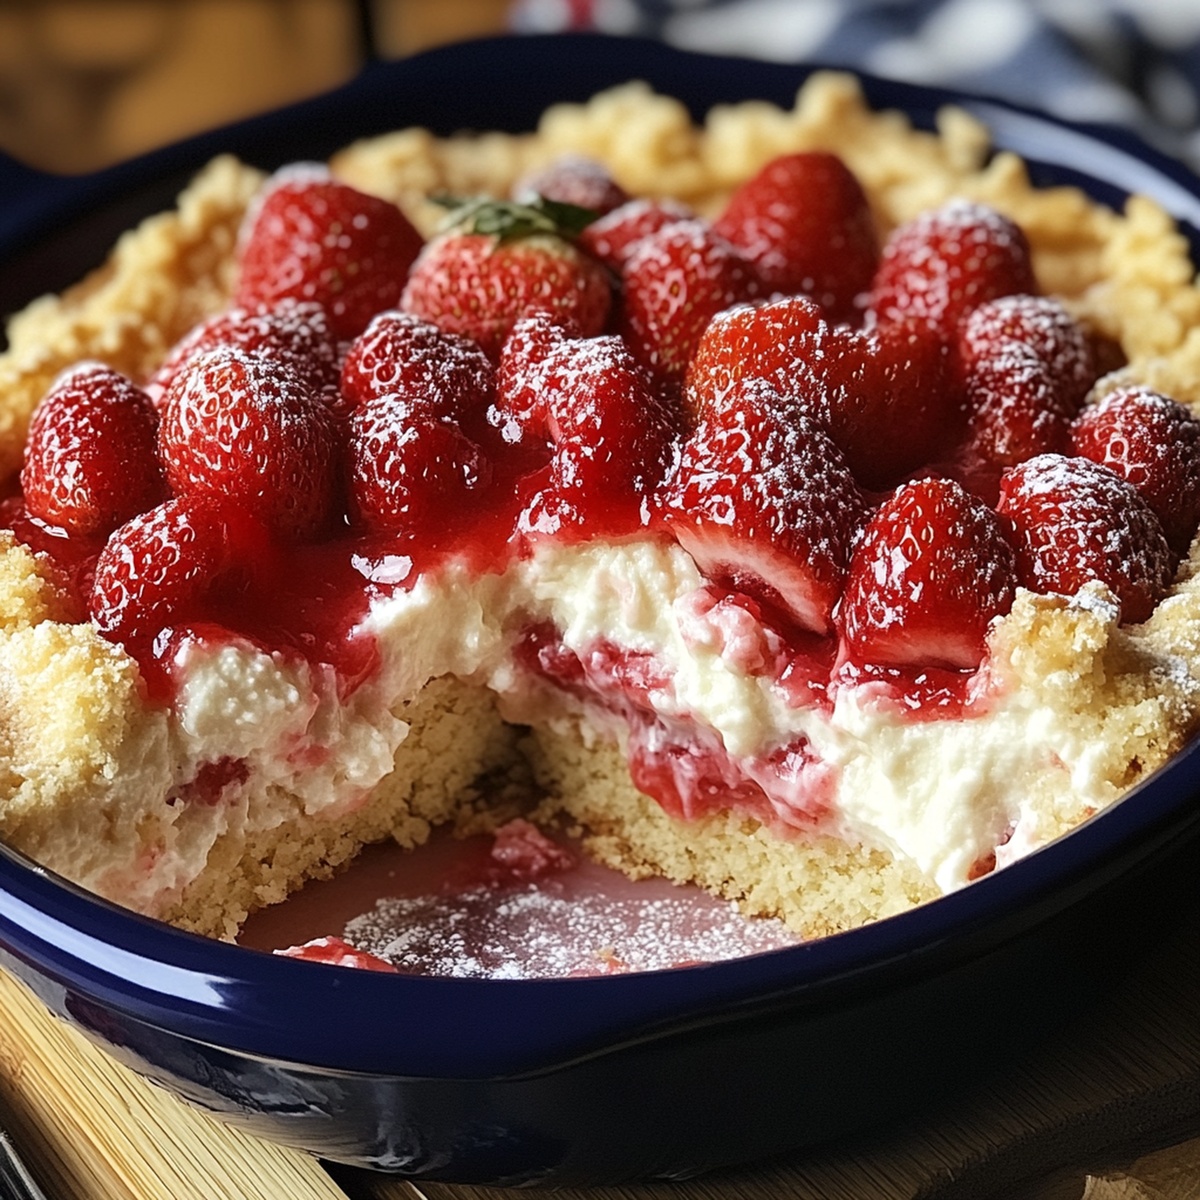
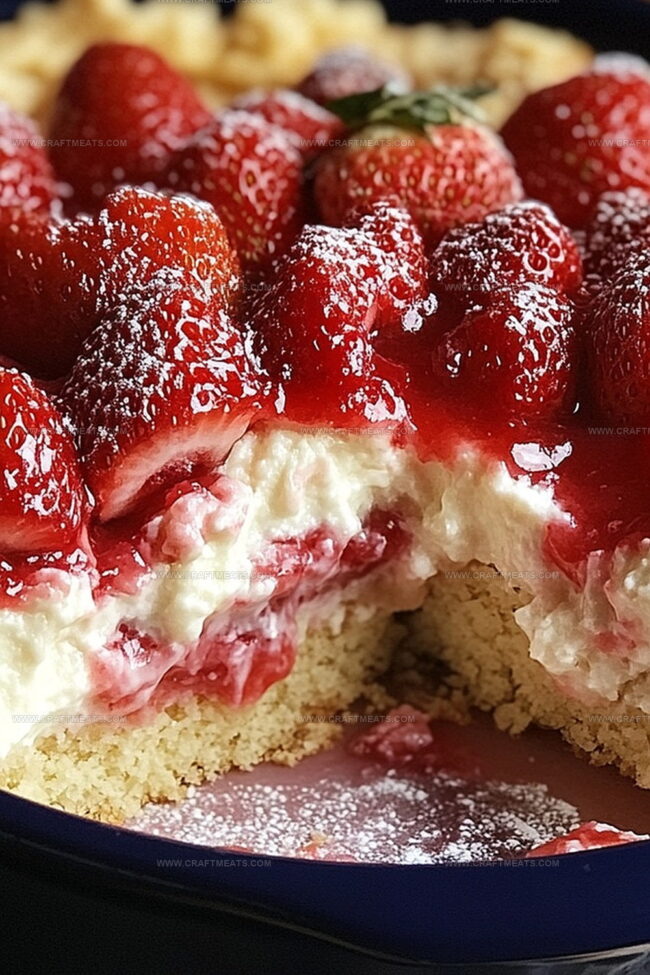
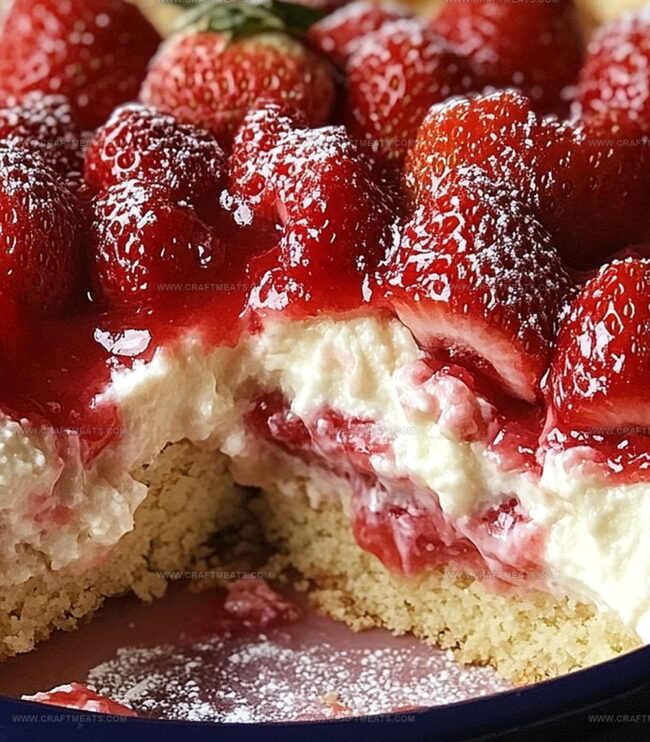
Layers of creamy goodness meld together effortlessly in this simple yet stunning treat.
Dessert enthusiasts will adore the magical combination of tangy cheesecake and vibrant strawberry flavors.
Soft, buttery cake crumbles intermingle with luscious fruit and rich cream cheese.
Each forkful delivers a delightful symphony of textures that dance across your palate.
Minimal effort yields maximum deliciousness with this crowd-pleasing recipe.
Prepare to fall in love with the easiest, most irresistible dessert that’ll have everyone asking for seconds.
Quick Recipe Overview
What Goes Into Strawberry Cheesecake Dump Cake
For Strawberry Base:For Creamy Cheesecake Layer:For Cake and Topping:Kitchen Tools For Strawberry Cheesecake Dump Cake
Steps To Make Strawberry Cheesecake Dump Cake
Warm up your kitchen by setting the oven to a toasty 350 degrees. Grab a baking dish and give it a quick spray of non-stick magic.
Spread those vibrant strawberry pie filling colors across the bottom of your dish, creating a luscious ruby-red base that promises pure deliciousness.
Whip up a dreamy mixture by blending soft cream cheese until it transforms into silky smoothness. Whisper in some sugar and vanilla, creating a cloud-like texture that’ll make taste buds dance.
Gently dollop your creamy cheesecake mixture over the strawberry landscape. Let it create beautiful swirls and patches of white across the ruby surface.
Shower the entire creation with a soft blanket of dry yellow cake mix, covering every inch like freshly fallen snow.
Drizzle melted butter across the top, ensuring every corner gets a golden kiss that promises crispy, delectable edges.
Slide your masterpiece into the warm oven. Watch and wait as it transforms for 45-50 minutes, turning into a bubbling, golden wonder.
Let your creation rest and cool for a brief moment. Serve warm, perhaps with a cloud of whipped cream or a scoop of vanilla ice cream for the ultimate indulgence.
Helpful Hints For Strawberry Cheesecake Dump Cake
Fun Ideas To Serve Strawberry Cheesecake Dump Cake
Storage And Make-Ahead Tips For Strawberry Cheesecake Dump Cake
Print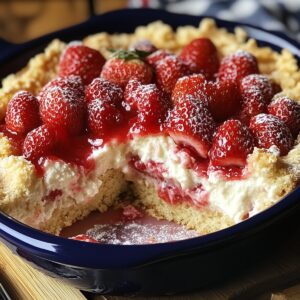
Effortless Strawberry Cheesecake Dump Cake Recipe
- Total Time: 55 minutes
- Yield: 11 1x
Description
Strawberry paradise dump cake merges creamy cheesecake layers with sweet strawberry goodness. Quick dessert lovers will adore this simple, rich treat that combines classic comfort with fruity elegance.
Ingredients
- 2 cans (21 oz / 595 g) strawberry pie filling
- 1 box (15.25 oz / 432 g) yellow cake mix
- 1 package (8 oz / 226 g) cream cheese, softened
- 1 cup (2 sticks / 227 g) unsalted butter, melted
- ½ cup (100 g) granulated sugar
- 1 tsp (5 ml) vanilla extract
Instructions
- Preheat Oven: Warm the oven to 350F (175C), creating the ideal baking environment for this delightful dessert.
- Prepare Baking Dish: Thoroughly spray a 9×13-inch baking dish with non-stick coating to guarantee effortless serving.
- Create Base Layer: Spread strawberry pie filling across the bottom of the dish, establishing a vibrant fruity foundation.
- Craft Cheesecake Mixture: Blend cream cheese until velvety smooth, then incorporate sugar and vanilla, whisking until achieving a luxurious, uniform texture.
- Layer Composition: Gently distribute the cheesecake mixture over the strawberry base, ensuring complete and even coverage.
- Cake Mix Application: Completely blanket the cheesecake layer with dry yellow cake mix, creating a uniform protective coating.
- Butter Infusion: Generously drizzle melted butter across the cake mix surface, guaranteeing comprehensive moisture and future crispy texture.
- Baking Process: Slide the assembled creation into the preheated oven, baking for 45-50 minutes until the top transforms into a rich golden brown and the filling bubbles enthusiastically.
- Cooling and Serving: Allow the cake to rest for 15 minutes after removing from the oven, then serve warm, optionally embellishing with whipped cream or vanilla ice cream for an extra decadent experience.
Notes
- Manage Cream Cheese Consistency: Ensure cream cheese is at room temperature for smooth, lump-free mixing that creates a silky cheesecake layer.
- Prevent Cake Mix Clumping: Sprinkle cake mix evenly to avoid dry patches and achieve uniform golden-brown topping across the entire dessert surface.
- Control Moisture Balance: Drizzle butter carefully to prevent oversaturation, which could make the cake dense instead of achieving a crispy, tender texture.
- Customize Dietary Needs: Swap regular cake mix with gluten-free alternatives and use dairy-free cream cheese for accommodating different dietary restrictions without compromising flavor.
- Prep Time: 10 minutes
- Cook Time: 45 minutes
- Category: Desserts
- Method: Baking
- Cuisine: American
Nutrition
- Serving Size: 11
- Calories: 346
- Sugar: 18 g
- Sodium: 267 mg
- Fat: 22 g
- Saturated Fat: 14 g
- Unsaturated Fat: 8 g
- Trans Fat: 1 g
- Carbohydrates: 36 g
- Fiber: 0 g
- Protein: 3 g
- Cholesterol: 55 mg
Liam O’Sullivan
Founder & Culinary Content Creator
Expertise
Recipe Development, Traditional Irish and European Cuisines, Food Styling and Photography, Culinary Education
Education
Dublin Institute of Technology (DIT) – School of Culinary Arts and Food Technology
Ballymaloe Cookery School
Isabella brings a global spark to the Craft Meats table. Born in Florence and trained at the Apicius International School of Hospitality, she blends classic Italian flavor with modern writing that’s easy to follow and hard to forget.
Her additional training at the Italian Chef Academy fueled her love for well-crafted dishes, especially ones that spotlight beautiful cuts of meat.
She’s a food writer with heart, and a deep love for storytelling through single recipes. Her goal? To help you cook with more confidence and a little more joy, no matter where you start.