Juicy Cherry Pie Bombs Recipe: Sweet Explosion in Every Bite
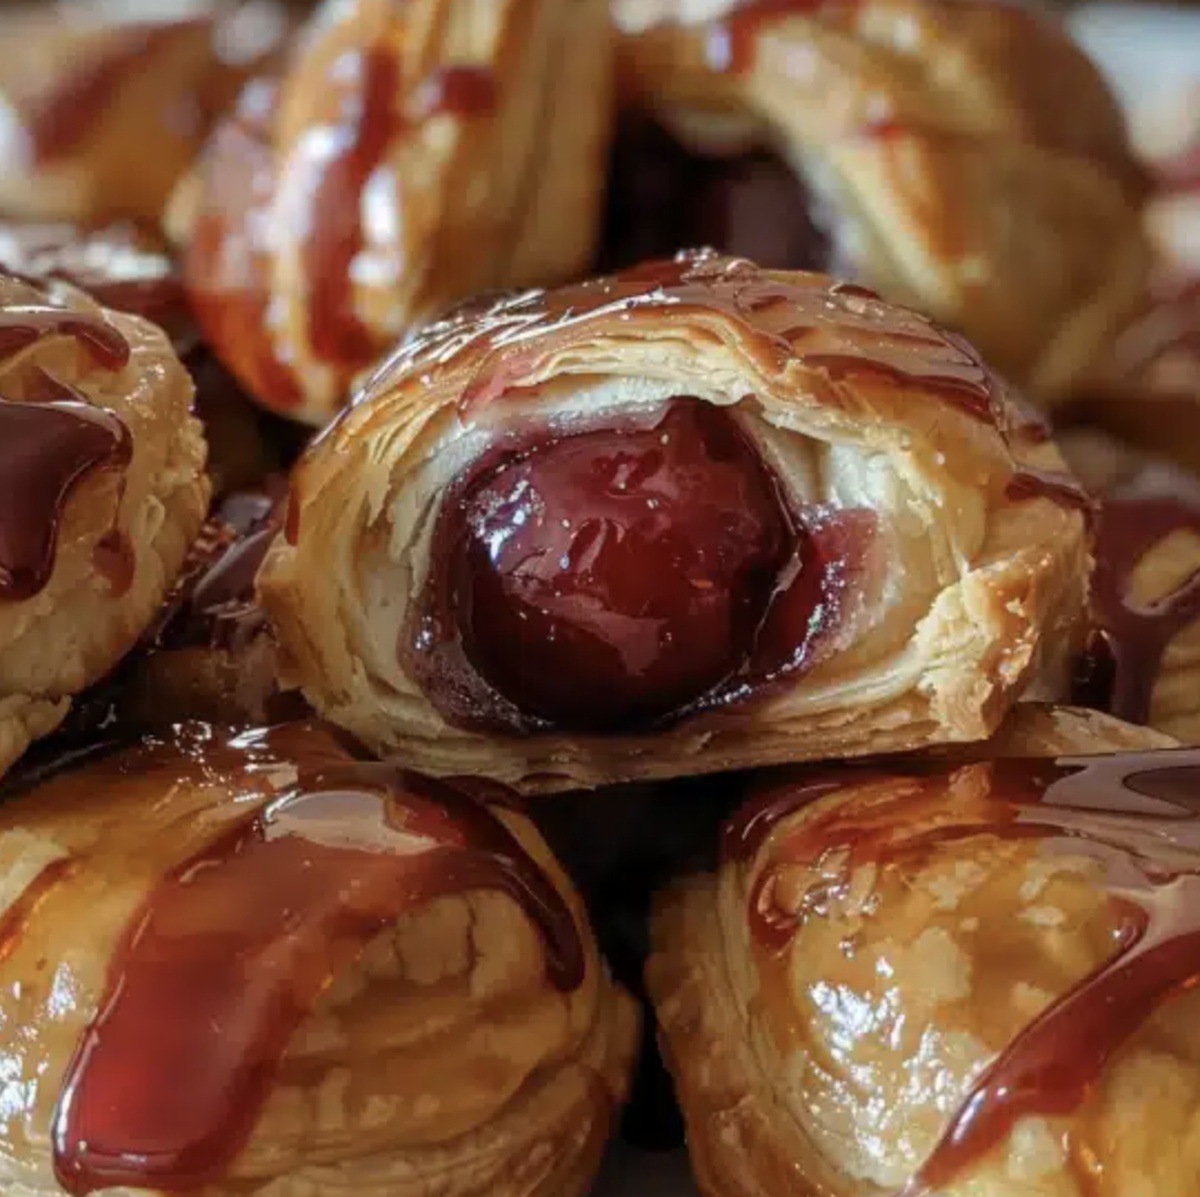
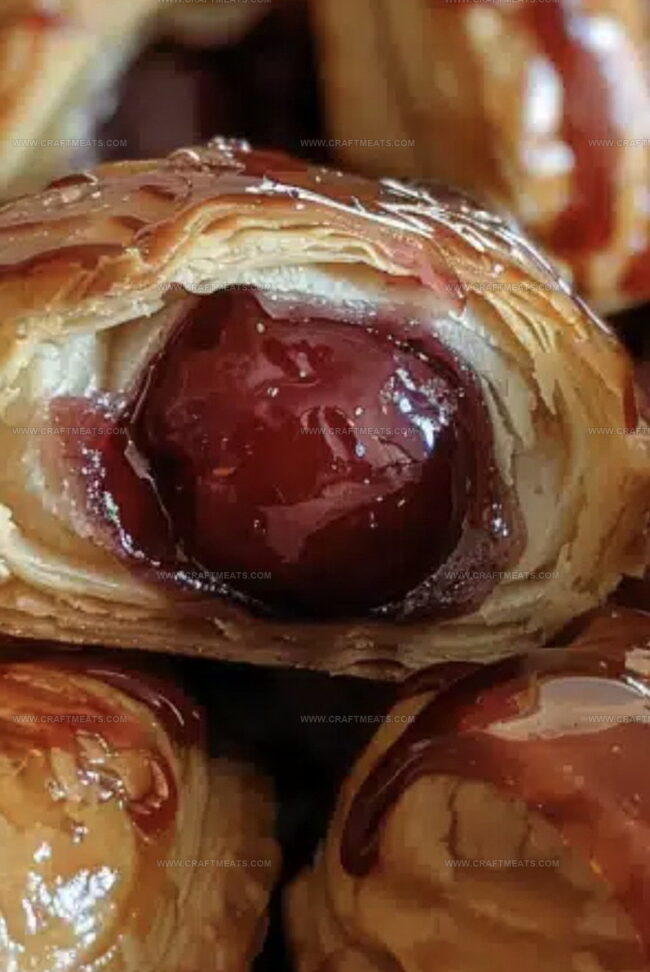
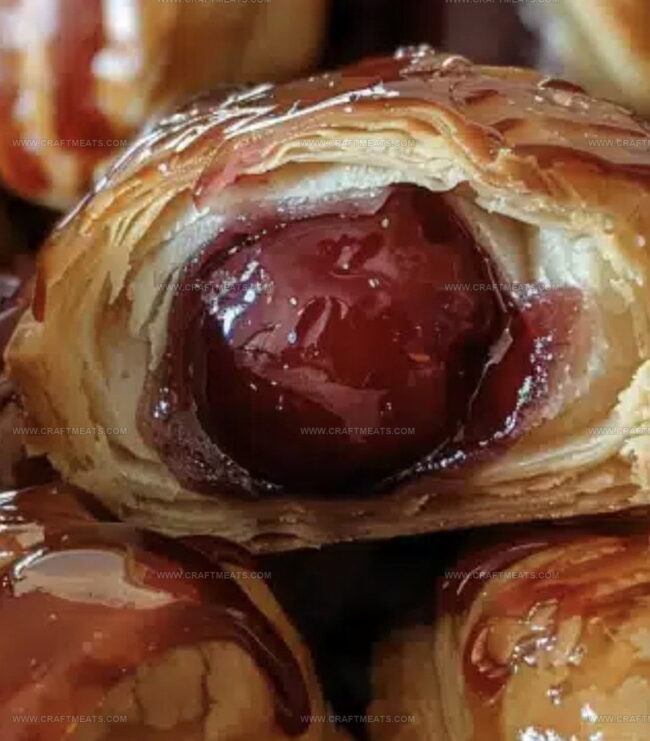
Sweet, golden-brown cherry pie bombs burst with fruity goodness, promising a delightful twist on classic desserts.
These bite-sized treats pack an incredible flavor punch in every single bite.
Crispy pastry shells cradle warm, gooey cherry filling that melts in your mouth.
Crafted with simple ingredients and easy techniques, anyone can create these irresistible pastries at home.
Each bomb delivers a perfect balance of flaky crust and luscious cherry center that sparks pure joy.
The recipe transforms ordinary ingredients into extraordinary moments of deliciousness.
Dive into this simple yet spectacular dessert that will have everyone asking for seconds.
Quick Recipe Overview
What You’ll Need For Cherry Pie Bombs
For Dough Base:For Filling:For Glaze:Tools To Prepare Cherry Pie Bombs
Steps To Bake Cherry Pie Bombs
Break apart soft biscuits into delicate rounds. Gently stretch each circle to create a perfect platform for sweet cherry goodness.
Nestle a spoonful of vibrant cherry filling into the center of each biscuit round. Carefully fold and pinch the edges, creating adorable little pouches that seal in all the fruity deliciousness.
Brush these delicate parcels with melted butter, giving them a golden sheen. Slide them into a preheated air fryer, letting them sizzle and transform into crispy, bubbling treats. Cook until they turn a gorgeous amber color.
Whip up a silky glaze that will make these treats sparkle. Mix powdered sugar with a splash of milk until it reaches a dreamy, smooth consistency that cascades perfectly over the warm cherry bombs.
Gently drench each warm pie bomb in the glossy glaze, allowing it to cascade down the sides. Let them rest on a cooling rack, where the glaze will set into a tempting, sugary shell.
Serve these heavenly bites warm, watching as friends and family dive into the crispy, cherry-filled treasures. Enjoy the burst of flavor with every delightful bite.
Tasty Tips For Cherry Pie Bombs
Best Ways To Serve Cherry Pie Bombs
Save Cherry Pie Bombs For Later
Print
Explosive Cherry Pie Bombs Recipe
- Total Time: 23 minutes
- Yield: 7 1x
Description
Homemade cherry pie bombs combine classic American dessert flavors with convenient handheld pastry perfection. Sweet cherries nestled in buttery dough create an irresistible treat perfect for sharing with friends and family.
Ingredients
- 1 can (8-count) Pillsbury Grand biscuits
- 1 cup (255 g / 9 oz) cherry pie filling
- ½ cup (113 g / 4 oz) unsalted butter, melted
- 2 cups (250 g / 8.8 oz) confectioners sugar
- 3–4 tbsps whole milk, room temperature
Instructions
- Preparation: Separate biscuits into thin rounds and gently stretch each piece into a uniform circular shape, ensuring consistent thickness for optimal texture.
- Filling and Sealing: Place a spoonful of cherry pie filling in the center of each dough circle. Fold edges inward, carefully sealing the filling by pinching and crimping the dough into spherical parcels.
- Coating and Preheating: Brush the exterior of each pie bomb with melted butter. Preheat air fryer to 330F and lightly spray the basket with non-stick cooking spray.
- Cooking: Position the prepared bombs in the air fryer basket, maintaining space for proper air circulation. Cook for 7-8 minutes, rotating halfway through to achieve an even, golden-brown color.
- Glaze Preparation: Combine confectioners sugar and milk to create a smooth, silky glaze. Adjust liquid as needed to reach the ideal drizzling consistency.
- Finishing: Remove pie bombs from air fryer and transfer to a cooling rack. While still warm, dip each bomb into the prepared glaze, allowing excess to drip off.
- Serving: Allow glazed bombs to rest until coating sets into a glossy finish. Serve immediately to enjoy the perfect blend of crisp exterior and luscious cherry filling.
Notes
- Prevent Dough Tearing: Stretch biscuit dough gently and evenly to avoid rips, ensuring a smooth surface for encasing cherry filling without leaks.
- Control Filling Quantity: Use just a moderate spoonful of cherry filling to prevent overflow and maintain structural integrity during cooking, which could cause messy bursts.
- Seal Edges Completely: Press dough edges firmly and crimp thoroughly to create a tight seal, blocking filling from escaping during air frying and maintaining a clean, uniform bomb shape.
- Glaze Temperature Matters: Allow pie bombs to cool slightly before glazing, preventing the sugar mixture from becoming too runny and ensuring a beautiful, thick coating that adheres properly to the golden-brown surface.
- Prep Time: 15 minutes
- Cook Time: 8 minutes
- Category: Desserts, Snacks
- Method: Frying
- Cuisine: American
Nutrition
- Serving Size: 7
- Calories: 370
- Sugar: 29 g
- Sodium: 320 mg
- Fat: 21 g
- Saturated Fat: 12 g
- Unsaturated Fat: 9 g
- Trans Fat: 0 g
- Carbohydrates: 41 g
- Fiber: 1 g
- Protein: 2 g
- Cholesterol: 30 mg
Liam O’Sullivan
Founder & Culinary Content Creator
Expertise
Recipe Development, Traditional Irish and European Cuisines, Food Styling and Photography, Culinary Education
Education
Dublin Institute of Technology (DIT) – School of Culinary Arts and Food Technology
Ballymaloe Cookery School
Isabella brings a global spark to the Craft Meats table. Born in Florence and trained at the Apicius International School of Hospitality, she blends classic Italian flavor with modern writing that’s easy to follow and hard to forget.
Her additional training at the Italian Chef Academy fueled her love for well-crafted dishes, especially ones that spotlight beautiful cuts of meat.
She’s a food writer with heart, and a deep love for storytelling through single recipes. Her goal? To help you cook with more confidence and a little more joy, no matter where you start.