Jolly Red Christmas Cherry Bars Recipe to Make
Sweet, buttery, and bursting with festive cheer, these christmas cherry bars dance with vibrant holiday flavors.
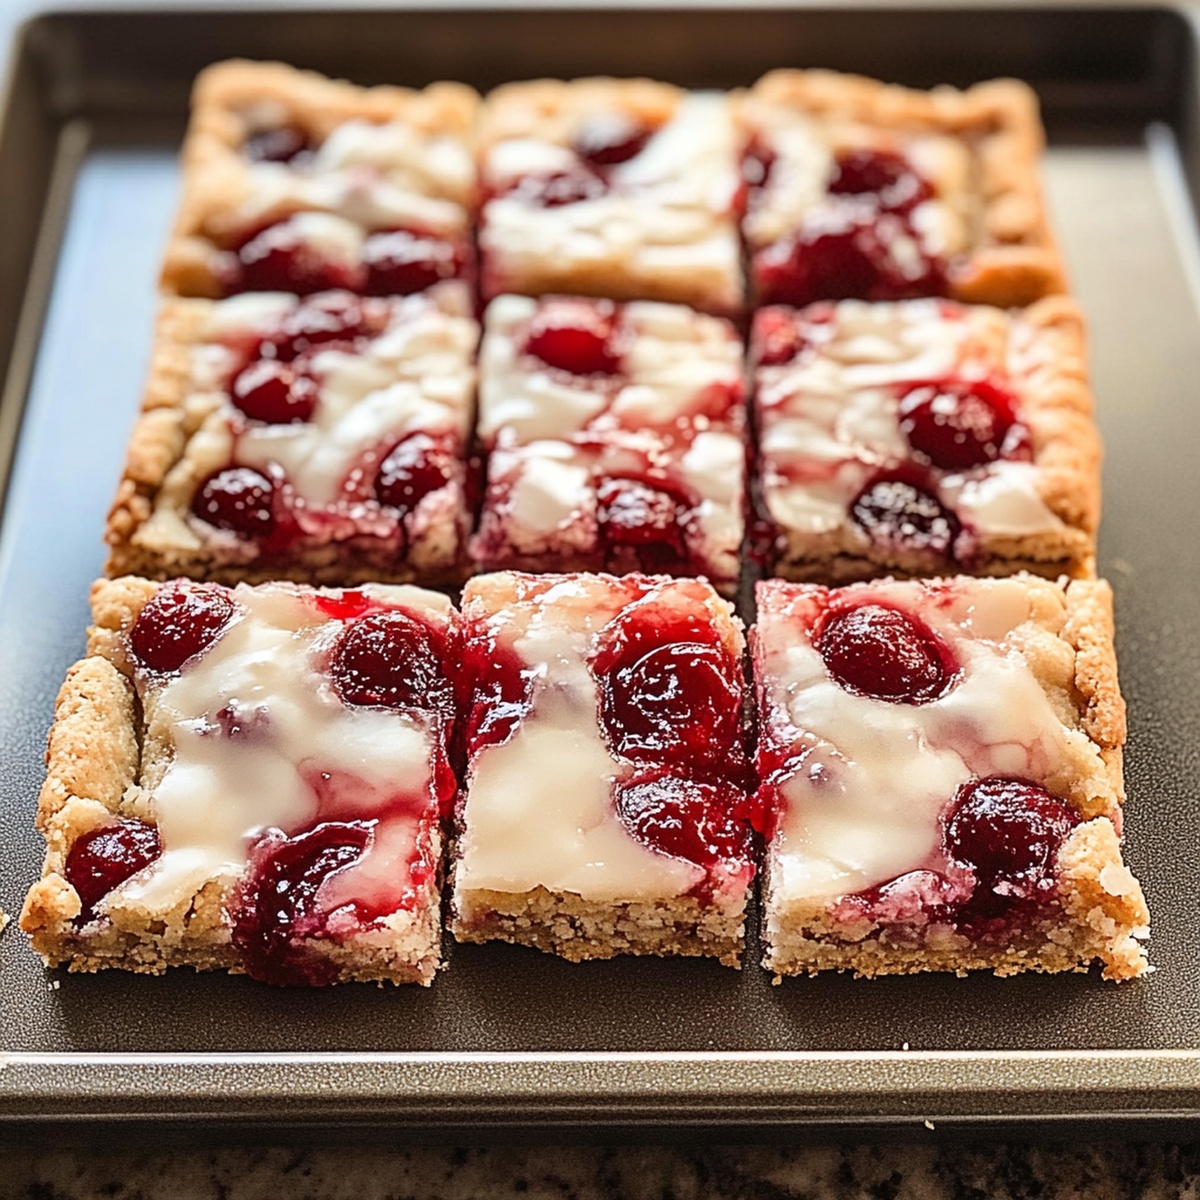
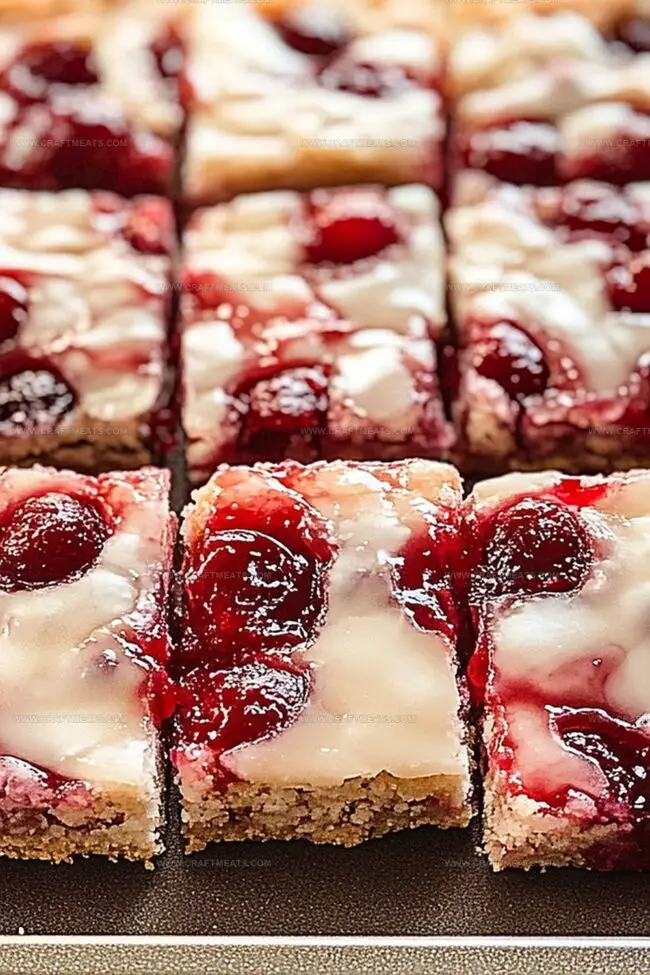
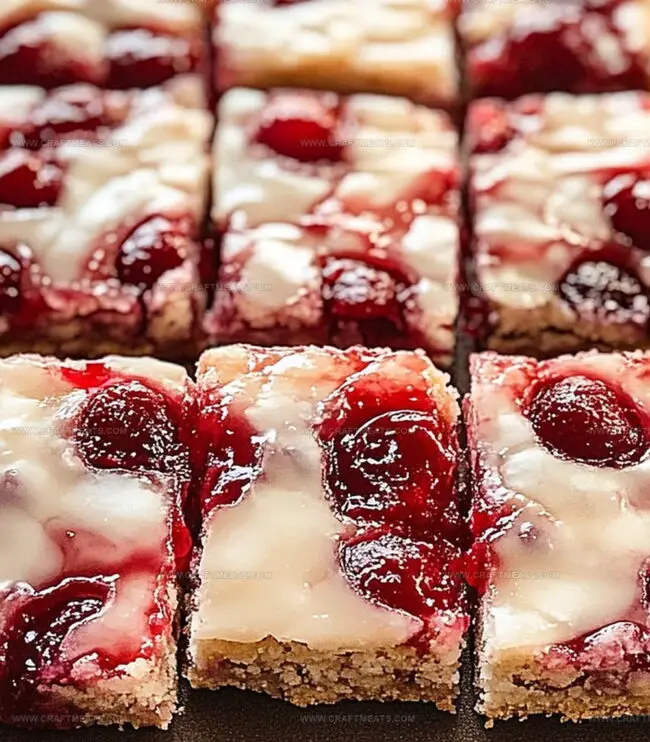
The recipe blends classic cookie textures with bright crimson cherries that pop against a golden crumb base.
Tender and delightfully sweet, each bar promises a delectable bite of seasonal joy.
Soft shortbread melts beneath jewel-like cherry filling, creating a dessert that sparkles with warmth.
The simple ingredients come together effortlessly, making these bars a stress-free treat for winter gatherings.
Rich, indulgent, and wonderfully nostalgic, these bars will become your new favorite holiday tradition.
Bake a batch and watch smiles spread as quickly as the cherry filling.
Quick Recipe Overview
What You’ll Need For Christmas Cherry Bars
For Crust:For Filling:For Crumb Topping:Baking Gear For Christmas Cherry Bars
How To Bake Christmas Cherry Bars With Ease
Gather your baking adventure essentials and preheat the cozy oven to a toasty 350 degrees. Line a rectangular pan with parchment paper, creating little wings for easy dessert lifting.
Whip softened butter and sugar into a dreamy cloud-like mixture. Gently fold in flour until a delicate dough forms. Press this golden blanket evenly across the pan’s bottom, creating a perfect shortbread canvas. Bake until edges turn a gentle sunshine-kissed golden.
Spread luscious cherry filling across the warm crust, dotting it with a whisper of almond magic. The ruby-red goodness will transform your simple bars into a festive delight.
Mix flour, brown sugar, and a hint of cinnamon with melted butter. Sprinkle this crunchy treasure generously over the cherry landscape, creating a rustic, inviting texture.
Slide the pan back into the oven’s warm embrace. Let the bars dance and transform for 25-30 minutes until the crumb topping turns a rich, golden brown.
Allow your masterpiece to cool completely. Lift the bars from the pan using the parchment paper wings, then slice into delectable squares ready to spread holiday cheer.
Creative Tips For Christmas Cherry Bars
Ideas For Serving Christmas Cherry Bars Festively
Storage Tips For Keeping Christmas Cherry Bars Fresh
Keep bars fresh in an airtight container at room temperature for 3-4 days, preventing moisture and maintaining crisp texture.
Print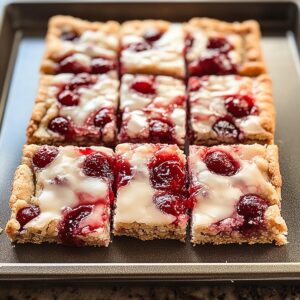
Festive Christmas Cherry Bars Recipe
- Total Time: 1 hour 5 minutes
- Yield: 15 1x
Description
Sweet Christmas cherry bars blend festive cheer with nostalgic family flavors. Seasonal dessert delivers rich cherry goodness and buttery pastry that delights holiday guests.
Ingredients
- 1 can (21 oz/600 g) cherry pie filling
- 2 cups (250 g) all-purpose flour
- 1 cup (120 g) all-purpose flour
- 1 cup (225 g) unsalted butter, softened
- ¼ cup (60 g) unsalted butter, melted
- ½ cup (100 g) granulated sugar
- ½ cup (100 g) brown sugar
- ¼ teaspoon almond extract
- ¼ teaspoon cinnamon
- ¼ teaspoon salt
Instructions
- Prepare Base: Press flour-based mixture evenly into parchment-lined baking pan, creating a uniform shortbread foundation with golden potential.
- Initial Baking: Partially bake the shortbread crust until edges turn light golden, developing a crisp structural platform for subsequent layers.
- Cherry Layer Application: Spread vibrant cherry filling across warm shortbread, delicately incorporating almond extract to enhance fruity complexity and aromatic depth.
- Crumb Topping Construction: Blend flour, brown sugar, cinnamon, and melted butter into a nuanced, textural mixture designed to transform into a rustic, golden crown.
- Final Baking Transformation: Bake assembled dessert until crumb topping achieves a rich, burnished brown complexion, allowing flavors to meld and textures to develop perfectly, approximately 25-30 minutes.
- Cooling and Presentation: Allow completely cooled creation to rest in pan, then leverage parchment paper edges to extract and slice into precise, elegant squares that showcase distinctive layered architecture.
Notes
- Butter Consistency Matters: Ensure butter is at room temperature for easier mixing and a smoother shortbread base, preventing lumpy or tough texture.
- Cherry Filling Technique: Drain maraschino cherries thoroughly to avoid excess moisture that could make the base soggy and compromise the dessert’s structural integrity.
- Crumb Topping Precision: Mix crumb ingredients until they resemble coarse, pea-sized crumbles for an optimal crispy and light texture that browns evenly.
- Cooling is Crucial: Allow bars to cool completely before cutting to maintain clean, sharp edges and help layers set properly, preventing crumbly or messy slices.
- Prep Time: 20 minutes
- Cook Time: 40-45 minutes
- Category: Desserts, Snacks
- Method: Baking
- Cuisine: American
Nutrition
- Serving Size: 15
- Calories: 250
- Sugar: 14 g
- Sodium: 120 mg
- Fat: 14 g
- Saturated Fat: 8 g
- Unsaturated Fat: 4 g
- Trans Fat: 0 g
- Carbohydrates: 30 g
- Fiber: 1 g
- Protein: 2 g
- Cholesterol: 35 mg
Liam O’Sullivan
Founder & Culinary Content Creator
Expertise
Recipe Development, Traditional Irish and European Cuisines, Food Styling and Photography, Culinary Education
Education
Dublin Institute of Technology (DIT) – School of Culinary Arts and Food Technology
Ballymaloe Cookery School
Isabella brings a global spark to the Craft Meats table. Born in Florence and trained at the Apicius International School of Hospitality, she blends classic Italian flavor with modern writing that’s easy to follow and hard to forget.
Her additional training at the Italian Chef Academy fueled her love for well-crafted dishes, especially ones that spotlight beautiful cuts of meat.
She’s a food writer with heart, and a deep love for storytelling through single recipes. Her goal? To help you cook with more confidence and a little more joy, no matter where you start.