Christmas Cookie Bars Recipe for a Festive Holiday Delight
Sweet aromas of vanilla and butter waft through kitchens during holiday baking season, making christmas cookie bars a delightful treat for everyone.
Festive gatherings sparkle with joy when these delectable squares appear on dessert platters.
Soft, chewy, and perfectly balanced, these bars blend traditional flavors with modern baking techniques.
Each bite brings memories of cozy winter evenings and cherished family traditions.
Chocolate chips, nuts, and sprinkles add playful textures that make these bars irresistible.
Bakers of all skill levels can create these simple yet impressive desserts with minimal effort.
Dive into this recipe and spread some delicious holiday cheer!
Quick Recipe Overview
All The Ingredients In Christmas Cookie Bars
For The Sweet Base:For The Binding Elements:For The Texture and Structure:For The Festive Mix-Ins:Tools Needed For Christmas Cookie Bars
Simple Steps For Christmas Cookie Bars
Warm up your kitchen appliance to a cozy 350 degrees. Prepare a rectangular baking dish with a light coating of grease or parchment paper for smooth removal.
Blend softened butter with sugars until they transform into a fluffy cloud-like texture. Gently incorporate eggs and vanilla, mixing until everything looks smooth and inviting.
Whisk flour, rising agents, and a pinch of salt in a separate container. Slowly marry these dry ingredients with your creamy mixture, stirring until just combined.
Softly fold chocolate chips and colorful holiday sprinkles into the dough, creating bursts of festive excitement throughout.
Spread the dough evenly across the baking dish, using a spatula to create a smooth landscape. Dust the surface with extra sprinkles for a whimsical touch.
Let the bars bake until edges turn a delicate golden brown and the center looks perfectly set. This usually takes about 20-25 minutes of patient waiting.
Once completely cooled, slice into delightful squares. These treats pair wonderfully with warm beverages and create instant holiday cheer.
Tips To Make Christmas Cookie Bars Festive
Serving Suggestions For Christmas Cookie Bars
Store Christmas Cookie Bars The Easy Way
Print
Festive Christmas Cookie Bars Recipe
- Total Time: 40 minutes
- Yield: 23 1x
Description
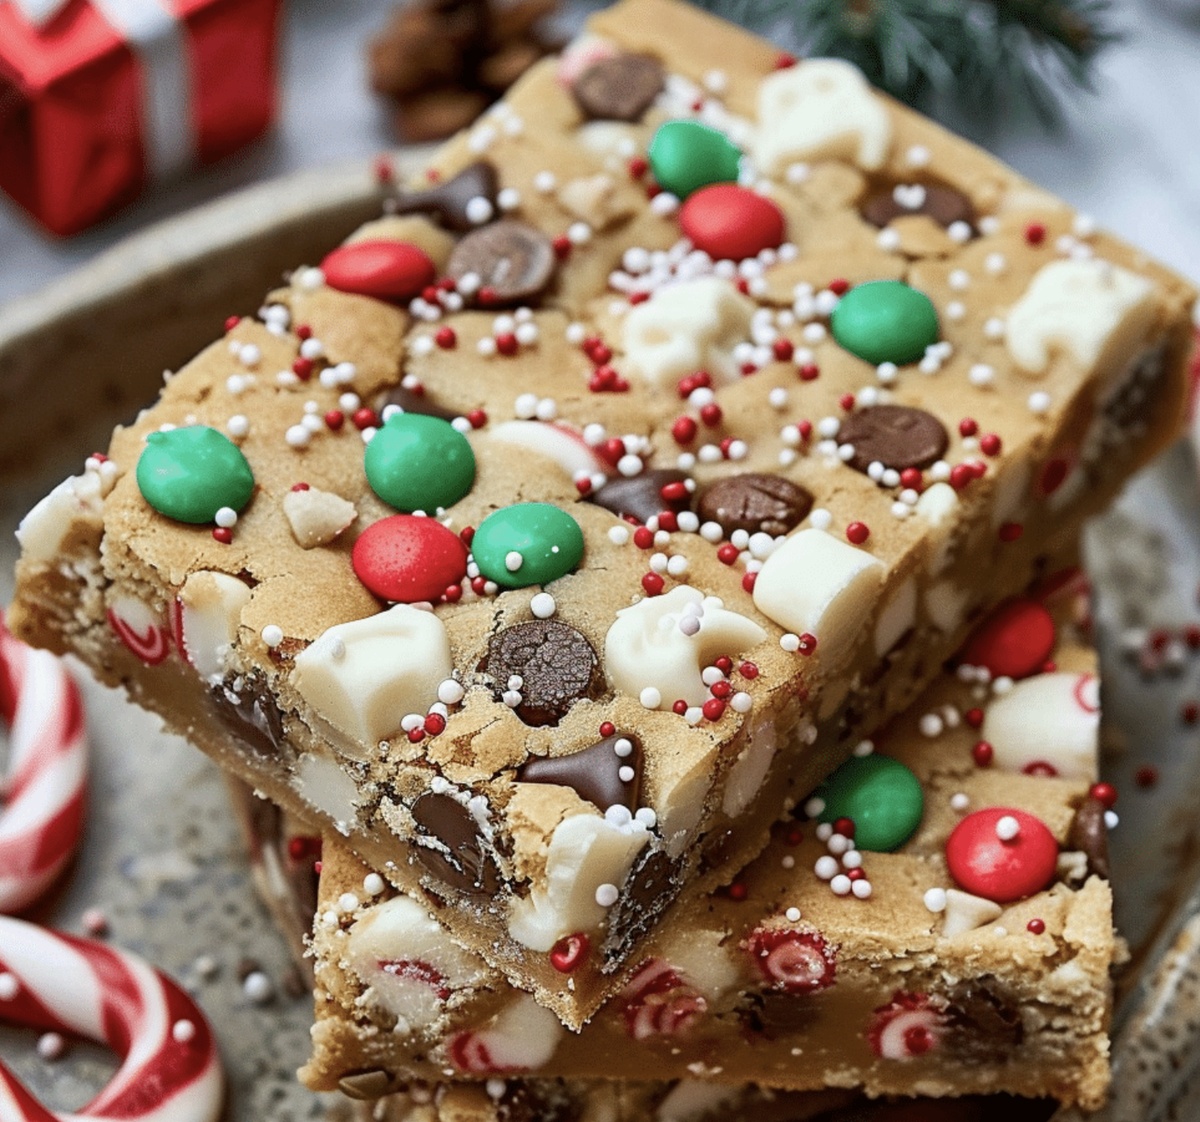
Festive Christmas cookie bars blend rich chocolate chips with peppermint crunch in a delightful holiday treat. Crisp edges and gooey centers make these bars a seasonal favorite you’ll crave all winter long.
Ingredients
- 3 cups (375 grams / 13.2 oz) all-purpose flour
- 1 cup (200 grams / 7 oz) granulated sugar
- 1 cup (220 grams / 7.8 oz) brown sugar, packed
- 1 cup (225 grams / 8 oz) unsalted butter, softened
- 2 large eggs
- 1 cup (170 grams / 6 oz) semi-sweet chocolate chips
- 1 cup (170 grams / 6 oz) white chocolate chips or chunks
- ½ cup (80 grams / 2.8 oz) red and green holiday sprinkles
- 2 teaspoons vanilla extract
- 1 teaspoon baking soda
- ½ teaspoon baking powder
- ½ teaspoon salt
- Extra sprinkles, for topping
Instructions
- Preparation: Position the oven rack centrally and preheat to 350F (175C). Prepare a 9×13-inch pan with non-stick spray or parchment paper for seamless release.
- Creaming: Whip softened butter with granulated and brown sugars until light and fluffy. Integrate eggs methodically, ensuring a silky smooth consistency after each addition.
- Flavor Infusion: Pour vanilla extract into the wet mixture, blending thoroughly to create a harmonious base.
- Dry Ingredient Integration: Combine flour, baking soda, baking powder, and salt. Gently fold into the wet ingredients, minimizing mixing to maintain a tender texture.
- Mix-in Magic: Fold semi-sweet chocolate chips, white chocolate chips, and holiday sprinkles throughout the batter, distributing evenly for maximum flavor and visual appeal.
- Pan Presentation: Spread the dough uniformly in the prepared pan, using a spatula to create an even surface. Sprinkle additional holiday decorations across the top for festive flair.
- Baking Process: Slide the pan into the preheated oven and bake for 22-27 minutes. Watch for golden-brown edges and a slightly firm center as doneness indicators.
- Cooling and Cutting: Allow the bars to cool completely in the pan, which helps set the texture and facilitates clean, precise cutting. Once cooled, slice into elegant squares.
Notes
- Softening Butter Perfectly: Achieve room temperature butter by leaving it out 30-45 minutes before baking, ensuring smooth blending and consistent texture.
- Minimize Dough Overworking: Stir dry ingredients just until combined to prevent tough, dense cookie bars and maintain a tender crumb.
- Sprinkle Distribution Technique: Gently fold holiday sprinkles into batter and press additional ones on top for even color and festive appearance.
- Cooling Crucial for Clean Cuts: Allow bars to cool completely in the pan for at least 1 hour, which helps set the structure and enables precise, clean-edged squares.
- Prep Time: 15 minutes
- Cook Time: 25 minutes
- Category: Desserts, Snacks
- Method: Baking
- Cuisine: American
Nutrition
- Serving Size: 23
- Calories: 300
- Sugar: 20 g
- Sodium: 150 mg
- Fat: 15 g
- Saturated Fat: 9 g
- Unsaturated Fat: 5 g
- Trans Fat: 0 g
- Carbohydrates: 40 g
- Fiber: 1 g
- Protein: 3 g
- Cholesterol: 40 mg
Liam O’Sullivan
Founder & Culinary Content Creator
Expertise
Recipe Development, Traditional Irish and European Cuisines, Food Styling and Photography, Culinary Education
Education
Dublin Institute of Technology (DIT) – School of Culinary Arts and Food Technology
Ballymaloe Cookery School
Isabella brings a global spark to the Craft Meats table. Born in Florence and trained at the Apicius International School of Hospitality, she blends classic Italian flavor with modern writing that’s easy to follow and hard to forget.
Her additional training at the Italian Chef Academy fueled her love for well-crafted dishes, especially ones that spotlight beautiful cuts of meat.
She’s a food writer with heart, and a deep love for storytelling through single recipes. Her goal? To help you cook with more confidence and a little more joy, no matter where you start.