
Jolly Christmas Tree Cupcakes Recipe: Festive Holiday Baking Fun
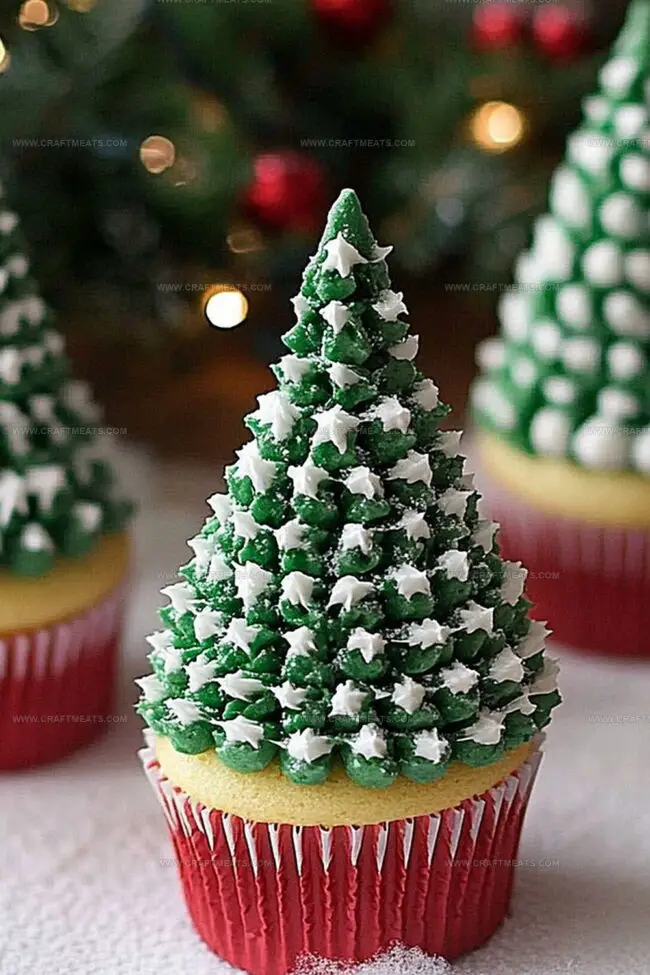
Sweet winter celebrations come alive with these adorable christmas tree cupcakes that sparkle with festive cheer.
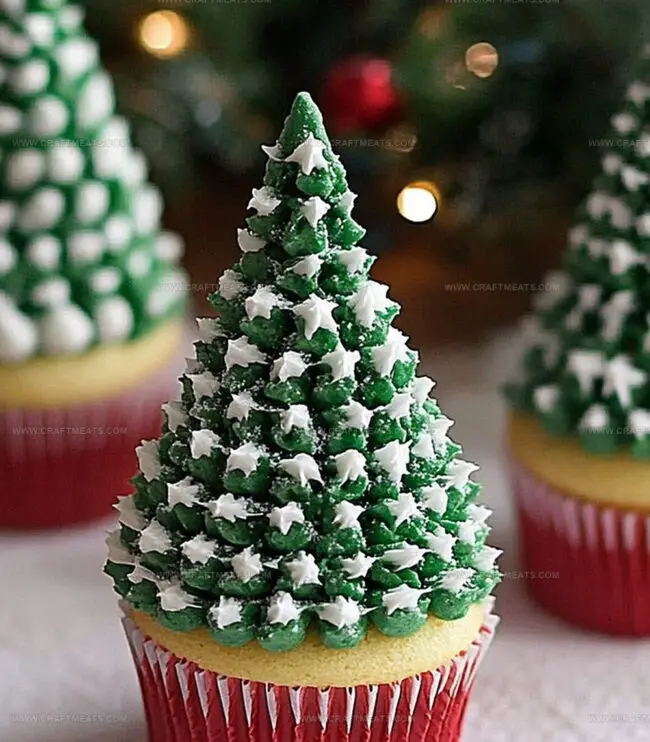
Delicate green frosting swirls into perfect pine-like peaks on soft, fluffy vanilla bases.
Decorative sprinkles and colorful candy ornaments turn simple cupcakes into edible holiday masterpieces.
Each bite bursts with seasonal joy and magical memories.
Tiny bakers and experienced decorators alike can craft these delightful treats with ease.
Bring some whimsical charm to your holiday dessert table and watch smiles bloom brighter than the Christmas lights.
Quick Recipe Overview
Everything In Christmas Tree Cupcakes
For Cake Base:For Wet Ingredients:For Decoration and Finishing:Supplies You’ll Need For Christmas Tree Cupcakes
Decorating And Assembling Christmas Tree Cupcakes Made Simple
Warm up your kitchen to cozy baking temperature, setting the stage for festive cupcake magic. Prepare your muffin tin with cheerful paper liners.
Whip together dry ingredients in one bowl, creating a fluffy foundation. In another bowl, cream butter and sugar until dreamy and light, welcoming eggs one by one with gentle whisking. Splash in vanilla for extra happiness.
Slowly marry dry and wet ingredients, dancing between flour mixture and milk. Blend gently, avoiding overmixing to keep the cupcakes tender and soft.
Lovingly spoon batter into waiting liners, filling each about two-thirds full. Each cupcake will rise with festive cheer.
Slide the tray into the oven, letting cupcakes bake until golden and perfect. A toothpick test will reveal their readiness. Allow cupcakes to cool completely, transforming into delightful holiday treats.
Creative Add-Ons For Christmas Tree Cupcakes
Ideas For Showing Off Christmas Tree Cupcakes
How To Store Christmas Tree Cupcakes Without Smudging
Print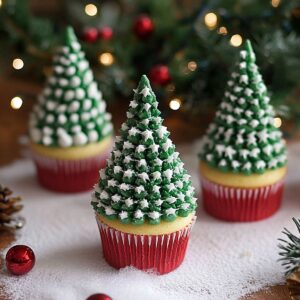
Festive Christmas Tree Cupcakes Recipe
- Total Time: 1 hour 10 minutes
- Yield: 11 1x
Description
Festive christmas tree cupcakes bring winter holiday cheer to dessert tables across North America. Chocolate cake bases topped with green buttercream frosting create delightful edible trees you’ll enjoy decorating with sprinkle ornaments and candy star toppers.
Ingredients
- 2 large eggs
- 1 ½ cups (190 g) all-purpose flour
- ¾ cup (150 g) granulated sugar
- ½ cup (115 g) unsalted butter, softened
- ½ cup (120 ml) milk
- 1 ½ tsps baking powder
- ¼ tsp salt
- 1 tsp vanilla extract
- 1 cup (225 g) unsalted butter, softened
- 4 cups (500 g) powdered sugar
- 2–3 tbsps milk
- 1 tsp vanilla extract
- Green food coloring
- Star-shaped sprinkles or candies
- Mini round sprinkles or nonpareils
- Edible glitter (optional)
Instructions
- Oven Preparation: Heat the oven to 350F (175C) and position cupcake liners in a muffin tin for uniform baking.
- Dry Ingredient Fusion: Whisk flour, baking powder, and salt in a mixing bowl, creating a uniform dry base for the cupcake foundation.
- Butter Transformation: Cream butter and sugar until achieving a light, voluminous consistency that appears silky and pale.
- Liquid Infusion: Incorporate eggs one at a time, blending thoroughly, and introduce vanilla extract to elevate the flavor profile.
- Batter Assembly: Gently fold dry ingredients into the wet mixture, alternating with milk to create a smooth, well-integrated batter with a velvety texture.
- Cupcake Molding: Fill cupcake liners two-thirds full, ensuring even distribution and optimal rising potential during the baking process.
- Baking Ritual: Place muffin tin in the preheated oven and bake for 18-20 minutes, watching for a golden-brown exterior and verifying doneness with a toothpick insertion.
- Cooling Phase: Transfer cupcakes to a wire rack, allowing complete cooling to room temperature before embellishing or serving.
Notes
- Measure Ingredients Precisely: Use exact measurements for consistent texture and taste, especially with flour and baking powder.
- Control Mixing Technique: Avoid overmixing batter to prevent tough, dense cupcakes; mix just until ingredients are combined for tender results.
- Monitor Oven Temperature: Use an oven thermometer to ensure accurate 350F temperature, as slight variations can impact cupcake rise and texture.
- Check Moisture Balance: Test cupcake doneness with a toothpick – it should come out clean with minimal crumbs for perfect moisture level.
- Prep Time: 20 minutes
- Cook Time: 30 minutes
- Category: Desserts, Snacks
- Method: Baking
- Cuisine: American
Nutrition
- Serving Size: 11
- Calories: 370
- Sugar: 37 g
- Sodium: 170 mg
- Fat: 20 g
- Saturated Fat: 12 g
- Unsaturated Fat: 8 g
- Trans Fat: 0 g
- Carbohydrates: 46 g
- Fiber: 0 g
- Protein: 3 g
- Cholesterol: 60 mg
Liam O’Sullivan
Founder & Culinary Content Creator
Expertise
Recipe Development, Traditional Irish and European Cuisines, Food Styling and Photography, Culinary Education
Education
Dublin Institute of Technology (DIT) – School of Culinary Arts and Food Technology
Ballymaloe Cookery School
Isabella brings a global spark to the Craft Meats table. Born in Florence and trained at the Apicius International School of Hospitality, she blends classic Italian flavor with modern writing that’s easy to follow and hard to forget.
Her additional training at the Italian Chef Academy fueled her love for well-crafted dishes, especially ones that spotlight beautiful cuts of meat.
She’s a food writer with heart, and a deep love for storytelling through single recipes. Her goal? To help you cook with more confidence and a little more joy, no matter where you start.