Spiced Eggnog Cookies Recipe for the Holidays
Festive baking reaches new heights with these irresistible eggnog cookies that capture the essence of holiday cheer.
Warm spices and creamy eggnog blend perfectly in every delectable bite.
The kitchen fills with an enchanting aroma that beckons loved ones to gather around.
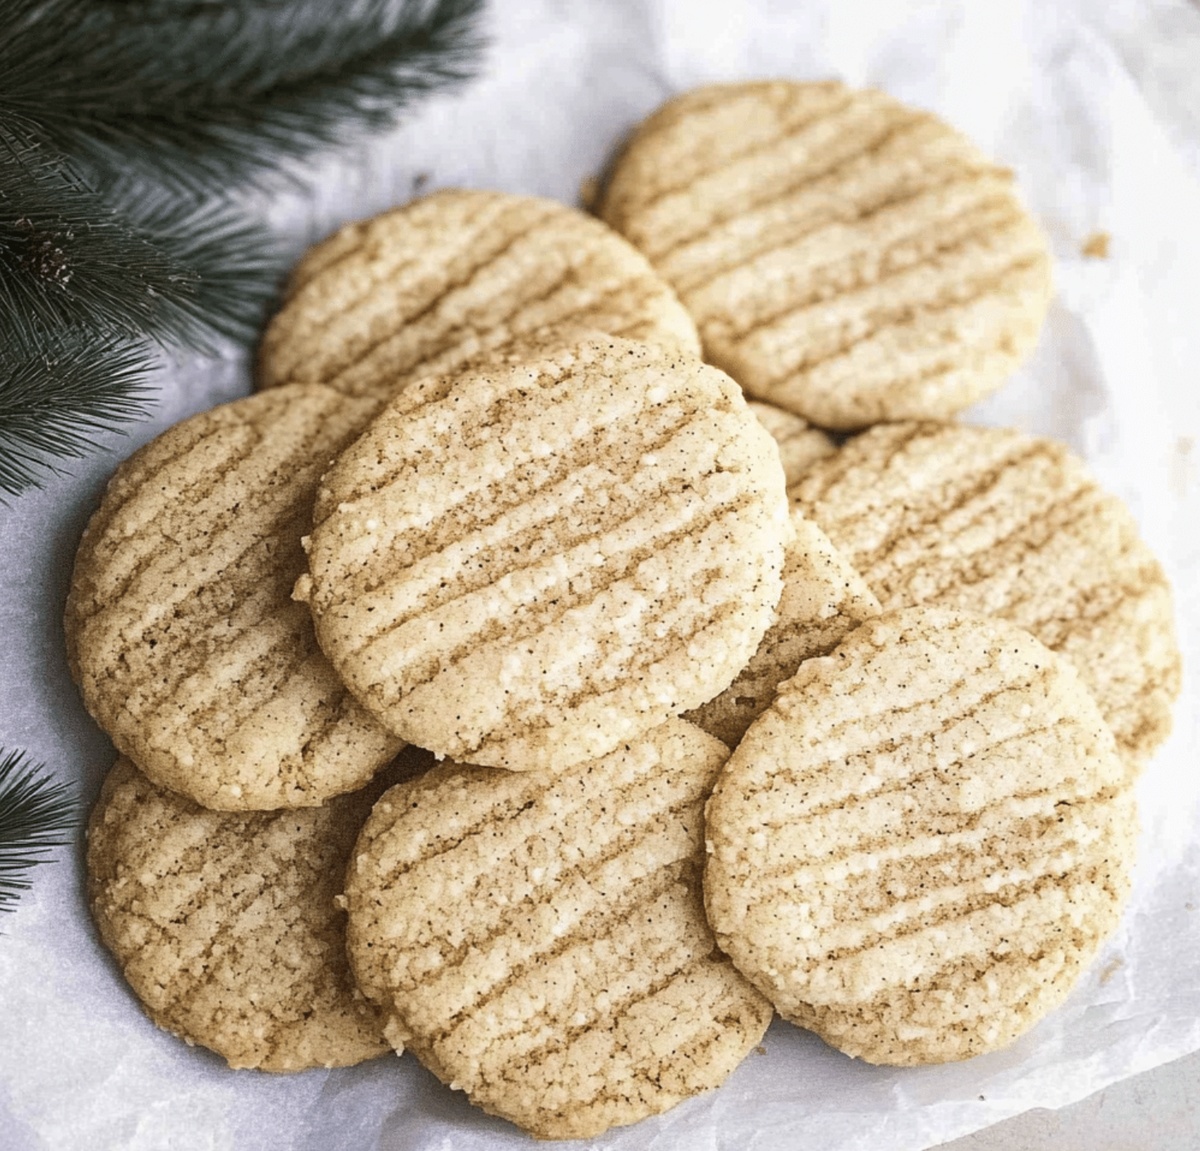
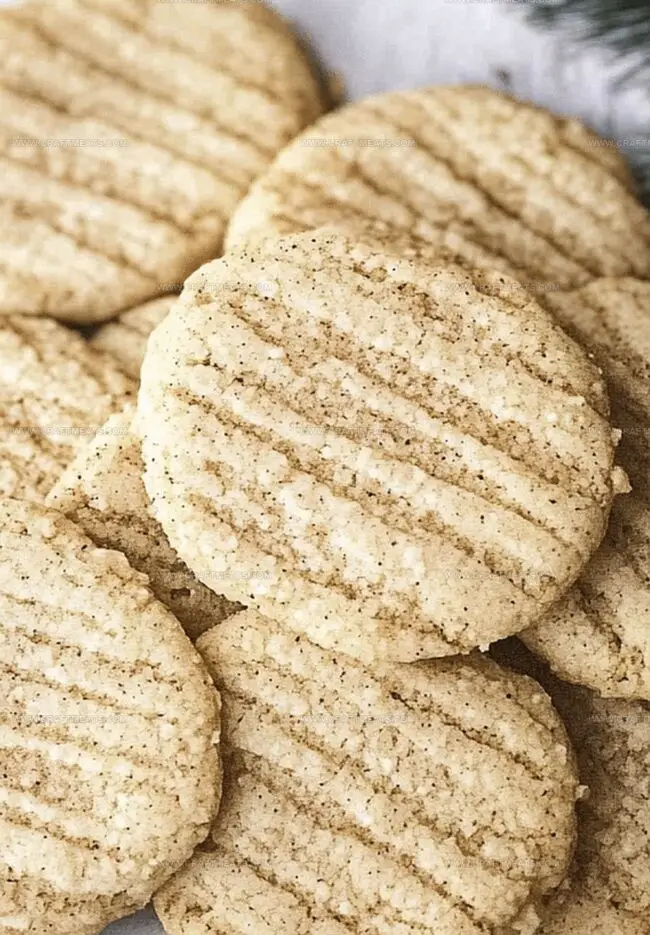
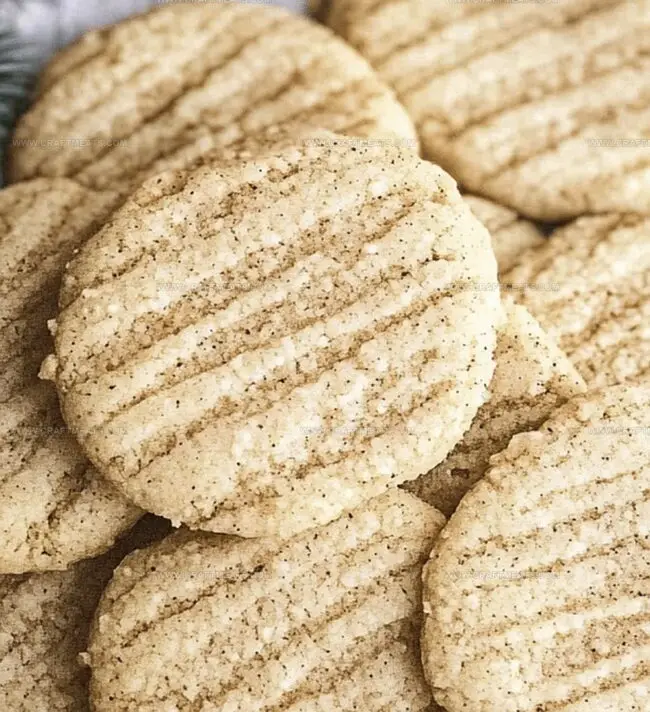
Soft, pillowy edges and a delicate dusting of nutmeg make these cookies a true seasonal delight.
Rich and indulgent, they promise to become an instant classic at your holiday celebrations.
Each cookie delivers a nostalgic taste of winter’s most beloved flavors.
Dive into this recipe and spread some delicious holiday magic.
Quick Recipe Overview
All You Need For Eggnog Cookies
For Dry Ingredients:For Wet Ingredients:For Glaze and Topping:What To Use For Eggnog Cookies
How To Make Eggnog Cookies Easily
Dive into a delightful baking adventure by blending flour with warm spices like cinnamon and nutmeg. Create a magical mixture that captures the essence of holiday cheer. The secret is in letting the ingredients dance together smoothly and gently.
Gently shape your dough into adorable round balls, placing them carefully on a baking sheet. Watch them transform in the oven, turning a beautiful golden color that whispers of cozy winter moments. Your kitchen will fill with an irresistible aroma that brings memories of family gatherings.
Once cooled, drape your cookies with a silky smooth glaze that adds a touch of winter wonderland magic. A light sprinkle of nutmeg creates a delicate crown, making each cookie a small work of art. These treats are more than just cookies – they’re edible memories of holiday joy.
Let these cookies rest on a beautiful plate, inviting friends and family to share in the warmth and love baked into every single bite. Perfect for holiday parties, quiet evenings by the fire, or as a sweet gift that speaks volumes about your care and creativity.
Tips To Improve Eggnog Cookies
Serving Eggnog Cookies The Fun Way
Keep Eggnog Cookies Soft
Print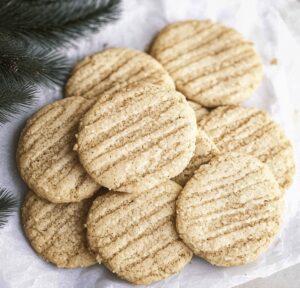
Festive Eggnog Cookies Recipe
- Total Time: 27 minutes
- Yield: 23 1x
Description
Homemade eggnog cookies blend holiday cheer with classic cookie comfort. Rich spices and creamy notes celebrate seasonal warmth, inviting you to savor sweet memories of festive gatherings.
Ingredients
- 1 large egg
- ¾ cup (170 g) unsalted butter, softened
- 1 cup (200 g) granulated sugar
- 2 ½ cups (315 g) all-purpose flour
- ½ cup (120 ml) eggnog
- 1 tsp baking powder
- 1 tsp vanilla extract
- ½ tsp ground cinnamon
- ½ tsp ground nutmeg
- ½ tsp salt
- 1 cup (120 g) powdered sugar
- ⅔ tbsps eggnog
- A pinch of nutmeg for garnish
Instructions
- Prepare Dry Mixture: Sift flour, baking powder, cinnamon, nutmeg, and salt into a mixing bowl, ensuring thorough blending of dry ingredients.
- Create Butter Base: Cream softened butter and granulated sugar until light and fluffy, achieving a pale, airy consistency that forms the cookie’s foundational texture.
- Combine Wet Components: Integrate egg, eggnog, and vanilla extract into the butter mixture, stirring until a smooth, homogeneous liquid develops with consistent texture.
- Form Dough: Gently incorporate dry ingredients into wet mixture, mixing minimally to prevent toughening, stopping precisely when ingredients are just combined and a cohesive dough emerges.
- Chill Dough: Refrigerate dough for 30 minutes, allowing ingredients to settle and solidify, which enhances cookie structure and facilitates easier shaping.
- Preheat and Prepare: Warm oven to 350F and line baking sheets with parchment paper, creating a non-stick surface for optimal cookie release.
- Shape and Arrange: Scoop uniform dough portions onto prepared baking sheets, positioning with adequate spacing to accommodate modest spreading during baking.
- Bake and Monitor: Bake cookies until edges turn golden and centers appear set, approximately 10-12 minutes, watching carefully to prevent over-browning.
- Cool and Finish: Transfer cookies to wire rack for complete cooling, then optionally drizzle with eggnog glaze and dust with a light nutmeg sprinkle for an elegant presentation.
Notes
- Prevent Dough Overworking: Mix ingredients just until combined to maintain a tender, soft cookie texture without developing tough gluten strands.
- Control Chilling Duration: Refrigerate dough between 30-60 minutes – too short won’t firm cookies, while excessive chilling can make dough crumbly and difficult to shape.
- Manage Baking Time Precisely: Watch cookies carefully during the 10-12 minute window; slight color variations can dramatically impact texture between soft and crisp results.
- Customize Dietary Alternatives: Substitute dairy eggnog with plant-based versions, use gluten-free flour blend, and select vegan butter to accommodate different dietary requirements without compromising flavor profile.
- Prep Time: 15 minutes
- Cook Time: 12 minutes
- Category: Desserts, Snacks
- Method: Baking
- Cuisine: American
Nutrition
- Serving Size: 23
- Calories: 160
- Sugar: 12 g
- Sodium: 90 mg
- Fat: 7 g
- Saturated Fat: 4 g
- Unsaturated Fat: 2 g
- Trans Fat: 0 g
- Carbohydrates: 22 g
- Fiber: 0 g
- Protein: 1 g
- Cholesterol: 20 mg
Liam O’Sullivan
Founder & Culinary Content Creator
Expertise
Recipe Development, Traditional Irish and European Cuisines, Food Styling and Photography, Culinary Education
Education
Dublin Institute of Technology (DIT) – School of Culinary Arts and Food Technology
Ballymaloe Cookery School
Isabella brings a global spark to the Craft Meats table. Born in Florence and trained at the Apicius International School of Hospitality, she blends classic Italian flavor with modern writing that’s easy to follow and hard to forget.
Her additional training at the Italian Chef Academy fueled her love for well-crafted dishes, especially ones that spotlight beautiful cuts of meat.
She’s a food writer with heart, and a deep love for storytelling through single recipes. Her goal? To help you cook with more confidence and a little more joy, no matter where you start.