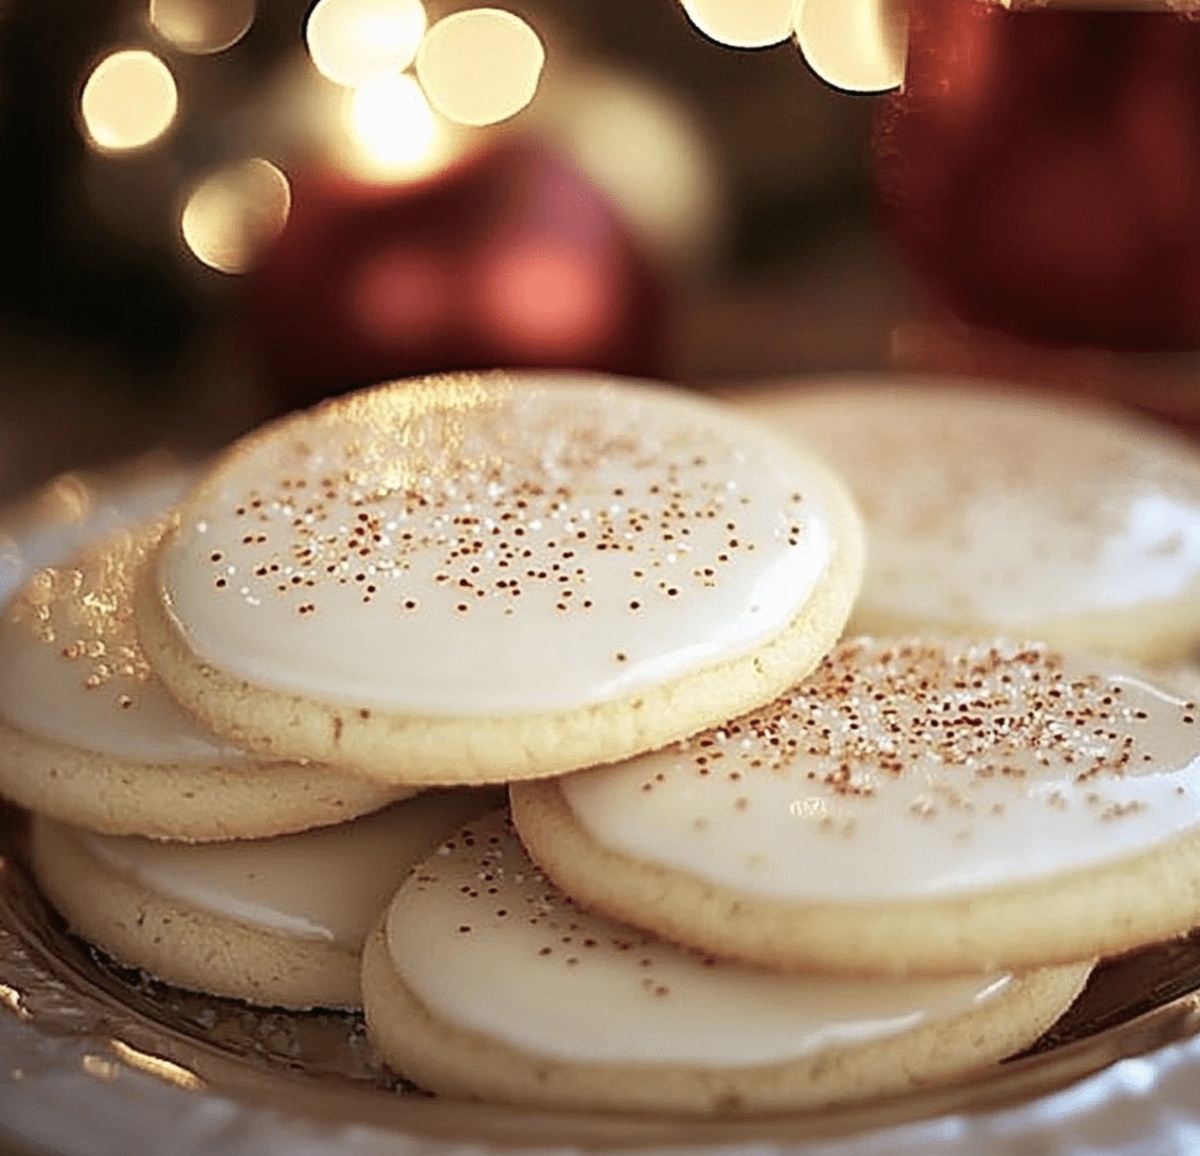
Buttery Eggnog Sugar Cookies Recipe That Melt in Your Mouth
Sweet holiday traditions spark joy, and these melt-in-your-mouth eggnog sugar cookies offer a delightful seasonal twist.
Creamy eggnog infuses classic sugar cookies with warm, nostalgic flavors that dance on your palate.
Soft, tender, and delicately spiced, these cookies capture the essence of winter celebrations.
Each bite promises a merry blend of traditional sugar cookie comfort and festive eggnog richness.
Butter, nutmeg, and a hint of rum extract create a magical combination that feels like a cozy winter embrace.
Bakers looking to impress their loved ones will find these cookies are the perfect addition to any holiday dessert spread.
Dive into this recipe and spread some delicious seasonal cheer.
Quick Recipe Overview
What Goes Into Melt-In-Your-Mouth Eggnog Sugar Cookies
For Base and Binding:For Dry Ingredients:For Flavor Enhancers:For Optional Glaze:Tools That Make Melt-In-Your-Mouth Eggnog Sugar Cookies Easy
Quick Steps To Bake Melt-In-Your-Mouth Eggnog Sugar Cookies
Whip softened butter and sugar until they transform into a cloud-like mixture. Blend in rich eggnog, warm vanilla, and a sprinkle of nutmeg, creating a fragrant base that hints at holiday cheer.
Gently combine flour, baking powder, and a pinch of salt in a separate bowl. Slowly marry these dry ingredients with the creamy wet mixture, forming a tender dough that promises delicious results.
Warm your oven to a cozy 350°F. Craft small dough balls and nestle them on a parchment-lined baking sheet. Tenderly press each cookie to create a uniform shape. Bake until edges turn a delicate golden hue, around 8-10 minutes. Let cookies rest briefly before transferring to a cooling rack.
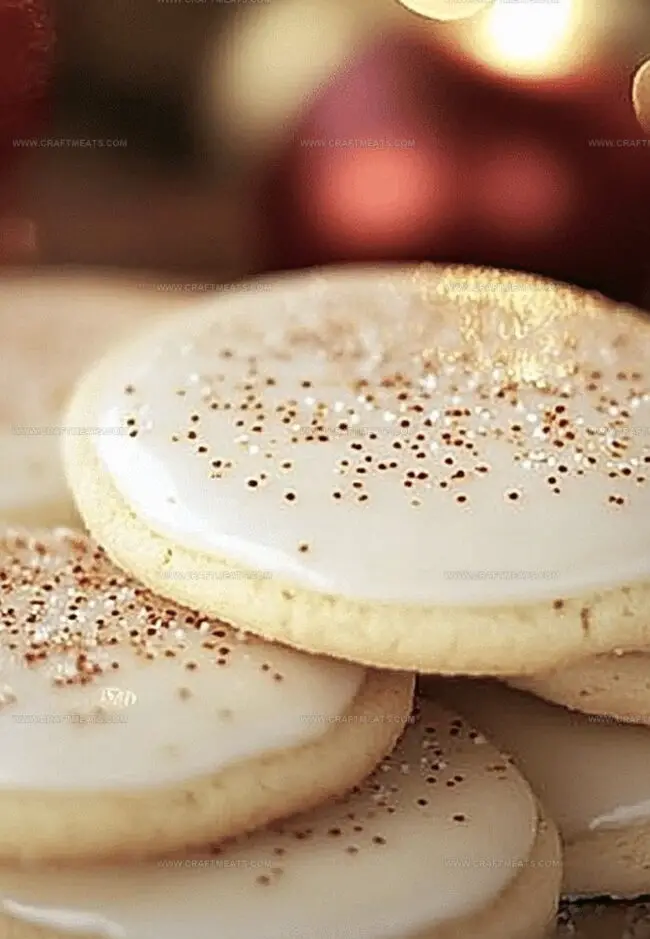
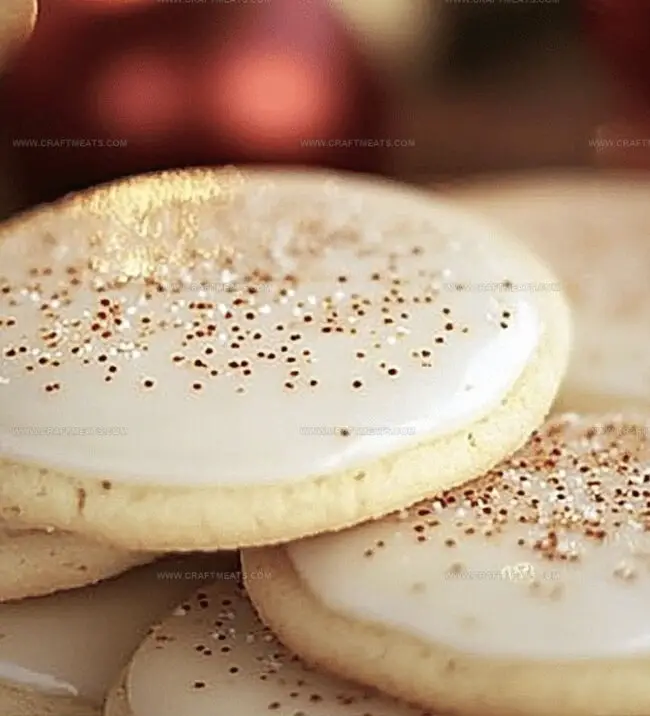
Craft a silky glaze by whisking powdered sugar with eggnog and a whisper of nutmeg. Drizzle this elegant coating over completely cooled cookies, allowing it to set and create a festive shimmer.
Tips To Nail Melt-In-Your-Mouth Eggnog Sugar Cookies
Best Way To Serve Melt-In-Your-Mouth Eggnog Sugar Cookies
Keep Melt-In-Your-Mouth Eggnog Sugar Cookies Soft
Print
Festive Eggnog Sugar Cookies
- Total Time: 30 minutes
- Yield: 23 1x
Description
Festive eggnog sugar cookies delight winter palates with rich holiday flavor. Creamy textures and subtle nutmeg notes invite celebrations where friends and families create sweet memories together.
Ingredients
- 1 cup (227 g / 8 oz) unsalted butter, softened
- 1 ½ cups (300 g) granulated sugar
- 3 cups (375 g) all-purpose flour
- ½ cup (120 ml / 4 fl oz) eggnog
- 1 large egg
- 1 tsp vanilla extract
- 1 tsp ground nutmeg
- 1 tsp baking powder
- ½ tsp salt
- 1 cup (120 g) powdered sugar
- ⅔ tbsps eggnog
- ¼ tsp ground nutmeg
- ¼ tsp rum extract (optional)
Instructions
- Preparation: Cream softened butter and sugar until light and fluffy. Blend in egg, eggnog, vanilla extract, and ground nutmeg until the mixture becomes smooth and aromatic.
- Dry Ingredients: Sift flour, baking powder, and salt together. Gently incorporate dry ingredients into the wet mixture, stirring until a cohesive dough forms.
- Shaping and Baking: Preheat oven to 350F (175C) and line a baking sheet with parchment paper. Roll dough into 1-inch balls and place on the sheet with adequate spacing. Flatten each cookie gently using a glass or fingertips to create uniform discs.
- Baking Process: Bake for 8-10 minutes, watching for delicate golden edges. Allow cookies to rest briefly on the baking sheet before transferring to a wire rack to cool completely.
- Finishing Touch: Craft a glaze by whisking powdered sugar, eggnog, ground nutmeg, and rum extract. Drizzle elegantly over cooled cookies, allowing the glaze to set and create a festive, glossy appearance.
Notes
- Butter Softening Strategy: Allow butter to reach room temperature for 30-45 minutes before mixing, ensuring smooth, fluffy incorporation without over-beating.
- Precise Dough Handling: Avoid overworking the dough to prevent tough cookies; mix just until ingredients combine for tender, delicate texture.
- Gluten-Free Adaptation: Substitute all-purpose flour with a 1:1 gluten-free baking blend, maintaining the same measurement for celiac-friendly version.
- Baking Time Watch: Check cookies at 8 minutes; golden edges indicate perfect doneness, preventing dry or burnt results. Remove immediately to preserve soft, melt-in-your-mouth consistency.
- Prep Time: 10 minutes
- Cook Time: 20 minutes
- Category: Desserts, Snacks
- Method: Baking
- Cuisine: American
Nutrition
- Serving Size: 23
- Calories: 165
- Sugar: 12 g
- Sodium: 40 mg
- Fat: 7 g
- Saturated Fat: 4 g
- Unsaturated Fat: 2 g
- Trans Fat: 0 g
- Carbohydrates: 23 g
- Fiber: 0.5 g
- Protein: 2 g
- Cholesterol: 25 mg


Liam O’Sullivan
Founder & Culinary Content Creator
Expertise
Recipe Development, Traditional Irish and European Cuisines, Food Styling and Photography, Culinary Education
Education
Dublin Institute of Technology (DIT) – School of Culinary Arts and Food Technology
Ballymaloe Cookery School
Isabella brings a global spark to the Craft Meats table. Born in Florence and trained at the Apicius International School of Hospitality, she blends classic Italian flavor with modern writing that’s easy to follow and hard to forget.
Her additional training at the Italian Chef Academy fueled her love for well-crafted dishes, especially ones that spotlight beautiful cuts of meat.
She’s a food writer with heart, and a deep love for storytelling through single recipes. Her goal? To help you cook with more confidence and a little more joy, no matter where you start.