
Holiday Sugar Cookie Pizza Recipe for Festive Joy
Sweet holiday sugar cookie pizza brings a playful twist to traditional desserts, blending crispy and soft textures in one delightful creation.
Imagine a giant cookie upgradeed into a canvas of festive fun and delectable possibilities.
Soft dough spreads across a pan like an edible masterpiece waiting to be decorated.
Colorful sprinkles and creamy frosting upgrade this treat into a celebration of seasonal joy.
Childhood memories merge with contemporary baking techniques, creating a dessert that sparks immediate excitement and wonder.
Rich buttery notes complement the sugary base, promising a mouthwatering experience for everyone gathered around the table.
Each slice promises pure happiness and a moment of delicious connection.
You can want to dive right into this magical culinary adventure that turns an ordinary cookie into an extraordinary celebration.
Festive Holiday Sugar Cookie Pizza Overview
Ingredients for Festive Holiday Sugar Cookie Pizza
Cookie Base:Decorative Toppings:Baking Essentials:Steps to Make Festive Holiday Sugar Cookie Pizza
Step 1: Prepare Baking Workspace
Gather all your ingredients and tools. Preheat the oven to the temperature specified on the sugar cookie dough package. Grab a baking sheet and line it with parchment paper or a silicone baking mat to prevent sticking and make cleanup a breeze.
Step 2: Shape Cookie Pizza Base
Carefully unroll the sugar cookie dough onto the prepared baking sheet. Use your hands or a rolling pin to transform the dough into a circular pizza shape, aiming for about 12 inches in diameter. Smooth out the surface to ensure:Step 3: Bake the Cookie Crust
Slide the shaped dough into the preheated oven. Bake according to package instructions, typically 10 to 15 minutes. Look for these golden signs of perfection:Step 4: Cool the Cookie Base
Remove the baking sheet from the oven. Transfer the cookie pizza to a wire cooling rack. Allow it to cool completely – patience is key! This prevents the icing from melting when you decorate.
Step 5: Create Festive Decorations
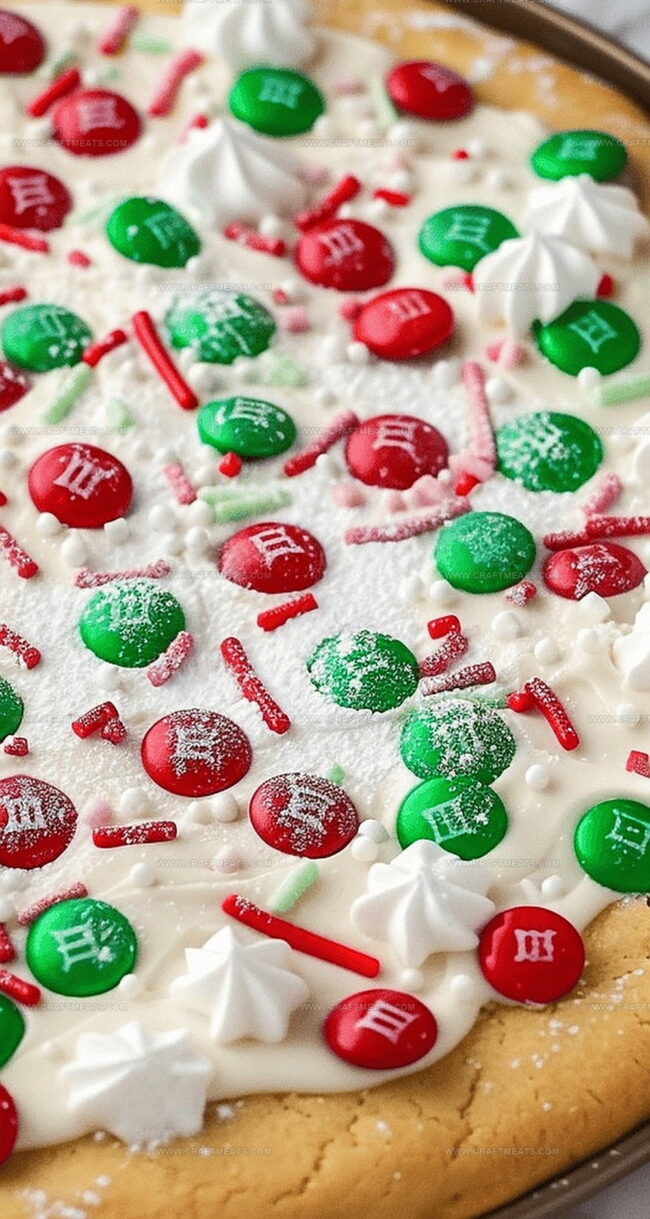
Once the cookie base is totally cool, grab your decorating supplies. Spread white vanilla icing evenly across the surface using a spatula or knife. Top with festive decorations:Step 6: Serve and Enjoy
Slice your cookie pizza into wedges like a traditional pizza. Serve immediately.
Expert Tips for Festive Holiday Sugar Cookie Pizza
Storing and Reheating Sugar Cookie Pizza
Best Pairings for Sugar Cookie Pizza
Creative Twists on Sugar Cookie Pizza
FAQs About Sugar Cookie Pizza
Yes! Homemade dough works perfectly. Just ensure it’s spreadable and roll it into a 12-inch circle for the best results.
Store it in an airtight container at room temperature for 3-4 days. Keep it away from direct sunlight and humidity to maintain its texture.
Absolutely! You can bake the cookie base a day before and decorate it just before serving. This makes party preparation much easier and less stressful.
Kids love helping! Let them sprinkle candies, add colorful sprinkles, or create fun patterns with the M&M’s. It’s a great family activity that encourages creativity.
Print
Festive Holiday Sugar Cookie Pizza Delight Recipe
- Total Time: 25 minutes
- Yield: 12 1x
Description
Magical holiday sugar cookie pizza brings sweet joy to gatherings, spreading cheer with its delightful blend of sugary crust and colorful toppings. Festive flavors dance across each slice, inviting everyone to savor the season’s most playful dessert.
Ingredients
Main Ingredients:
- 1 package (16.5 ounces / 467 grams) refrigerated sugar cookie dough
- 1 tub (16 ounces / 454 grams) white vanilla icing
Candy Toppings:
- 0.75 cup (180 milliliters) red and green M&M’s chocolate candies
- 0.25 cup (60 milliliters) crushed starlight peppermints
Decorative Sprinkles:
- 2 tablespoons holiday-colored sprinkles
- Whole starlight peppermints (for garnish)
Instructions
- Preheat the oven according to the sugar cookie dough package instructions and prepare a baking sheet with parchment paper or a silicone mat to prevent sticking.
- Gently unroll the sugar cookie dough onto the prepared baking sheet, carefully stretching and shaping it into a circular pizza-like form approximately 12 inches wide, maintaining consistent thickness for even baking.
- Transfer the shaped dough to the preheated oven and bake until the edges turn a golden hue and the center appears fully set, typically requiring 10-15 minutes of cooking time.
- Remove the baked cookie base from the oven and allow it to cool completely on a wire rack, ensuring the surface reaches room temperature before decorating.
- Once cooled, apply a smooth, even layer of white vanilla icing across the entire cookie surface, creating a pristine canvas for decoration.
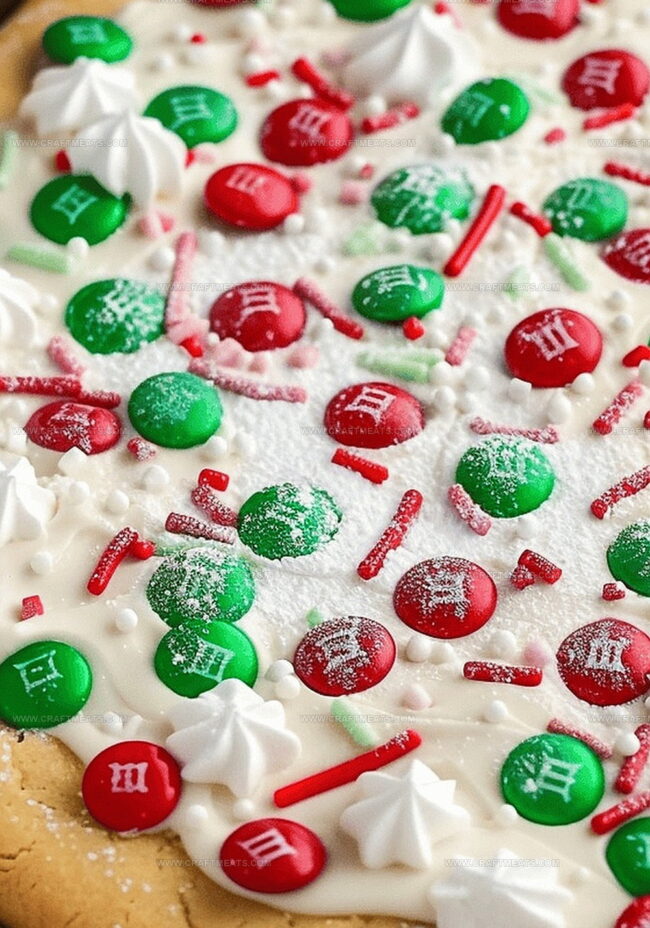
- Artfully distribute M&M’s chocolates, holiday-themed sprinkles, and crushed peppermints over the icing, creating a vibrant and festive pattern.
- Strategically place whole peppermints as elegant garnishes to enhance the visual appeal of the holiday dessert.
Notes
- Prep your workspace with parchment paper for effortless baking and cleanup.
- Carefully roll the dough into a perfect 12-inch round to ensure even baking.
- Watch the cookie closely while baking to achieve golden edges without burning.
- Allow the cookie base to cool completely before adding icing to prevent melting.
- Create a festive look by mixing holiday-themed candies and sprinkles for colorful decoration.
- Store leftovers in an airtight container to maintain the cookie’s softness and flavor.
- Prep Time: 10 minutes
- Cook Time: 15 minutes
- Category: Desserts, Snacks
- Method: Baking
- Cuisine: American
Nutrition
- Serving Size: 12
- Calories: 300
- Sugar: 30 g
- Sodium: 250 mg
- Fat: 12 g
- Saturated Fat: 5 g
- Unsaturated Fat: 7 g
- Trans Fat: 0 g
- Carbohydrates: 42 g
- Fiber: 1 g
- Protein: 2 g
- Cholesterol: 20 mg
Isabella Rossi
Founder & Culinary Content Creator
Expertise
Recipe Development, Traditional Irish and European Cuisines, Food Styling and Photography, Culinary Education
Education
Dublin Institute of Technology (DIT) – School of Culinary Arts and Food Technology
Ballymaloe Cookery School
Liam is the voice behind many of Craft Meats’ most flavorful features. With roots in Dublin’s smoky barbecue scene and a culinary degree from the Dublin Institute of Technology, he brings time-tested cooking techniques to life.
His training at Ballymaloe Cookery School sharpened his farm-to-table approach, giving him a deep respect for every ingredient he writes about.
He’s not about overcomplicating the process, just helping you cook meat that’s worth talking about. When he’s not writing or grilling, he’s out foraging or nerding out on regional spice blends to add to his next recipe.