Jolly Minty Snowball Cookies Recipe: Sweet Winter Delights
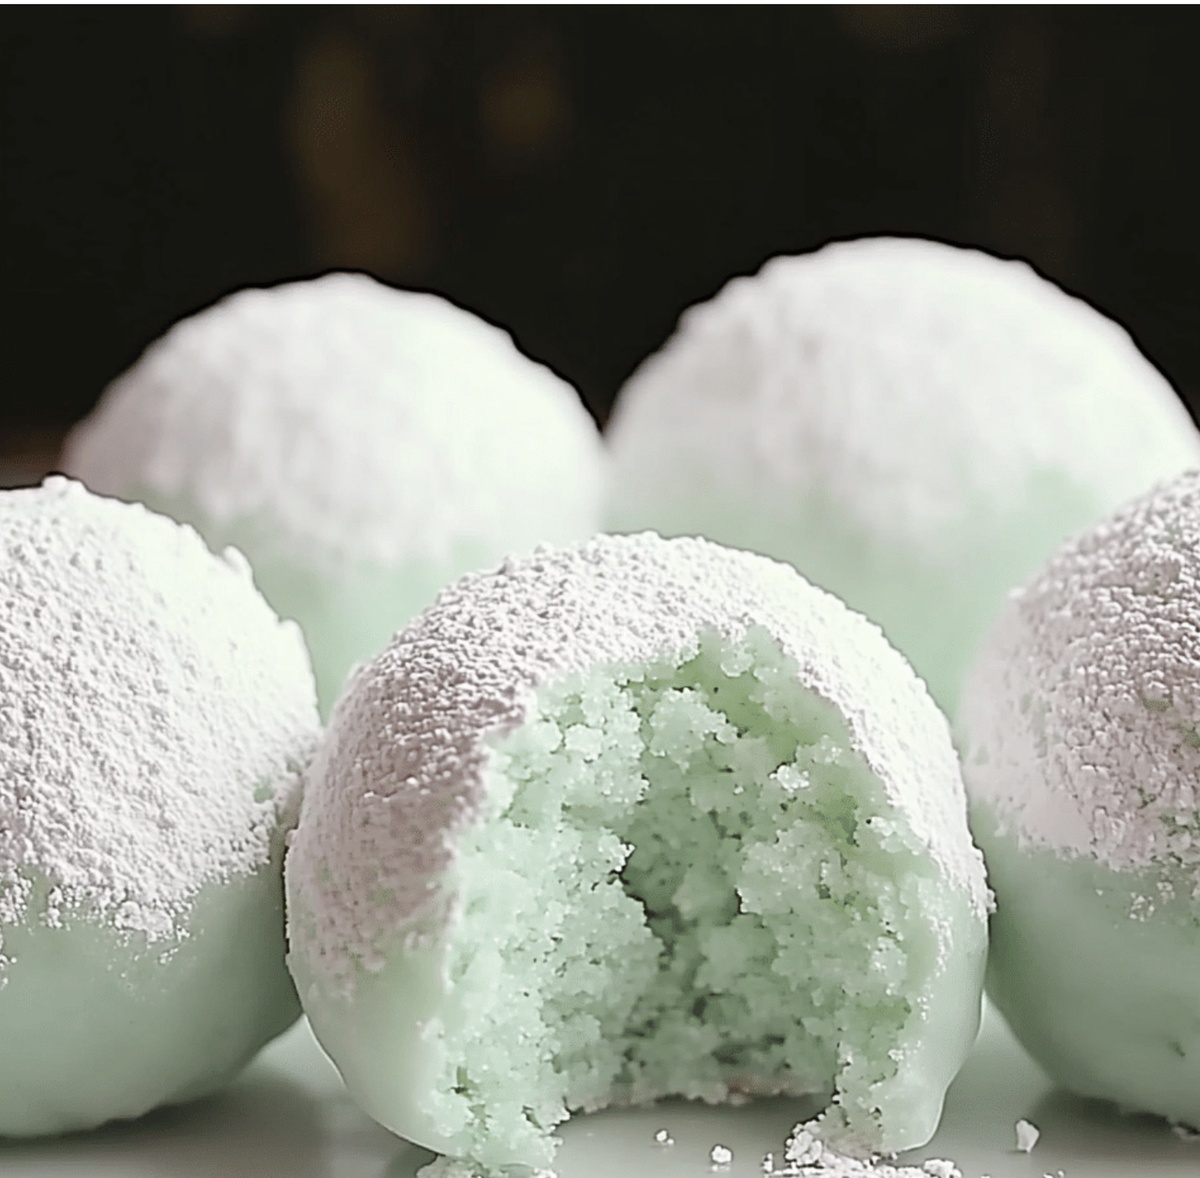
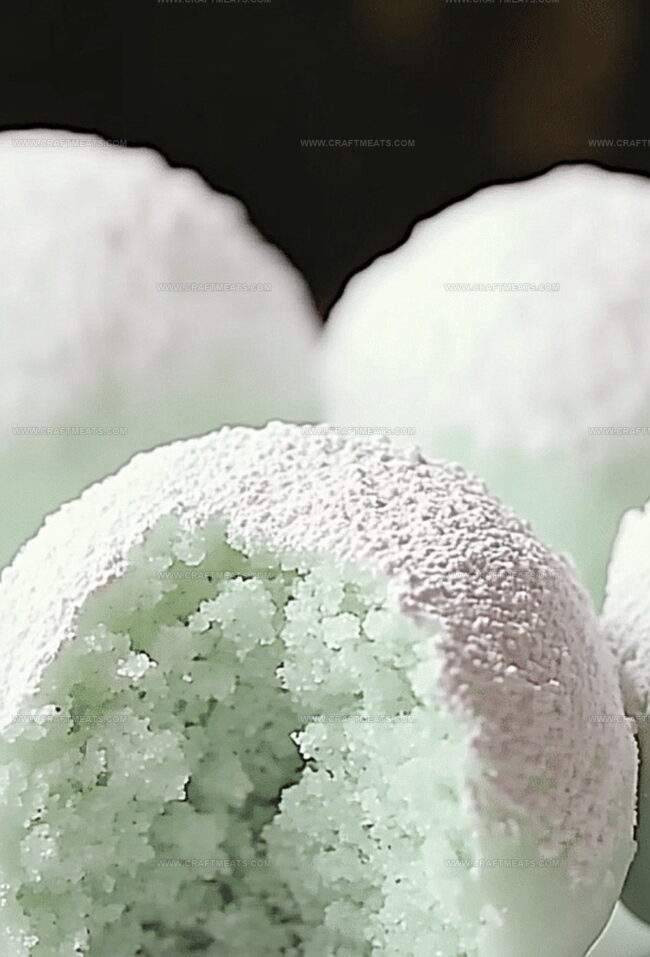
Soft, powdery, and delightfully crumbly, these minty snowball cookies dance with festive winter charm.
Winter baking brings pure joy when you create these delectable minty snowball cookies that melt in your mouth.
Dusted with a generous coating of confectioners’ sugar, each bite delivers a cool, refreshing mint sensation.
Peppermint lovers will adore the subtle yet vibrant flavor woven through these tender, buttery treats.
These cookies offer a perfect balance of sweetness and mint that transforms an ordinary dessert into a memorable winter indulgence.
Baking these snowball cookies fills your kitchen with an irresistible aroma that promises delicious memories.
Serve them at holiday gatherings or enjoy them with a warm cup of cocoa for a truly magical winter experience.
Quick Recipe Overview
Main Ingredients In Minty Snowball Cookies
For The Base:For The Structure:For The Mix-Ins:Baking Tools For Minty Snowball Cookies
Steps To Shape Minty Snowball Cookies
These delightful minty bites bring festive cheer with a burst of peppermint and chocolate, perfect for winter gatherings or cozy afternoon treats.
Blend softened butter with powdered sugar until silky smooth. Add vanilla and peppermint extracts for a refreshing twist. Gently incorporate flour and mix in mini chocolate chips for delicious surprises in every bite.
Create small, uniform balls by rolling dough between your palms. Arrange them carefully on a lined baking tray, giving each cookie space to breathe.
Place cookies in a warm oven and watch them transform. Remove when edges look set but not darkened, letting them rest briefly to stabilize their delicate structure.
While cookies are still warm, lovingly roll them in powdered sugar. For extra festivity, sprinkle in colored sanding sugar. Once cooled, give them a second generous sugar dusting for a stunning winter wonderland effect.
Keep these delectable treats in an airtight container, ready to delight friends and family for up to a week.
Tips For Perfect Minty Snowball Cookies
How To Serve Minty Snowball Cookies With Fun
Storing Minty Snowball Cookies Made Simple
Print
Festive Minty Snowball Cookies Recipe
- Total Time: 27 minutes
- Yield: 23 1x
Description
Delightful Minty Snowball Cookies melt in your mouth with festive winter charm. Butter-rich dough combines peppermint and powdered sugar, creating delectable holiday treats you cannot resist.
Ingredients
- 1 cup (227 g/8 oz) unsalted butter, softened
- 2 cups (240 g/8.5 oz) all-purpose flour
- ¾ cup (128 g/4.5 oz) mini chocolate chips or finely chopped dark chocolate
- ½ cup (60 g/2 oz) powdered sugar (plus extra for coating)
- 1 tsp vanilla extract
- ½ tsp peppermint extract
- ¼ tsp salt
- Green or red sanding sugar (optional, for a festive touch)
Instructions
- Preheat Preparation: Calibrate oven to 350°F and line baking sheet with parchment paper, creating an ideal baking foundation.
- Base Mixture: Cream butter and powdered sugar until fluffy, incorporating vanilla and peppermint extracts to develop rich, aromatic undertones.
- Dough Assembly: Fold flour and salt into the butter mixture, gently integrating mini chocolate chips to distribute evenly throughout the dough without overworking.
- Cookie Formation: Shape dough into uniform 1-inch spheres, arranging them methodically across the prepared baking sheet with modest spacing.
- Baking Process: Slide cookie sheet into preheated oven, baking for 10-12 minutes until edges are set but not browned, monitoring carefully to prevent overcooking.
- Initial Sugar Coating: While cookies remain warm, delicately envelop each in powdered sugar, optionally blending in green or red sanding sugar for a festive touch.
- Cooling and Final Presentation: Allow cookies to cool completely, then apply a second generous dusting of powdered sugar to create a pristine, elegant finish.
- Storage: Preserve these delicate treats in an airtight container at room temperature, maintaining optimal freshness for up to one week.
Notes
- Control Mixing Texture: Avoid overmixing the dough to prevent tough, dense cookies; mix just until ingredients combine for tender, melt-in-your-mouth results.
- Manage Chocolate Distribution: Fold mini chocolate chips gently to prevent uneven spreading, ensuring each bite contains a perfect chocolate accent.
- Modify Sugar Coating Technique: Apply first powdered sugar coating while cookies are warm for better adherence, then add a second layer after complete cooling for a pristine, festive appearance.
- Accommodate Dietary Needs: Substitute gluten-free flour for traditional flour to make the recipe celiac-friendly, and use dairy-free butter alternatives for vegan variations without compromising the cookie’s delicate texture.
- Prep Time: 15 minutes
- Cook Time: 12 minutes
- Category: Desserts, Snacks
- Method: Baking
- Cuisine: American
Nutrition
- Serving Size: 23
- Calories: 155
- Sugar: 4 g
- Sodium: 25 mg
- Fat: 10 g
- Saturated Fat: 6 g
- Unsaturated Fat: 4 g
- Trans Fat: 0 g
- Carbohydrates: 17 g
- Fiber: 1 g
- Protein: 2 g
- Cholesterol: 30 mg
Liam O’Sullivan
Founder & Culinary Content Creator
Expertise
Recipe Development, Traditional Irish and European Cuisines, Food Styling and Photography, Culinary Education
Education
Dublin Institute of Technology (DIT) – School of Culinary Arts and Food Technology
Ballymaloe Cookery School
Isabella brings a global spark to the Craft Meats table. Born in Florence and trained at the Apicius International School of Hospitality, she blends classic Italian flavor with modern writing that’s easy to follow and hard to forget.
Her additional training at the Italian Chef Academy fueled her love for well-crafted dishes, especially ones that spotlight beautiful cuts of meat.
She’s a food writer with heart, and a deep love for storytelling through single recipes. Her goal? To help you cook with more confidence and a little more joy, no matter where you start.