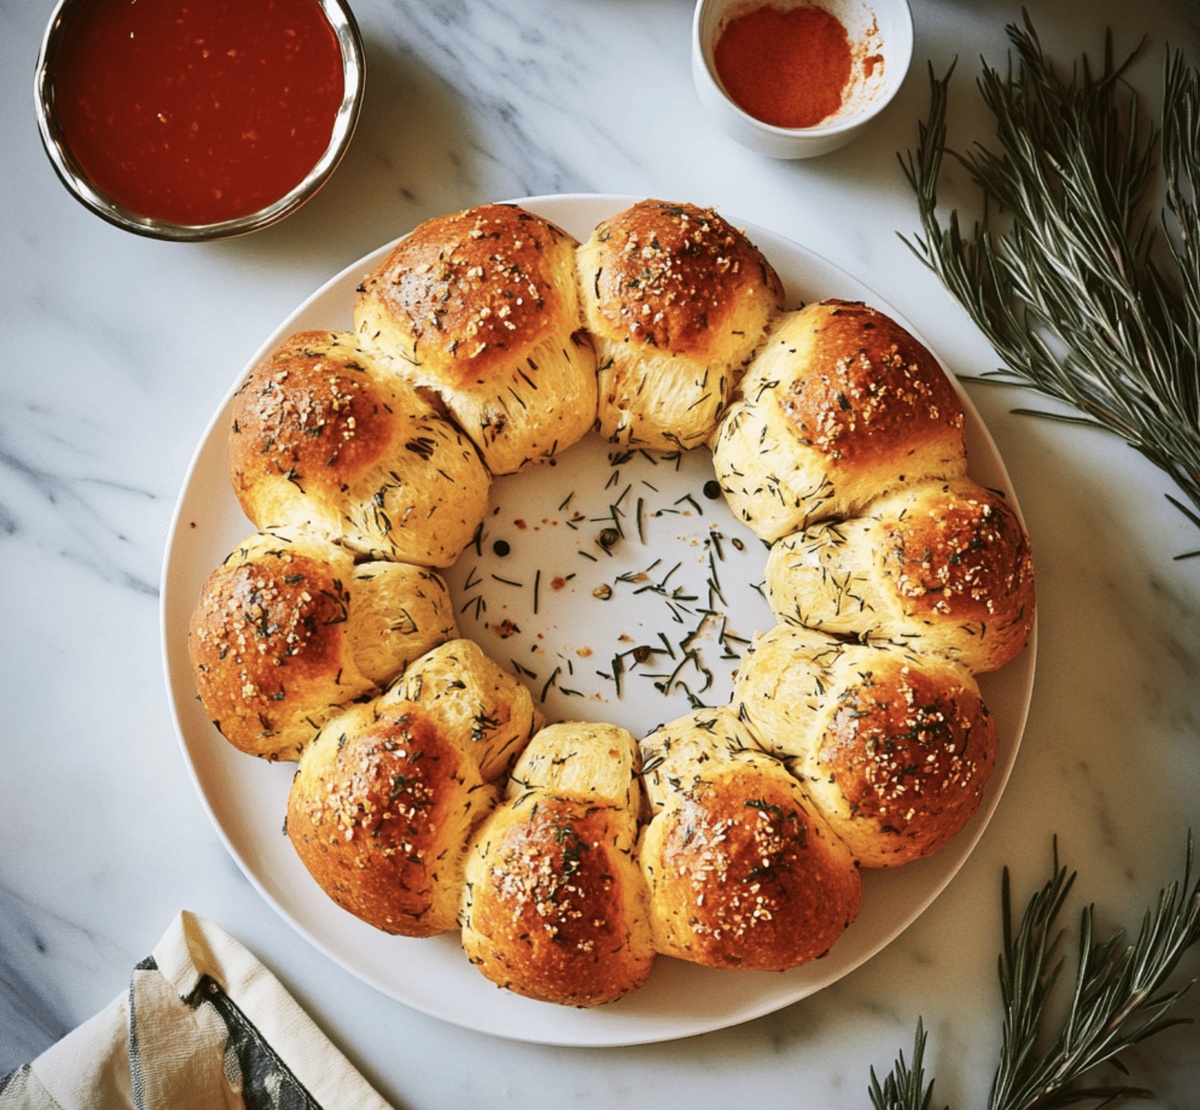
Pull-Apart Garlic Bread Wreath Recipe for Sharing
Soft, pillowy dough meets mouthwatering garlic pull apart bread wreath in this irresistible crowd-pleaser that transforms an ordinary meal into a spectacular gathering.
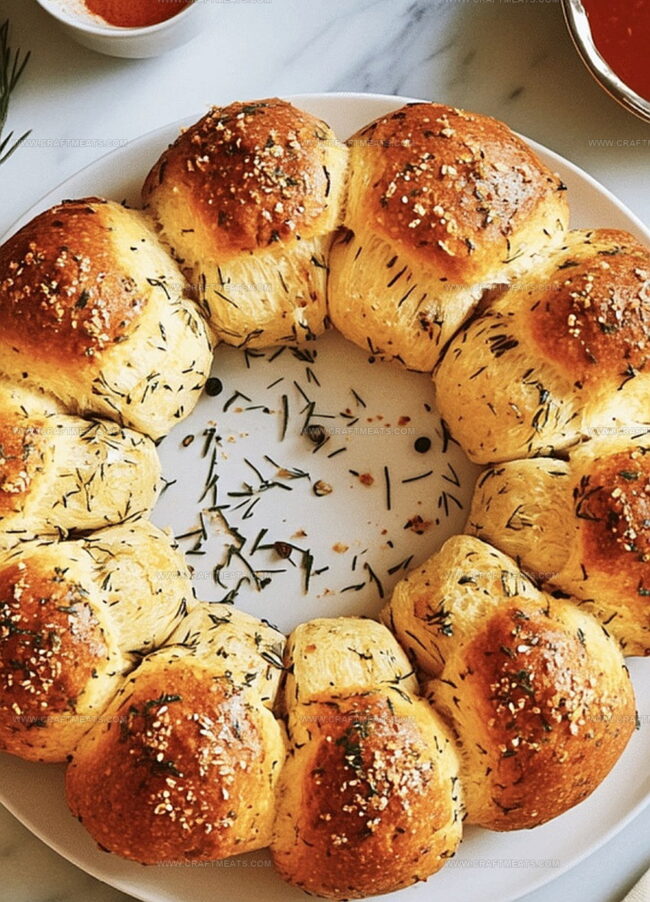
Golden, buttery layers promise an explosion of herby, garlicky goodness with every tear and share.
Each slice promises a delectable blend of crispy edges and tender interior, infused with robust garlic and fragrant herbs.
The wreath design adds a stunning visual element that makes this bread not just a side dish, but a centerpiece.
Perfectly seasoned and beautifully shaped, this bread brings warmth and comfort to any table.
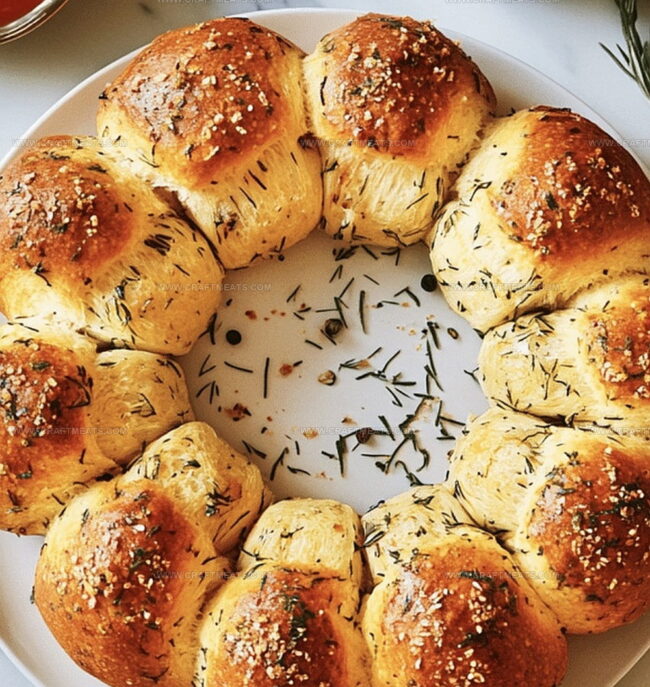
Dripping with melted butter and sprinkled with fresh herbs, you’ll want to make this recipe again and again.
Dive into this delicious creation that’s sure to become a new favorite in your kitchen.
Quick Recipe Overview
What Goes In Pull Apart Garlic Bread Wreath
For Bread Base:For Flavor Enhancers:For Finishing Touches:Tools You’ll Need For Pull Apart Garlic Bread Wreath
How To Prepare Pull Apart Garlic Bread Wreath
Warm water springs the yeast to life, transforming sleepy grains into a bubbly, active mixture that will make our bread irresistibly fluffy.
Flour and salt welcome the energetic yeast and smooth olive oil, creating a soft, pliable dough that begs to be kneaded into submission.
Nestled in a cozy bowl, the dough relaxes and grows, doubling in size as it prepares for its delicious destiny.
Melted butter dances with garlic, parsley, and herbs, creating a mouthwatering coating that will make every bread bite sing with flavor.
Gently roll dough into adorable little balls, each one luxuriously dunked in the garlicky butter mixture. Arrange them in a beautiful circular formation that promises deliciousness.
The oven works its magic, turning pale dough into a golden-brown masterpiece with crispy edges and soft, pillowy centers.
A sprinkle of Parmesan and fresh parsley crowns this culinary creation, ready to be torn apart and devoured with pure joy.
Tips To Make Pull Apart Garlic Bread Wreath Even Better
Serving Pull Apart Garlic Bread Wreath At The Table
Store Pull Apart Garlic Bread Wreath So It Stays Soft
Keep your pull apart garlic bread wreath fresh and delicious with these clever tips.
Print
Festive Pull Apart Garlic Bread Wreath
- Total Time: 2 hours
- Yield: 7 1x
Description
Garlic bread wreath brings festive cheer to holiday tables with rich, herbed goodness. Warm, golden layers pull apart easily, inviting guests to share delicious moments together.
Ingredients
- 3 cups (375 g) all-purpose flour
- 2 ¼ tsps (1 packet) active dry yeast
- 1 cup (240 ml) warm water (110°F/45°C)
- 2 tbsps olive oil
- ¼ cup (60 g) unsalted butter, melted
- 2 cloves garlic, minced
- 2 tbsps fresh parsley, chopped
- 1 tbsp granulated sugar
- 1 tsp salt
- 1 tsp dried Italian seasoning
- Grated Parmesan cheese (optional)
- Extra parsley for decoration (optional)
Instructions
- Yeast Activation: Whisk yeast with warm water and sugar, allowing the mixture to become frothy and bubbly for 7-8 minutes.
- Dough Preparation: Blend flour and salt in a large mixing bowl. Incorporate activated yeast mixture and olive oil, kneading into a smooth, elastic dough. Work the dough for 10 minutes by hand or 5-6 minutes using a stand mixer with a dough hook.
- Dough Rising: Transfer kneaded dough to a greased bowl, cover with a damp cloth, and place in a warm location. Let the dough rise and double in volume for 1-1.5 hours.
- Garlic Butter Creation: Combine melted butter, minced garlic, chopped parsley, and Italian seasoning into a fragrant mixture.
- Dough Shaping and Coating: Preheat oven to 375F (190C). Prepare a parchment-lined baking sheet. Divide risen dough into 20-25 equal portions, generously coating each ball with herbed garlic butter.
- Wreath Assembly: Arrange butter-coated dough balls in a circular wreath formation on the baking sheet, leaving slight spacing between pieces to allow for expansion.
- Baking and Finishing: Bake for 22-25 minutes until the bread achieves a uniform golden-brown color. Verify doneness by tapping – it should sound hollow. Brush warm bread with remaining garlic butter, then sprinkle with Parmesan cheese and fresh parsley.
- Serving: Present immediately with marinara sauce or herb-infused butter for dipping, creating an irresistible communal dining experience.
Notes
- Activate Yeast Carefully: Use lukewarm water between 100-110°F to ensure proper yeast activation without killing the live cultures. Cold or hot water can prevent fermentation.
- Knead with Precision: Develop gluten by kneading until the dough becomes smooth and elastic. Proper kneading determines the bread’s texture and rise, so take time to work the dough thoroughly.
- Control Proofing Environment: Place dough in a warm, draft-free area around 75-80°F for optimal rising. Cover with a damp cloth to prevent surface drying and maintain moisture during fermentation.
- Butter Distribution Technique: Ensure even garlic butter coating by rolling each dough ball completely, allowing maximum flavor absorption and consistent browning during baking.
- Prep Time: 20 minutes
- Cook Time: 25 minutes
- Category: Appetizer, Snacks
- Method: Baking
- Cuisine: Italian
Nutrition
- Serving Size: 7
- Calories: 230
- Sugar: 1 g
- Sodium: 320 mg
- Fat: 10 g
- Saturated Fat: 5 g
- Unsaturated Fat: 4.5 g
- Trans Fat: 0 g
- Carbohydrates: 30 g
- Fiber: 1 g
- Protein: 5 g
- Cholesterol: 15 mg
Liam O’Sullivan
Founder & Culinary Content Creator
Expertise
Recipe Development, Traditional Irish and European Cuisines, Food Styling and Photography, Culinary Education
Education
Dublin Institute of Technology (DIT) – School of Culinary Arts and Food Technology
Ballymaloe Cookery School
Isabella brings a global spark to the Craft Meats table. Born in Florence and trained at the Apicius International School of Hospitality, she blends classic Italian flavor with modern writing that’s easy to follow and hard to forget.
Her additional training at the Italian Chef Academy fueled her love for well-crafted dishes, especially ones that spotlight beautiful cuts of meat.
She’s a food writer with heart, and a deep love for storytelling through single recipes. Her goal? To help you cook with more confidence and a little more joy, no matter where you start.