
Jolly Santa Hat Brownie Bites Recipe for Holiday Fun
Chocolate lovers swoon over these adorable santa hat brownie bites that pack a festive punch of deliciousness.
Decadent brownies become the perfect canvas for a whimsical holiday treat.
Each bite-sized morsel delivers a delightful combination of rich chocolate and creamy frosting.
Crafted with simple ingredients, these little desserts bring serious cheer to any seasonal gathering.
Decorative and playful, the santa hat design transforms ordinary brownies into something magical.
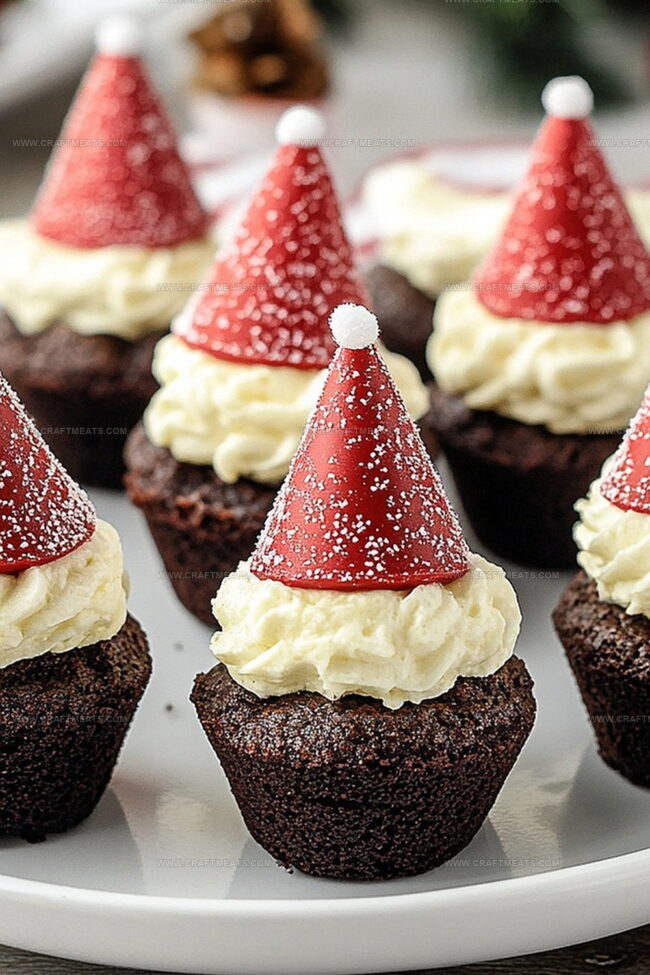
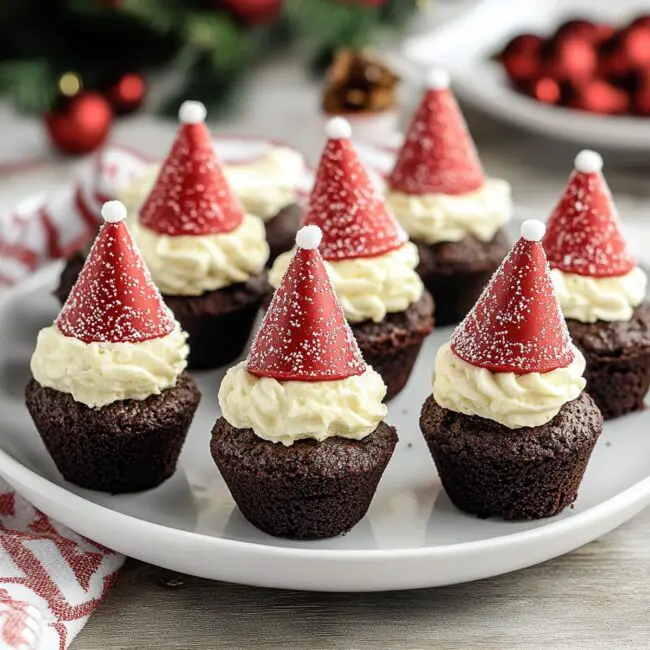
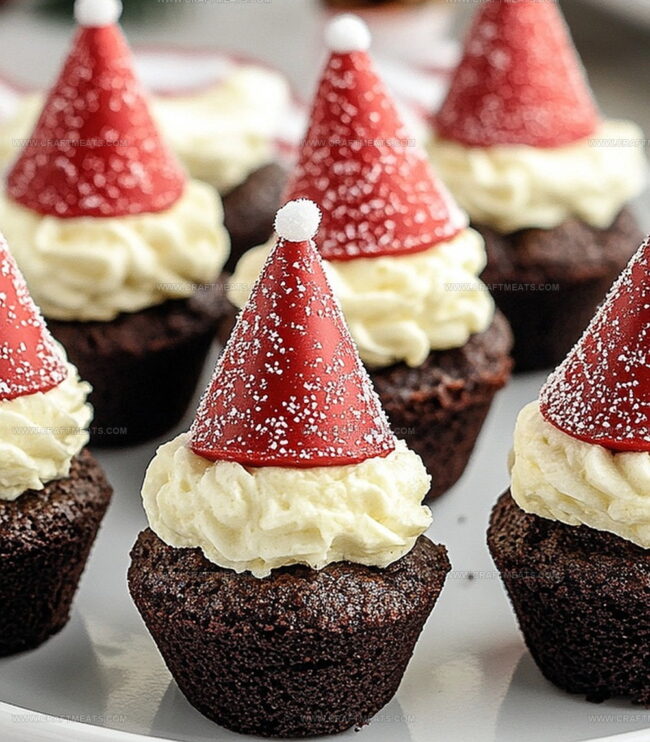
Topped with a fluffy white frosting and bright red candy accent, these miniature treats will spark joy at every holiday party.
Dive into this delightful recipe and watch your dessert table come alive with Christmas spirit.
Quick Recipe Overview
Santa Hat Brownie Bites Ingredient Guide
For The Brownie Base:For The Topping:For Santa Hat Decoration:Tools To Make Santa Hat Brownie Bites Cute And Festive
Steps To Build Santa Hat Brownie Bites For Parties
Whip up a delightful chocolatey foundation using melted butter, sugar, eggs, and classic cocoa powder. Blend ingredients gently in a mixing bowl, ensuring a smooth and rich texture. Pour batter into mini muffin tins, filling each cup about two-thirds full.
Slide the muffin tin into a preheated oven. Bake until the brownies develop a perfect, slightly crackly top and a toothpick comes out clean. Allow the mini brownies to cool completely, creating a sturdy canvas for the festive topping.
Grab chilled heavy cream and transform it into fluffy white peaks by whisking with a touch of powdered sugar. This cloud-like cream will become the snow-inspired decoration for your brownie bites.
Place a fresh, vibrant strawberry atop each brownie, creating a playful holiday character. Pipe delicate cream around the strawberry’s base and add a small cream puff at the tip, mimicking a classic Santa hat design. Chill until ready to delight your guests with these cute and tasty treats.
Toppings You’ll Love On Santa Hat Brownie Bites
Serving Santa Hat Brownie Bites For Guests
Keeping Santa Hat Brownie Bites Fresh Overnight
Print
Festive Santa Hat Brownie Bites
- Total Time: 1 hour
- Yield: 11 1x
Description
Santa hat brownie bites bring festive cheer to holiday dessert tables. Chocolate brownies topped with creamy frosting and fresh strawberries create a playful, merry treat you’ll love sharing with family and friends.
Ingredients
- 2 large eggs
- 1 cup granulated sugar
- ½ cup unsalted butter (melted, 113 g)
- ⅓ cup cocoa powder (35 g)
- ½ cup all-purpose flour (60 g)
- ¼ tsp salt
- ¼ tsp baking powder
- 1 cup heavy whipping cream (240 ml)
- 2 tbsps powdered sugar
- ½ tsp vanilla extract
- 12–15 small fresh strawberries (hulled)
Instructions
- Preparation: Preheat oven to 350F (175C) and prepare mini muffin tin with grease or paper liners for smooth brownie extraction.
- Batter Mixing: Whisk melted butter and sugar until smooth, then integrate eggs and vanilla extract to create a silky base, ensuring no sugar crystals remain.
- Dry Ingredients: Fold cocoa powder, flour, salt, and baking powder into the wet mixture using gentle strokes to maintain a light, airy texture.
- Baking Process: Fill muffin cups two-thirds full and bake for 12-15 minutes, verifying doneness with a clean toothpick insertion.
- Cooling Phase: Allow brownies to cool completely in the muffin tin, facilitating easier removal and proper setting.
- Cream Preparation: Chill a mixing bowl, then whip heavy cream with powdered sugar and vanilla extract until stiff peaks form distinctly.
- Decoration Setup: Transfer whipped cream to a piping bag with a round or star tip for precise application.
- Assembly: Place a cream dollop on each cooled brownie, position a hulled strawberry with pointed end upward, and pipe a delicate cream border around the strawberry’s base.
- Finishing Touch: Add a small cream accent at the strawberry’s tip to complete the Santa hat design.
- Storage: Refrigerate brownie bites until serving to maintain structure and enhance flavor profile.
Notes
- Prevent Overmixing: Stir batter gently to maintain a light, tender brownie texture and avoid dense, tough results.
- Temperature Control: Ensure butter and eggs are at room temperature for smooth blending and consistent baking performance.
- Check Doneness Carefully: Use the toothpick test to avoid overbaking, which can dry out the brownie bites and compromise their rich, fudgy quality.
- Stabilize Whipped Cream: Chill utensils and bowl beforehand to help cream whip faster and hold its shape more effectively for precise decorating.
- Prep Time: 15 minutes
- Cook Time: 30 minutes
- Category: Desserts, Snacks
- Method: Baking
- Cuisine: American
Nutrition
- Serving Size: 11
- Calories: 150
- Sugar: 10 g
- Sodium: 50 mg
- Fat: 9 g
- Saturated Fat: 5 g
- Unsaturated Fat: 3 g
- Trans Fat: 0 g
- Carbohydrates: 15 g
- Fiber: 1 g
- Protein: 2 g
- Cholesterol: 30 mg
Liam O’Sullivan
Founder & Culinary Content Creator
Expertise
Recipe Development, Traditional Irish and European Cuisines, Food Styling and Photography, Culinary Education
Education
Dublin Institute of Technology (DIT) – School of Culinary Arts and Food Technology
Ballymaloe Cookery School
Isabella brings a global spark to the Craft Meats table. Born in Florence and trained at the Apicius International School of Hospitality, she blends classic Italian flavor with modern writing that’s easy to follow and hard to forget.
Her additional training at the Italian Chef Academy fueled her love for well-crafted dishes, especially ones that spotlight beautiful cuts of meat.
She’s a food writer with heart, and a deep love for storytelling through single recipes. Her goal? To help you cook with more confidence and a little more joy, no matter where you start.