Cute Sugar Cookie Mitten Cookies Recipe for Baking Fun
Festive winter baking takes a delightful turn with these charming sugar cookie mittens that capture the cozy spirit of cold seasons.
Soft, buttery sugar cookie mittens offer a sweet canvas for creative decorations and holiday cheer.
Delicate edges and smooth surfaces make these cookies perfect for family gatherings and festive celebrations.
Bakers can easily transform simple ingredients into adorable mitten-shaped treats that spark joy and warmth.
Decorating these cookies becomes a playful activity that brings everyone together around the kitchen counter.
Each sugar cookie mitten tells a story of winter magic and sweet memories.
Dive into this delectable recipe and let your baking creativity shine.
Quick Recipe Overview
What You’ll Use In Sugar Cookie Mitten Cookies
For Cookie Base:For Flavor Enhancers:For Decoration:All The Tools For Sugar Cookie Mitten Cookies
Instructions To Make Sugar Cookie Mitten Cookies
Mix flour, baking powder, and salt in a bowl. Cream butter and sugar until fluffy. Blend in egg and extracts. Gradually incorporate dry ingredients until dough forms. Divide into two disks and chill in refrigerator for one hour.
Warm oven to 350F. Dust work surface with flour. Roll chilled dough to thin layer. Use mitten-shaped cutter to create delightful cookie shapes. Arrange on parchment-lined baking sheets.
Slide cookies into oven. Bake until edges turn soft golden, about 10-12 minutes. Allow cookies to rest on baking sheet for brief moment. Transfer to cooling rack.
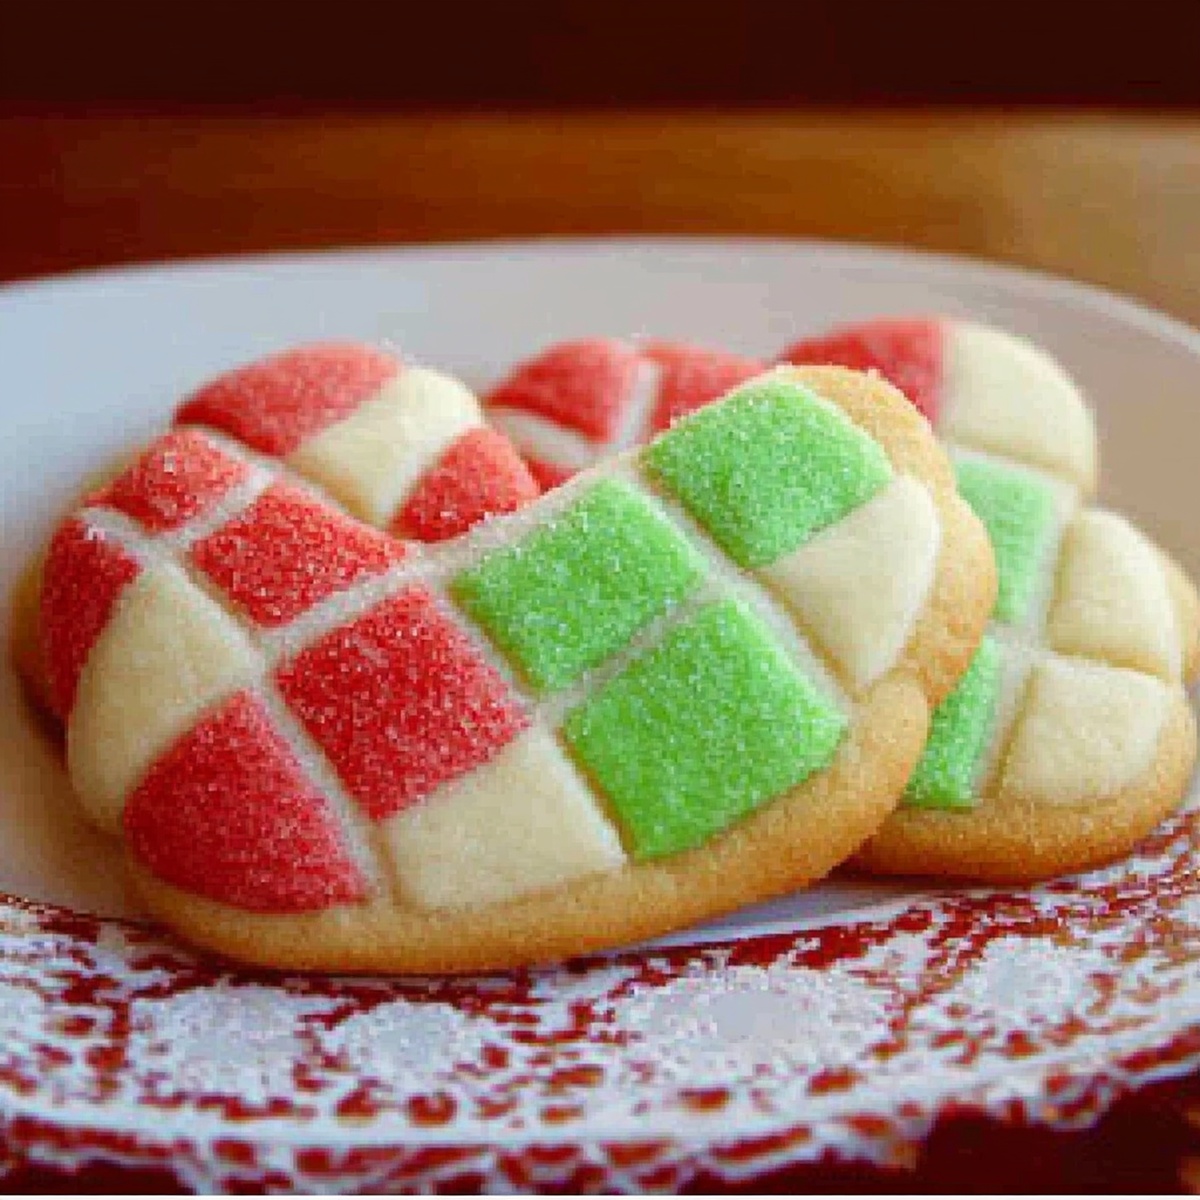
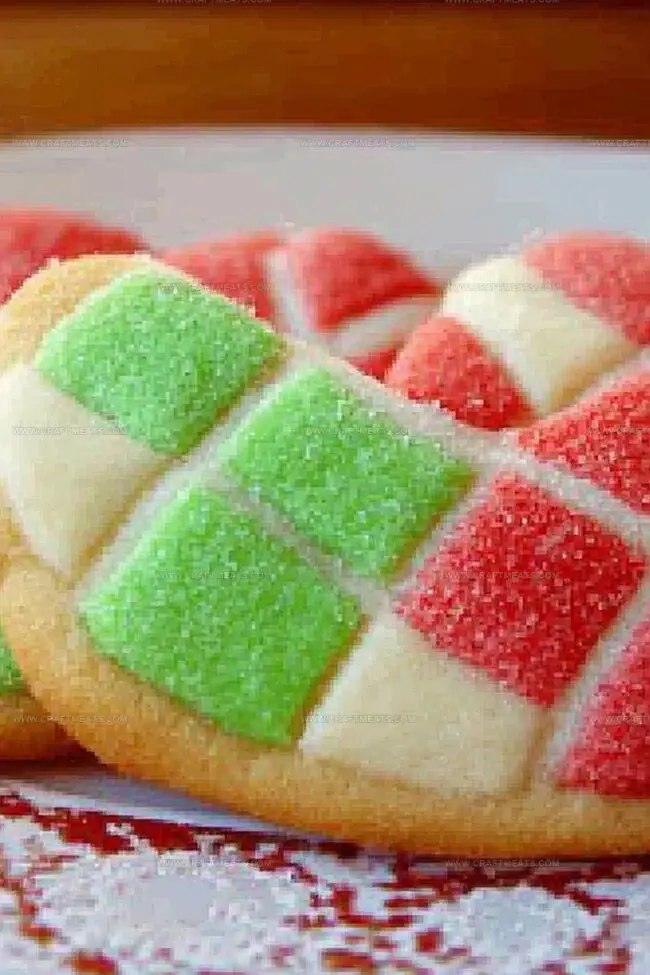
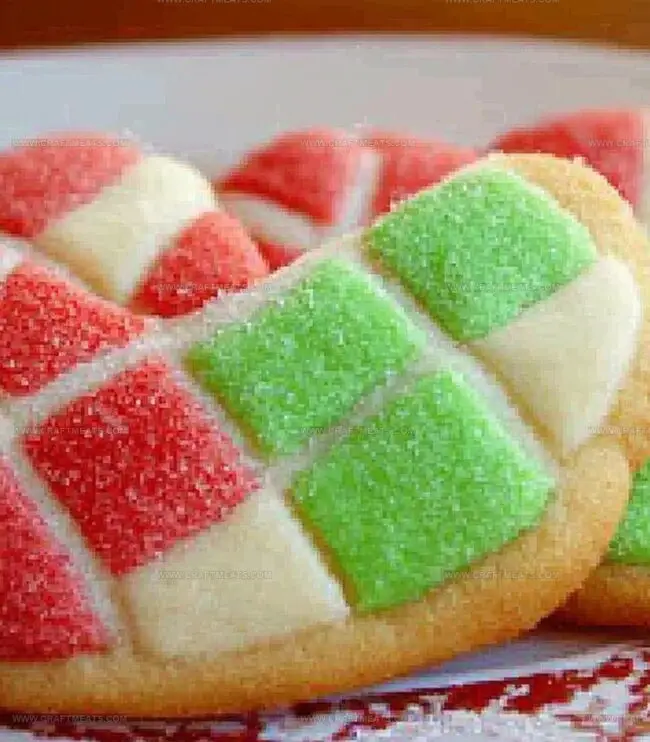
Whip powdered sugar with egg whites and vanilla until glossy. Adjust consistency with water. Separate icing into small bowls. Add food coloring for vibrant designs. Use piping bag to outline mittens. Fill centers with thinned icing. Embellish with whimsical patterns like snowflakes or playful stripes.
Smart Tips For Sugar Cookie Mitten Cookies
Easy Ways To Serve Sugar Cookie Mitten Cookies
How To Store Sugar Cookie Mitten Cookies Properly
Print
Festive Sugar Cookie Mitten Cookies
- Total Time: 2 hours 42 minutes
- Yield: 23 1x
Description
Festive sugar cookie mitten cookies bring winter cheer to holiday gatherings. Nordic-inspired designs and delicate icing create a charming dessert you’ll adore serving to friends and family.
Ingredients
- 1 cup (225 g) unsalted butter, softened
- 1 cup (200 g) granulated sugar
- 2 ¾ cups (350 g) all-purpose flour
- 1 large egg
- 1 tsp baking powder
- ½ tsp salt
- 1 tsp vanilla extract
- ½ tsp almond extract (optional)
- 3 cups (375 g) powdered sugar
- 2 large egg whites or 4 tbsps meringue powder + 4 tbsps water
- ½ tsp vanilla or almond extract
- Food coloring (red, white, and festive colors)
Instructions
- Dough Preparation: Whisk flour, baking powder, and salt in a mixing bowl. In a separate large bowl, cream butter and sugar until light and fluffy, then blend in egg and vanilla extracts thoroughly.
- Dough Formation: Gradually incorporate dry ingredients into wet mixture, forming a cohesive dough. Divide into two compact disks, wrap in plastic, and chill in refrigerator for at least one hour to solidify.
- Rolling and Cutting: Preheat oven to 350F and line baking sheets with parchment paper. Roll chilled dough on lightly floured surface to 1/4-inch thickness, then cut precise mitten shapes using specialized cookie cutter.
- Baking Process: Transfer delicate mitten cutouts to prepared baking sheets. Bake for 10-12 minutes until edges turn subtly golden. Allow cookies to rest on sheets for five minutes before transferring to cooling rack.
- Royal Icing Creation: Whip powdered sugar with egg whites and vanilla until achieving glossy, smooth consistency. Adjust icing texture by carefully adding water as needed.
- Decorative Detailing: Divide icing into multiple bowls and introduce food coloring for vibrant palette. Use fine-tipped piping tools to outline mitten borders with artistic precision.
- Final Embellishment: Flood cookie surfaces with thinned icing, creating smooth base layers. Adorn with intricate snowflake designs, playful polka dots, or elegant striped patterns.
- Finishing Touch: Allow decorated cookies to dry completely, ensuring intricate designs set firmly before serving or packaging.
Notes
- Chill Dough Strategically: Refrigerate dough for at least one hour to prevent spreading and maintain precise mitten shapes during baking.
- Roll with Precision: Use a consistent 1/4-inch thickness to ensure even baking and uniform cookie texture across all mittens.
- Icing Consistency Matters: Adjust royal icing thickness carefully – thicker for detailed borders, thinner for smooth flooding techniques.
- Decorating Pro Tip: Work on a clean, smooth surface and use quality piping tools for crisp, professional-looking cookie designs.
- Prep Time: 30 minutes
- Cook Time: 12 minutes
- Category: Desserts, Snacks
- Method: Baking
- Cuisine: American
Nutrition
- Serving Size: 23
- Calories: 190
- Sugar: 12 g
- Sodium: 55 mg
- Fat: 8 g
- Saturated Fat: 5 g
- Unsaturated Fat: 3 g
- Trans Fat: 0 g
- Carbohydrates: 27 g
- Fiber: 0 g
- Protein: 2 g
- Cholesterol: 30 mg
Liam O’Sullivan
Founder & Culinary Content Creator
Expertise
Recipe Development, Traditional Irish and European Cuisines, Food Styling and Photography, Culinary Education
Education
Dublin Institute of Technology (DIT) – School of Culinary Arts and Food Technology
Ballymaloe Cookery School
Isabella brings a global spark to the Craft Meats table. Born in Florence and trained at the Apicius International School of Hospitality, she blends classic Italian flavor with modern writing that’s easy to follow and hard to forget.
Her additional training at the Italian Chef Academy fueled her love for well-crafted dishes, especially ones that spotlight beautiful cuts of meat.
She’s a food writer with heart, and a deep love for storytelling through single recipes. Her goal? To help you cook with more confidence and a little more joy, no matter where you start.