Fluffy Oreo Pancakes Recipe: A Breakfast Game-Changer!
Breakfast takes an unexpected turn with these magical oreo pancakes that blend childhood nostalgia and morning comfort.
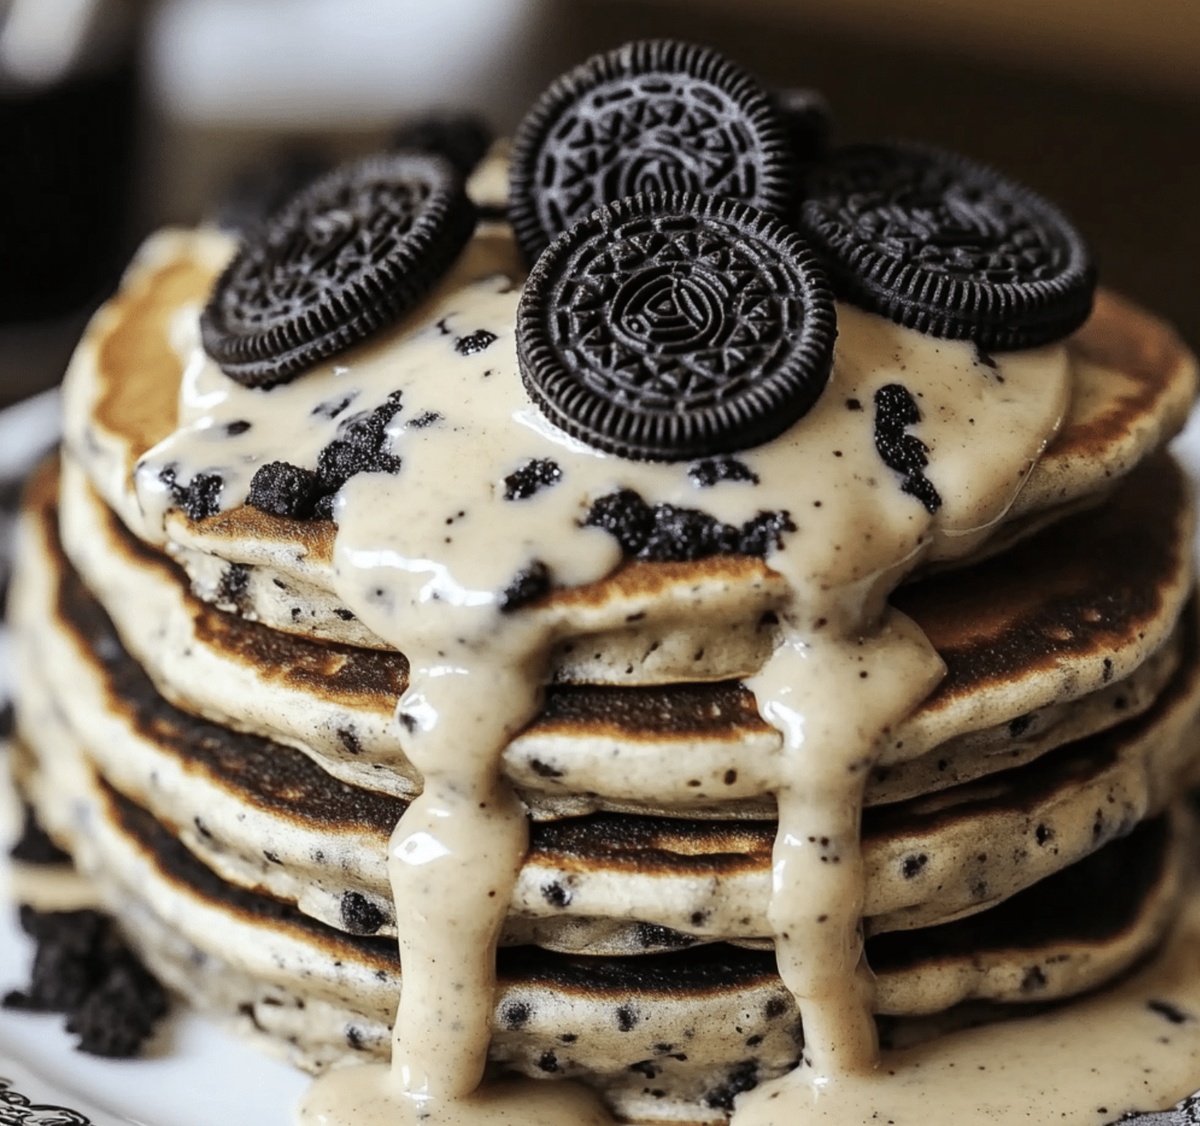
Chocolate cookie crumbles dance through fluffy batter, creating a delightful twist on classic pancakes.
The dark cookie bits peek through golden surfaces, promising pure indulgence.
Decadent yet surprisingly simple, these pancakes deliver a playful morning treat that sparks joy.
Crisp edges and soft centers make each bite a delectable experience.
Rich chocolate notes mingle with sweet batter, transforming an ordinary morning into something extraordinary.
Dive into this delightful recipe and treat yourself to a breakfast that feels like a celebration.
Quick Recipe Overview
What’s In Oreo Pancakes
For Dry Ingredients:For Wet Ingredients:For Oreo Components:Kitchen Tools For Oreo Pancakes
How To Make Oreo Pancakes From Scratch
Mix cocoa powder, flour, and other dry ingredients in a spacious mixing bowl. The key is to create a smooth, lump-free foundation that will give your pancakes a rich, chocolatey personality.
Combine milk, eggs, and melted butter in a separate container. Gently marry these wet ingredients with your dry mixture, stirring just enough to bring everything together. Crumble Oreo cookies into the batter, creating delightful cookie pockets.
Warm a skillet until it’s perfectly heated. Pour small circles of batter, watching for tiny bubbles to form. When edges look set, gracefully flip each pancake. Let them turn a beautiful golden brown.
Craft a dreamy Oreo glaze by whisking powdered sugar and milk. Drizzle this magical sauce over your pancake stack. Sprinkle additional cookie crumbs on top for extra crunch and visual appeal. Serve immediately for maximum deliciousness.
Tips To Perfect Oreo Pancakes
Serving Oreo Pancakes Made Simple
Save Oreo Pancakes And Reheat Easily
Print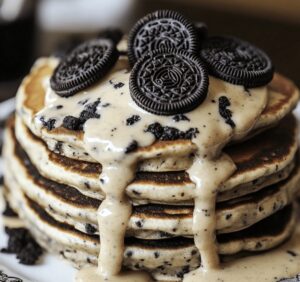
Fluffy Oreo Pancakes Recipe
- Total Time: 25 minutes
- Yield: 3 1x
Description
Oreo pancakes recipe delivers a chocolate lover’s dream breakfast with crushed cookie magic. Rich, indulgent layers meld creamy textures and sweet crunch for an irresistible morning treat you won’t want to miss.
Ingredients
- 1 ¼ cups (155 g) all-purpose flour
- ¼ cup (25 g) cocoa powder
- 8 Oreos, crushed
- 3 tbsps granulated sugar
- 4 Oreos, finely crushed
- 2 tsps baking powder
- ¼ tsp salt
- 1 cup (240 ml) milk
- 1 large egg
- 2 tbsps unsalted butter, melted
- 1 tsp vanilla extract
- 1 cup (120 g) powdered sugar
- 2 tbsps milk (plus more as needed)
- Whipped cream
- Chocolate syrup
Instructions
- Dry Mixture Preparation: Combine cocoa-enhanced flour, granulated sweetener, baking powder, and salt in a large mixing bowl, whisking until uniformly blended.
- Wet Ingredient Integration: In a separate container, thoroughly mix milk, egg, melted butter, and vanilla extract. Pour wet ingredients into dry mixture, stirring minimally to prevent batter from becoming tough.
- Cookie Incorporation and Resting: Gently fold crushed Oreo cookies into the batter, allowing cookie fragments to distribute evenly. Let the mixture rest for several minutes to develop flavor and texture.
- Pancake Cooking Process: Heat a non-stick griddle or skillet over medium temperature, lightly greasing with butter. Pour measured batter portions, watching for bubbles forming across the surface.
- Flipping and Finishing: Once edges appear set and surface becomes slightly porous, carefully flip each pancake. Cook opposite side until golden brown and fully cooked through.
- Oreo Glaze Creation: Whisk powdered sugar with milk and finely ground cookie crumbs, adjusting liquid to achieve desired drizzling consistency.
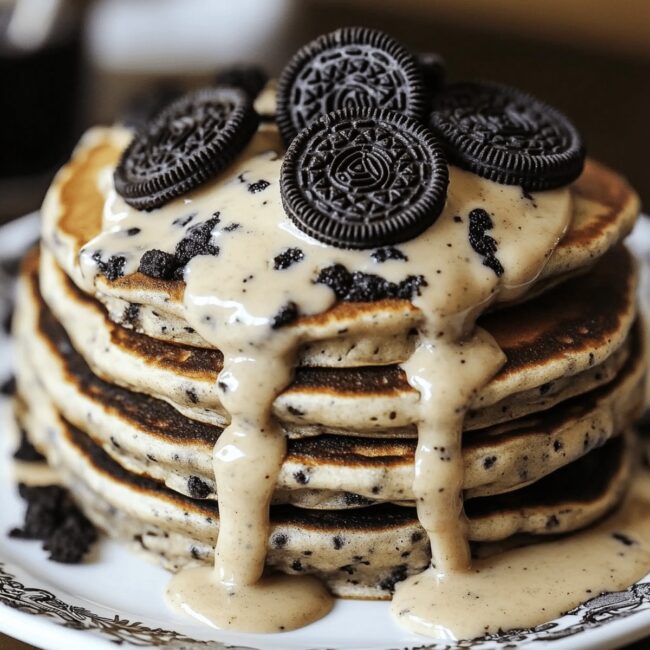
- Plating and Garnishing: Stack warm pancakes, drizzling Oreo-infused glaze between layers. Top with whipped cream, additional cookie fragments, and chocolate syrup if desired. Serve immediately for maximum enjoyment.
Notes
- Prevent Overmixing: Stir batter gently to maintain fluffy texture, stopping when ingredients just combine to avoid tough, dense pancakes.
- Cookie Crushing Technique: Crush Oreos into varied sizes – some fine crumbs, some larger chunks – for interesting texture and visual appeal in pancakes.
- Temperature Control: Use medium-low heat to ensure pancakes cook evenly without burning, allowing chocolate base to develop rich color and proper internal cooking.
- Gluten-Free Adaptation: Substitute regular flour with almond or gluten-free blend, maintaining same measurement proportions for those with dietary restrictions.
- Prep Time: 10 minutes
- Cook Time: 15 minutes
- Category: Breakfast, Snacks, Desserts
- Method: Frying
- Cuisine: American
Nutrition
- Serving Size: 3
- Calories: 400
- Sugar: 30 g
- Sodium: 350 mg
- Fat: 18 g
- Saturated Fat: 10 g
- Unsaturated Fat: 8 g
- Trans Fat: 0 g
- Carbohydrates: 55 g
- Fiber: 2 g
- Protein: 6 g
- Cholesterol: 70 mg
Liam O’Sullivan
Founder & Culinary Content Creator
Expertise
Recipe Development, Traditional Irish and European Cuisines, Food Styling and Photography, Culinary Education
Education
Dublin Institute of Technology (DIT) – School of Culinary Arts and Food Technology
Ballymaloe Cookery School
Isabella brings a global spark to the Craft Meats table. Born in Florence and trained at the Apicius International School of Hospitality, she blends classic Italian flavor with modern writing that’s easy to follow and hard to forget.
Her additional training at the Italian Chef Academy fueled her love for well-crafted dishes, especially ones that spotlight beautiful cuts of meat.
She’s a food writer with heart, and a deep love for storytelling through single recipes. Her goal? To help you cook with more confidence and a little more joy, no matter where you start.