Fluffy Sweetened Condensed Milk Snowball Cookies Recipe
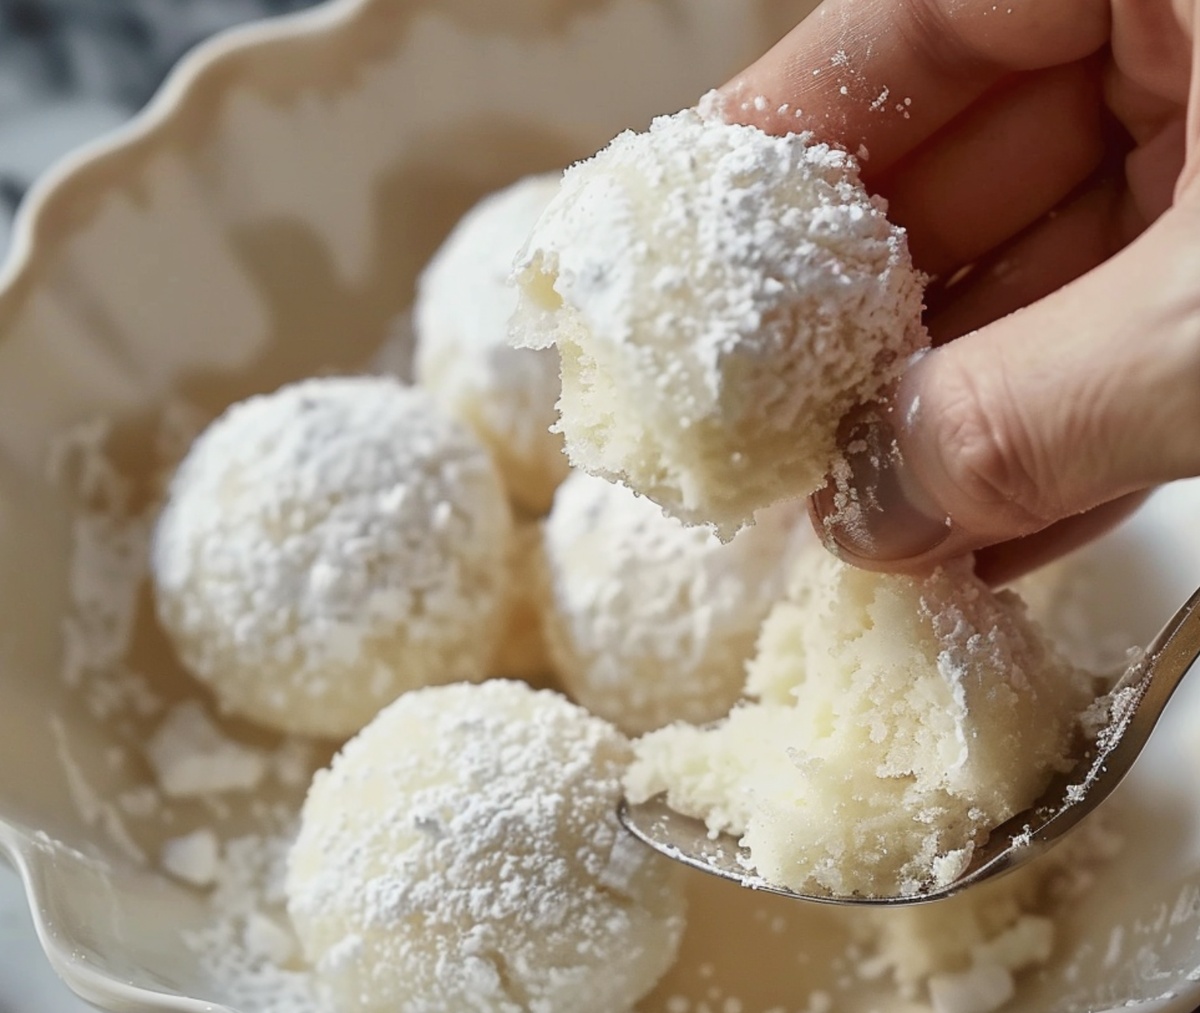
Delicate and powdery, these snowball cookies melt with sweetened condensed milk magic in every delightful bite.
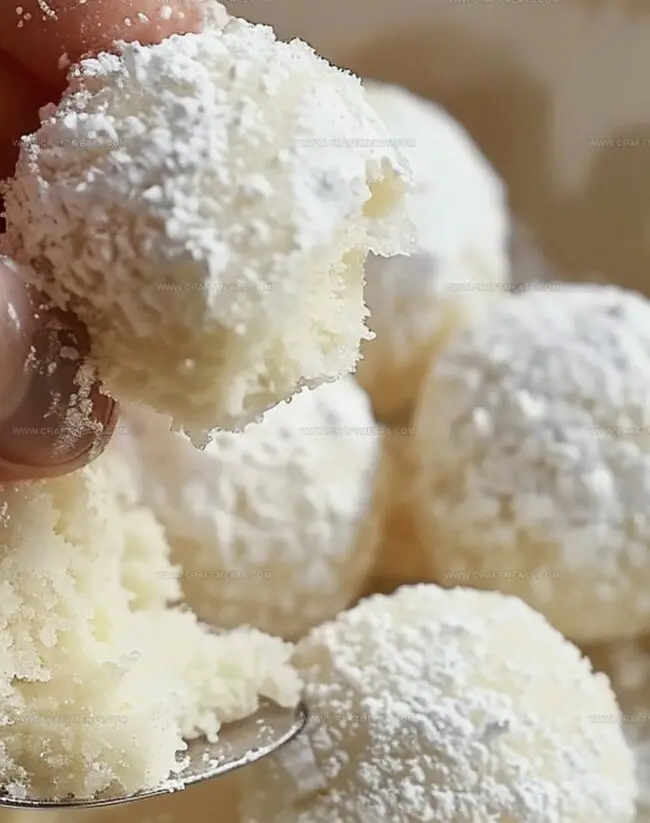
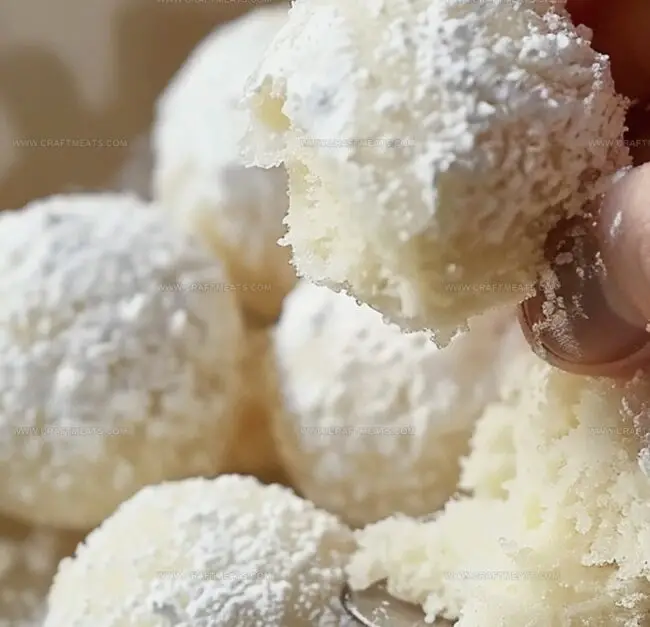
Buttery crumbs dance together with ground nuts, creating a celestial texture that whispers winter’s softness.
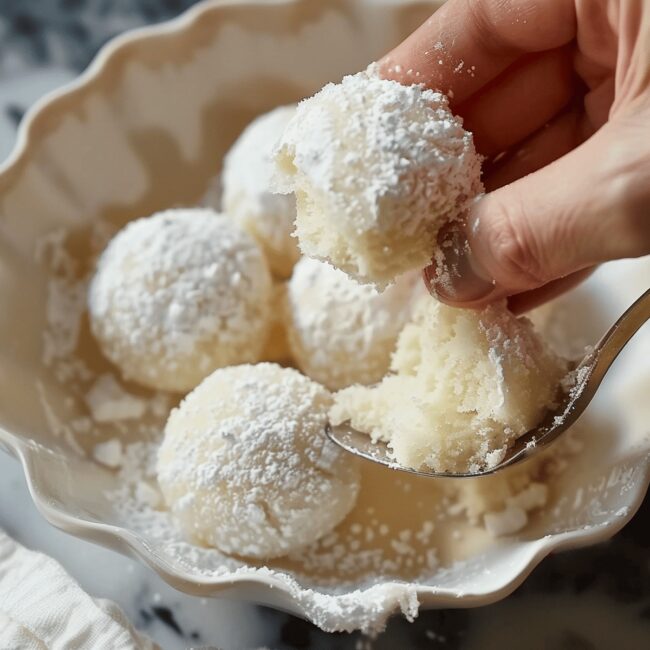
Rolling these delicate spheres in confectioners’ sugar transforms them into glistening winter gems.
Each cookie carries a subtle richness from the condensed milk, adding unexpected depth to their classic charm.
Simple ingredients blend effortlessly, promising a treat that feels both nostalgic and indulgent.
Baking these cookies fills your kitchen with warmth and sweet anticipation.
Serve these delectable morsels and watch smiles bloom with every tender, melt-in-your-mouth moment.
Quick Recipe Overview
What You’ll Use For Sweetened Condensed Milk Snowball Cookies
For Base and Richness:For Structure and Texture:For Crunch and Depth:Tools For Sweetened Condensed Milk Snowball Cookies
Steps To Make Sweetened Condensed Milk Snowball Cookies
Blend softened butter until silky smooth, creating a luxurious foundation for these delightful treats. Mix in the sweetened condensed milk and a splash of vanilla until everything looks dreamy and unified.
Gently fold chopped nuts into the velvety mixture, adding a delightful crunch that will surprise and delight taste buds.
Pop the dough into the refrigerator for a quick 30-minute rest. This helps the mixture firm up and become easier to handle, like magic cooling down a warm afternoon.
Roll the chilled dough into perfect little spheres, placing them carefully on a parchment-lined baking sheet. Each ball should be a miniature snow-like orb waiting to transform.
Slide the baking sheet into a preheated oven. Watch as the edges turn a gentle golden color while the tops remain pale and dreamy, signaling they’re almost ready to become heavenly treats.
Once cooled slightly, roll each cookie in a soft cloud of powdered sugar. Give them a second generous dusting to create a beautiful snowy appearance that looks like winter wonderland magic.
Serve these delicate morsels alongside coffee or tea, or package them as a heartwarming gift that spreads instant happiness.
Tips For Sweetened Condensed Milk Snowball Cookies
Ways To Serve Sweetened Condensed Milk Snowball Cookies
How To Store Sweetened Condensed Milk Snowball Cookies
Print
Fluffy Sweetened Condensed Milk Snowball Cookies Recipe
- Total Time: 55 minutes
- Yield: 23 1x
Description
Mexican wedding cookies with sweetened condensed milk deliver classic holiday comfort in one delightful bite. Powdered sugar coats rich, buttery rounds that melt perfectly when enjoyed with family and friends.
Ingredients
- 1 cup (230g/8 oz) unsalted butter, softened
- 2 cups (250g/8.8 oz) all-purpose flour
- 1 cup (100g/3.5 oz) finely chopped pecans or walnuts
- ½ cup (120 ml/4 fl oz) sweetened condensed milk
- 1 tsp vanilla extract
- 1 cup (120g/4.2 oz) powdered sugar, for coating
- ¼ tsp salt
Instructions
- Preparation: Cream softened butter into a fluffy consistency, blending sweetened condensed milk and vanilla extract until smooth and uniform.
- Dough Formation: Fold flour and salt into the creamy mixture, incorporating chopped nuts evenly throughout the dough. Refrigerate for 30 minutes to firm up the texture.
- Preheating: Position oven rack in the center and preheat to 350F (175C). Line a baking sheet with parchment paper for optimal cookie release.
- Shaping: Mold the chilled dough into consistent one-inch spherical shapes, arranging them with slight spacing on the prepared baking sheet.
- Baking: Transfer the tray to the preheated oven and bake for 12-15 minutes, watching for a delicate golden-brown color on the cookie bottoms while maintaining a pale upper surface.
- Sugar Coating: Immediately after removing from the oven, while cookies are still warm, gently roll each one in powdered sugar for an initial light dusting.
- Final Touch: Once cookies cool to room temperature, perform a second powdered sugar coating, creating a pristine, snow-white exterior that melts in your mouth.
- Serving: Enjoy immediately or store in an airtight container to preserve their delicate texture and elegant appearance.
Notes
- Butter Temperature Matters: Ensure butter is genuinely softened, not melted, for optimal cookie texture and smooth blending with condensed milk.
- Gentle Mixing Technique: Avoid overmixing the dough, which can develop gluten and create dense, tough cookies instead of the desired tender crumb.
- Chilling is Crucial: The 30-minute refrigeration isn’t optional – it helps cookies maintain shape and prevents excessive spreading during baking.
- Powdered Sugar Coating Trick: Roll cookies while slightly warm for the first sugar layer, then again when completely cool for a perfect snow-white finish that adheres beautifully.
- Prep Time: 10 minutes
- Cook Time: 15 minutes
- Category: Desserts, Snacks
- Method: Baking
- Cuisine: American
Nutrition
- Serving Size: 23
- Calories: 140
- Sugar: 8g
- Sodium: 30mg
- Fat: 10g
- Saturated Fat: 6g
- Unsaturated Fat: 4g
- Trans Fat: 0g
- Carbohydrates: 15g
- Fiber: 0g
- Protein: 1g
- Cholesterol: 30mg
Liam O’Sullivan
Founder & Culinary Content Creator
Expertise
Recipe Development, Traditional Irish and European Cuisines, Food Styling and Photography, Culinary Education
Education
Dublin Institute of Technology (DIT) – School of Culinary Arts and Food Technology
Ballymaloe Cookery School
Isabella brings a global spark to the Craft Meats table. Born in Florence and trained at the Apicius International School of Hospitality, she blends classic Italian flavor with modern writing that’s easy to follow and hard to forget.
Her additional training at the Italian Chef Academy fueled her love for well-crafted dishes, especially ones that spotlight beautiful cuts of meat.
She’s a food writer with heart, and a deep love for storytelling through single recipes. Her goal? To help you cook with more confidence and a little more joy, no matter where you start.