No-Knead Bread Recipe: Your Path to Fuss-Free Homemade Goodness
Fresh bread aromas fill the kitchen with this surprisingly simple no-knead bread recipe that will transform your baking game.
Minimal effort delivers maximum flavor in this incredible technique.
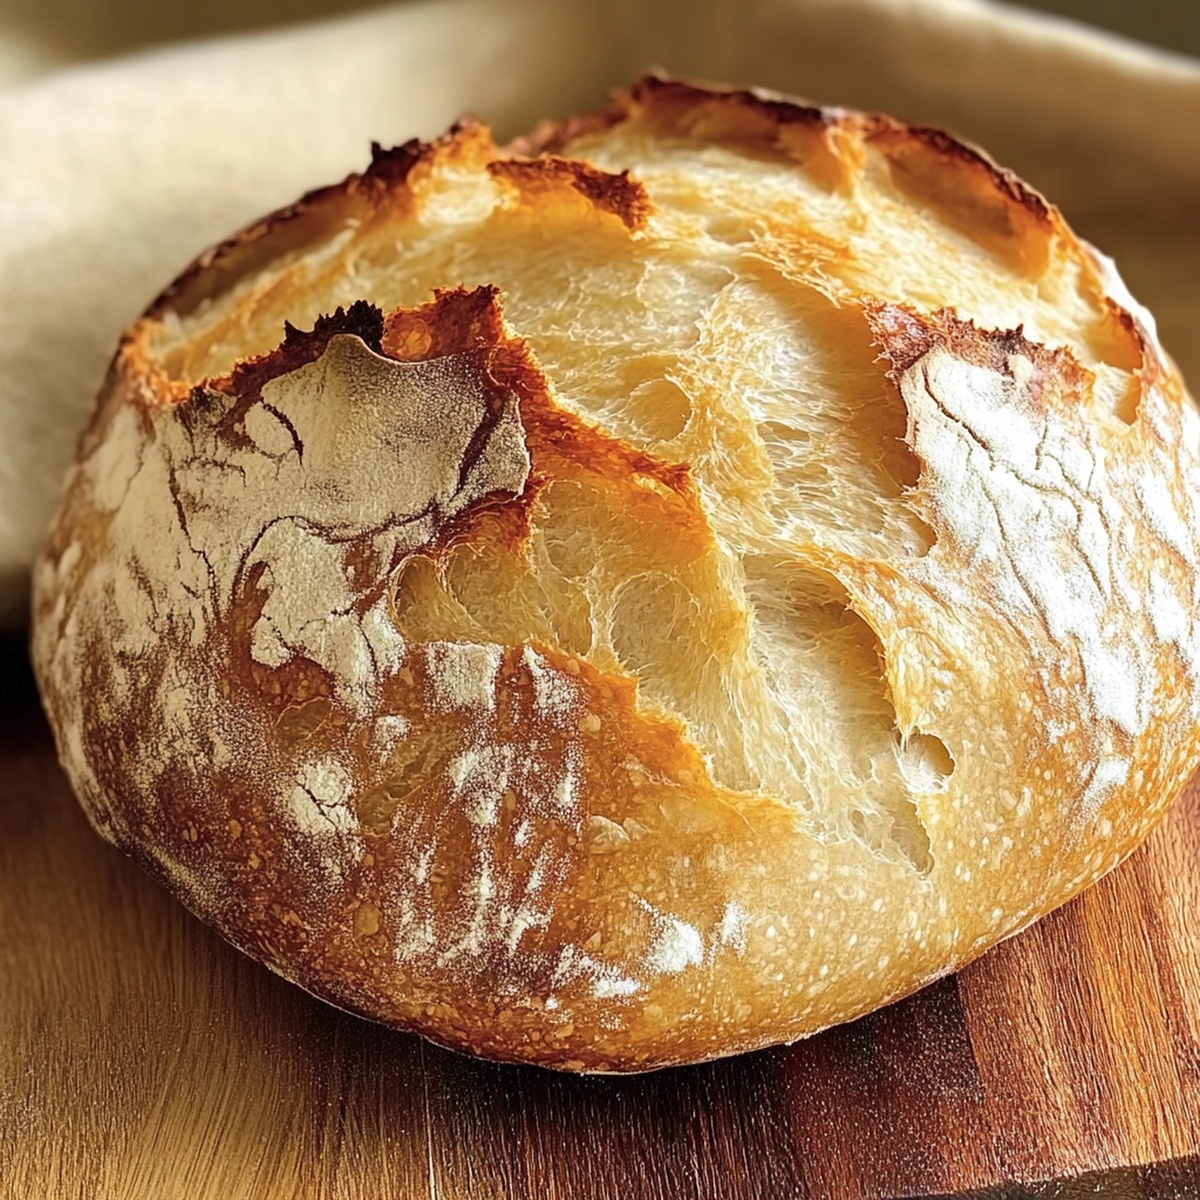
Each slice promises golden, crusty perfection with a tender interior.
Home bakers of all skill levels can master this delightful method without complicated steps.
The process requires just a few basic ingredients and some patient waiting time.
Warm, freshly baked bread waiting on your countertop is about to become your new weekend tradition.
Dive into this foolproof recipe and experience homemade bread magic that will impress everyone at the table.
Quick Recipe Overview
Full List For Quick And Easy No-Knead Bread
For The Dry Ingredients:For The Liquid Ingredient:For Optional Serving Companions:Gear You’ll Need For Quick And Easy No-Knead Bread
How To Prep Quick And Easy No-Knead Bread

Mix flour, yeast, and salt in a spacious bowl. Pour warm water and stir until a wild, messy mixture forms. This isn’t about perfection – embrace the chaos! Cover the bowl and let nature work its magic for 12 hours. Watch as tiny bubbles transform your simple ingredients into a living, breathing dough.
Dust your workspace with a whisper of flour. Softly coax the puffy dough onto the surface. With tender movements, fold the dough into a relaxed, imperfect ball. No muscle required – just love and patience. Rest the dough on parchment paper while preparing for its grand entrance.
Heat your oven to a blazing 450F. Place a sturdy Dutch oven inside to become scorching hot. This is where culinary magic happens – creating that dreamy, crackling crust every bread lover craves.
Transfer the dough into the molten-hot pot using parchment paper as your trusty helper. Cover and let the oven work its transformative power. First 30 minutes sealed, then unveil for a golden finish. Watch as your humble ingredients become a stunning loaf.
Rescue your masterpiece from the oven. Let it cool and settle, allowing flavors to dance and texture to perfect itself. Slice with reverence and enjoy the fruits of your delightful bread journey.
Tips To Get The Best Quick And Easy No-Knead Bread
Best Ways To Enjoy Quick And Easy No-Knead Bread
Store Quick And Easy No-Knead Bread The Right Way
Print
Foolproof No-Knead Bread Recipe
- Total Time: 50 minutes
- Yield: 11 1x
Description
Classic no-knead bread emerges as a simple, rustic delight for home bakers seeking minimal effort. Crisp exterior and tender crumb showcase minimal ingredients’ potential, inviting home cooks to savor fresh, aromatic bread without complicated techniques.
Ingredients
- 3 cups (375 g) all-purpose flour
- 1 ½ cups (360 ml) warm water
- 2 tsps instant yeast
- 1 ½ tsps salt
- 1 tbsp olive oil
Instructions
- Mixture Preparation: Blend flour, instant yeast, and salt in a large mixing bowl. Incorporate warm water using a wooden spoon until a shaggy, uneven dough forms, ensuring thorough integration without over-mixing.
- Fermentation Phase: Cover the bowl with plastic wrap and let the mixture rest at room temperature. Allow 12-14 hours for natural fermentation, during which bubbles will develop and the dough will significantly expand.
- Dough Shaping: Lightly flour a clean surface and hands. Gently transfer the risen dough, performing soft folding motions to create a loosely rounded shape without aggressive handling. Minimal manipulation maintains the bread’s delicate structure.
- Preheating Preparation: Position the shaped dough on parchment paper. Concurrently, heat the oven to 450°F, placing a heavy-bottomed Dutch oven with its lid inside to reach maximum temperature for approximately 30 minutes.
- Baking Process: Carefully remove the scorching hot pot, cautiously lower the parchment-wrapped dough inside, and immediately cover with the lid. Bake covered for 30 minutes, then uncover to achieve a deep golden-brown exterior with a crisp crust.
- Cooling and Serving: Remove the bread from the oven and transfer to a wire rack. Allow substantial cooling time to stabilize the internal structure. Slice and serve with accompanying spreads like butter, jam, or alongside robust soups and stews.
Notes
- Manage Moisture Carefully: Control dough hydration by adding water gradually to achieve the perfect sticky yet manageable consistency without making it too wet or dry.
- Fermentation Timing: Monitor the 12-hour resting period closely; room temperature and humidity can significantly impact rising time and bread development.
- Prevent Sticking Smartly: Generously dust work surfaces and hands with flour to avoid dough adhering and maintain smooth handling during shaping.
- Preserve Crust Crispness: Allow bread to cool completely on a wire rack to maintain the crispy exterior and prevent soggy bottom from trapped steam.
- Prep Time: 5 minutes
- Cook Time: 40-45 minutes
- Category: Breakfast, Lunch, Dinner, Snacks
- Method: Baking
- Cuisine: American
Nutrition
- Serving Size: 11
- Calories: 120
- Sugar: 0.1 g
- Sodium: 125 mg
- Fat: 1 g
- Saturated Fat: 0.2 g
- Unsaturated Fat: 0.8 g
- Trans Fat: 0 g
- Carbohydrates: 24 g
- Fiber: 1 g
- Protein: 4 g
- Cholesterol: 0 mg
Liam O’Sullivan
Founder & Culinary Content Creator
Expertise
Recipe Development, Traditional Irish and European Cuisines, Food Styling and Photography, Culinary Education
Education
Dublin Institute of Technology (DIT) – School of Culinary Arts and Food Technology
Ballymaloe Cookery School
Isabella brings a global spark to the Craft Meats table. Born in Florence and trained at the Apicius International School of Hospitality, she blends classic Italian flavor with modern writing that’s easy to follow and hard to forget.
Her additional training at the Italian Chef Academy fueled her love for well-crafted dishes, especially ones that spotlight beautiful cuts of meat.
She’s a food writer with heart, and a deep love for storytelling through single recipes. Her goal? To help you cook with more confidence and a little more joy, no matter where you start.