Quick & Cozy Fried Apple Hand Pies Recipe for Sweet Moments
Crispy, golden fried apple hand pies deliver a magical burst of sweet nostalgia in every delectable bite.
Small handheld pastries capture the essence of comfort and indulgence with minimal effort.
Buttery, flaky crusts cradle warm spiced apple filling that melts seamlessly on your tongue.
Seasonal orchard fruits change into compact, irresistible treats perfect for casual dessert moments.
Homemade magic happens when simple ingredients combine with traditional cooking techniques.
Compact and portable, these delightful hand pies promise to satisfy sudden cravings and spark joyful memories.
Rich, aromatic spices complement the tender apple interior, making each morsel an irresistible culinary adventure.
Explore this delightful recipe and unleash your inner pastry chef.
What’s Delicious About Fried Apple Hand Pies
Ingredients Needed for Fried Apple Hand Pies
Pastry Ingredients:Apple Filling Ingredients:Frying and Finishing Ingredients:How to Make Fried Apple Hand Pies Step-by-Step
Step 1: Whip Up the Pastry Dough
Mix flour and salt in a spacious mixing bowl. Slice chilled shortening into tiny pieces using knives or a pastry blender until the mixture looks like rough breadcrumbs. Pour in cold water gradually, stirring with a fork until the dough forms a cohesive ball. Wrap the dough in plastic wrap and let it chill in the refrigerator for half an hour.
Step 2: Create Luscious Apple Filling
Grab a saucepan and combine:Cook the mixture on low heat, covered, until apples soften completely. Mash the ingredients into a smooth, thick applesauce. Set aside and allow the filling to cool down to room temperature.
Step 3: Shape the Hand Pies
Sprinkle flour on your work surface. Roll out the chilled dough until it’s paper-thin (about 1/8 inch thick). Cut eight perfect 4-inch circles using a round cutter or glass. Spoon apple filling onto the center of each dough circle. Wet the edges with water, then fold each round in half. Press the edges firmly with a fork to create a sealed pocket.
Step 4: Fry to Golden Perfection
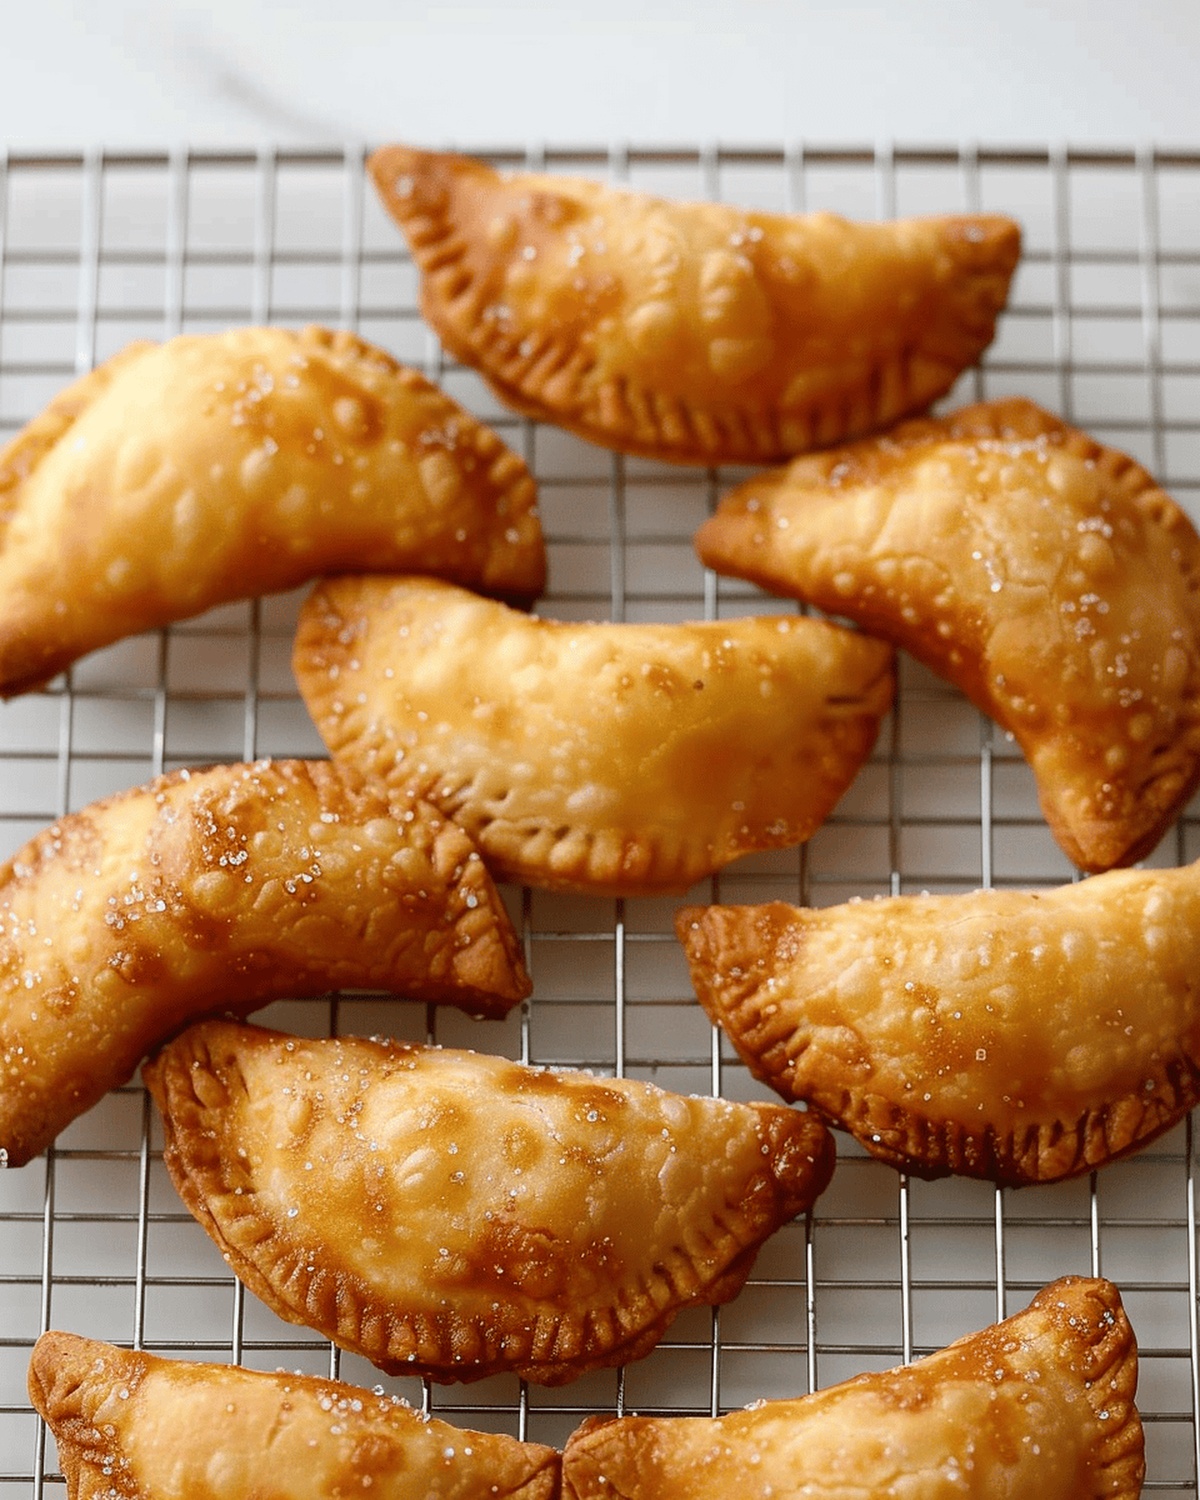
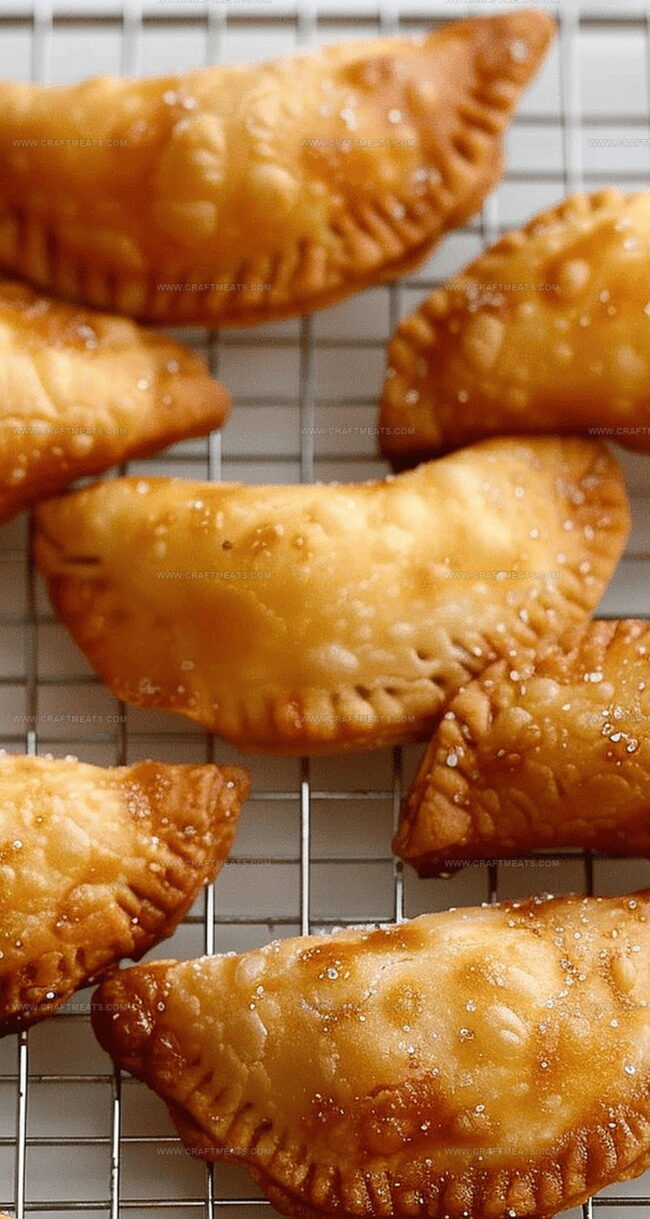
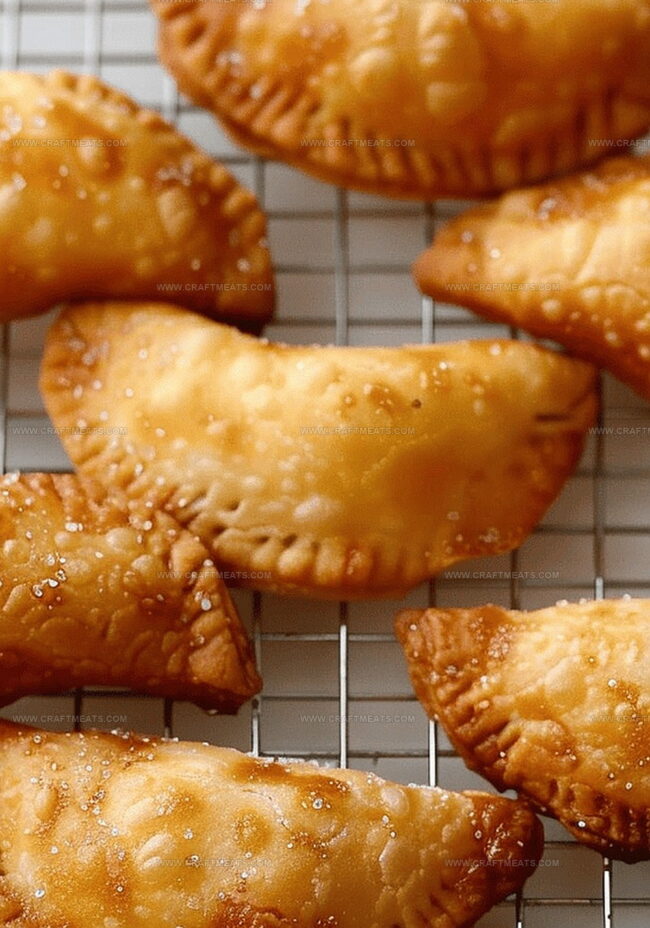
Heat vegetable oil in a deep fryer or large heavy-bottomed pan to 375°F (190°C). Carefully slide hand pies into the hot oil, cooking in small batches. Fry each side until they turn a beautiful golden brown, approximately 2-3 minutes per side. Transfer to paper towels to drain excess oil.
Tips for Crispy Fried Apple Hand Pies
Storing Fried Apple Hand Pies Properly
Great Add-Ons for Fried Apple Hand Pies
Fried Apple Hand Pie Twists to Try
FAQs About Fried Apple Hand Pies
These hand pies are best enjoyed fresh, but you can store them in an airtight container at room temperature for 1-2 days. For longer storage, refrigerate for up to 3-4 days and reheat in the oven to crisp them up.
Absolutely! You can prepare the dough and filling up to 2 days in advance. Keep the dough wrapped in plastic in the refrigerator and store the cooled apple filling in a sealed container. This makes the final assembly much quicker.
No worries! You can use a large, deep saucepan with a heavy bottom. Just make sure to use a cooking thermometer to maintain the correct oil temperature of 375°F for perfect, crispy hand pies.
Yes! Granny Smith, Honeycrisp, or Braeburn apples work great. Choose apples that are firm and slightly tart for the best flavor and texture in your hand pies.
Print
Fried Apple Hand Pies Recipe
- Total Time: 51 minutes
- Yield: 8 1x
Description
Southern comfort meets sweet nostalgia in these crispy fried apple hand pies, delivering golden pastry pockets stuffed with cinnamon-spiced apples. Warm, flaky crusts envelop a delightful filling that connects you to generations of home-style baking traditions.
Ingredients
Main Ingredients:
- 2 cups all-purpose flour
- 2 apples (peeled, cored, and diced)
- 1 quart oil for frying
Dry Seasonings and Sweeteners:
- 1 teaspoon salt
- ¼ cup white sugar (or to taste)
- 1/8 teaspoon ground cinnamon (or to taste)
Binding and Texture Ingredients:
- ½ cup chilled shortening
- ½ cup cold water
Instructions
- Craft a delicate pastry dough by sifting flour and salt into a generous mixing bowl. Utilize two knives or a pastry blender to incorporate chilled shortening until the mixture transforms into sandy, uneven crumbles.
- Gradually introduce cold water, gently folding with a fork until the dough coheres into a unified mass. Encase the dough in plastic wrap and allow it to rest and chill in the refrigerator for half an hour.
- Prepare the apple filling by combining diced apples, sugar, and cinnamon in a saucepan. Simmer the mixture covered over gentle heat, stirring occasionally until the apples soften completely.
- Mash the cooked apple mixture into a rustic, thick compote, then set aside to cool to room temperature.
- Dust a clean work surface with flour and roll the chilled dough to a gossamer-thin thickness of approximately 1/8 inch. Carefully cut eight circular shapes using a 4-inch round cutter.
- Place a generous spoonful of cooled apple filling at the center of each dough round. Lightly moisten the edges with water to create a secure seal.
- Fold each round in half, creating a crescent shape. Crimp the edges firmly with a fork to prevent the filling from escaping during frying.
- Heat oil in a deep fryer or heavy-bottomed saucepan to 375 degrees F. Carefully lower the hand pies into the hot oil, cooking in small batches.
- Fry each pie until they achieve a golden, crispy exterior, approximately 2-3 minutes per side. Ensure even browning by gently turning them midway through cooking.
- Transfer the fried pies to a paper towel-lined plate to drain excess oil and cool slightly before serving.
Notes
- Pastry preparation requires chilled shortening and precise mixing to achieve the perfect flaky texture.
- Cooking apple filling slowly helps develop rich, deep flavors and creates a smooth, thick consistency.
- Sealing edges with water and crimping with a fork prevents filling from leaking during frying.
- Use a deep-fry thermometer to maintain consistent oil temperature for even, golden-brown results.
- Drain pies immediately on paper towels to absorb excess oil and keep the crispy exterior.
- These hand pies are best served warm and can be stored in an airtight container for 2-3 days.
- Prep Time: 45 minutes
- Cook Time: 6 minutes (per batch)
- Category: Desserts, Snacks
- Method: Frying
- Cuisine: American
Nutrition
- Serving Size: 8
- Calories: 250
- Sugar: 6g
- Sodium: 130mg
- Fat: 12g
- Saturated Fat: 3g
- Unsaturated Fat: 8g
- Trans Fat: 0g
- Carbohydrates: 34g
- Fiber: 2g
- Protein: 2g
- Cholesterol: 0mg
Isabella Rossi
Founder & Culinary Content Creator
Expertise
Recipe Development, Traditional Irish and European Cuisines, Food Styling and Photography, Culinary Education
Education
Dublin Institute of Technology (DIT) – School of Culinary Arts and Food Technology
Ballymaloe Cookery School
Liam is the voice behind many of Craft Meats’ most flavorful features. With roots in Dublin’s smoky barbecue scene and a culinary degree from the Dublin Institute of Technology, he brings time-tested cooking techniques to life.
His training at Ballymaloe Cookery School sharpened his farm-to-table approach, giving him a deep respect for every ingredient he writes about.
He’s not about overcomplicating the process, just helping you cook meat that’s worth talking about. When he’s not writing or grilling, he’s out foraging or nerding out on regional spice blends to add to his next recipe.